Chicken Wraps

chicken_wrap2

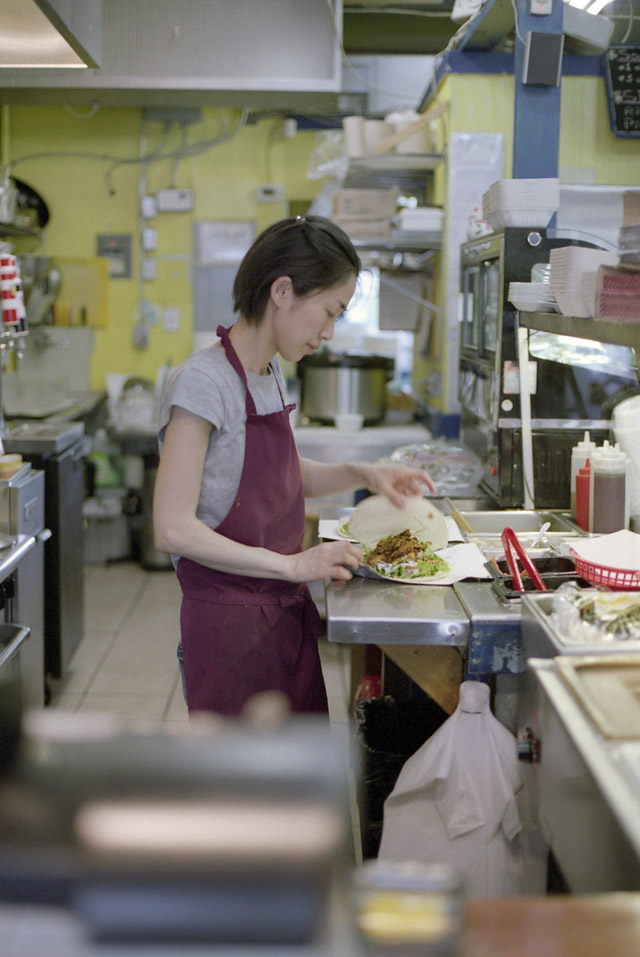
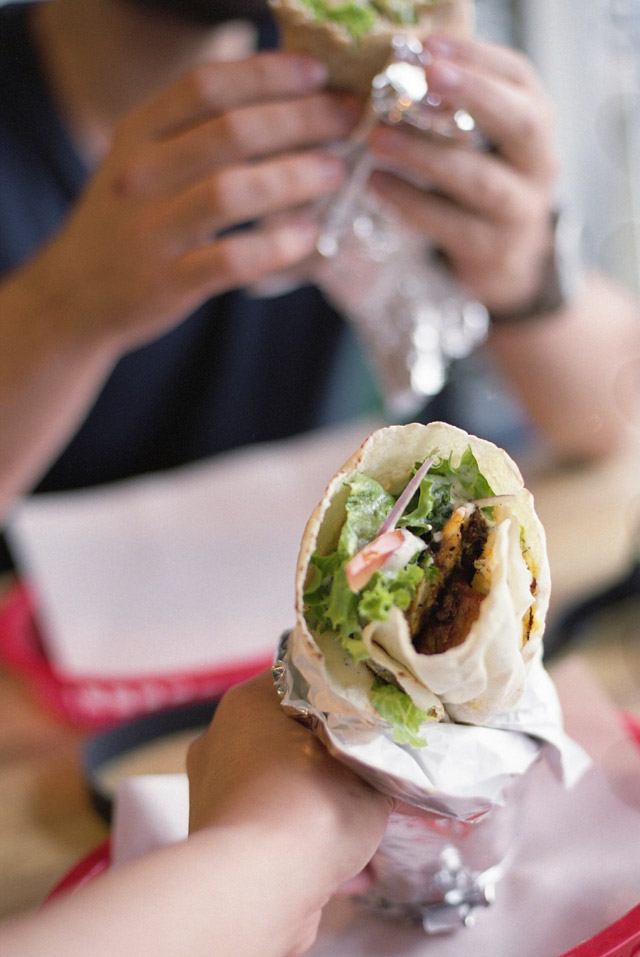
Every so often, we miss the place we used to live: Main Street and 15th Ave. in Vancouver. We considered this place to be the centre of all interesting things happening, be it culture, food, people or little clothing boutiques. However, we particularly miss going to Canteen Mitra, a Mediterranean falafel place. We used to grab a chicken wrap and eat under the summer evening light, watching waves of people pass by. Of course, one cannot skip richly flavoured, artfully made latte at JJ Bean coffee roasters next door either.

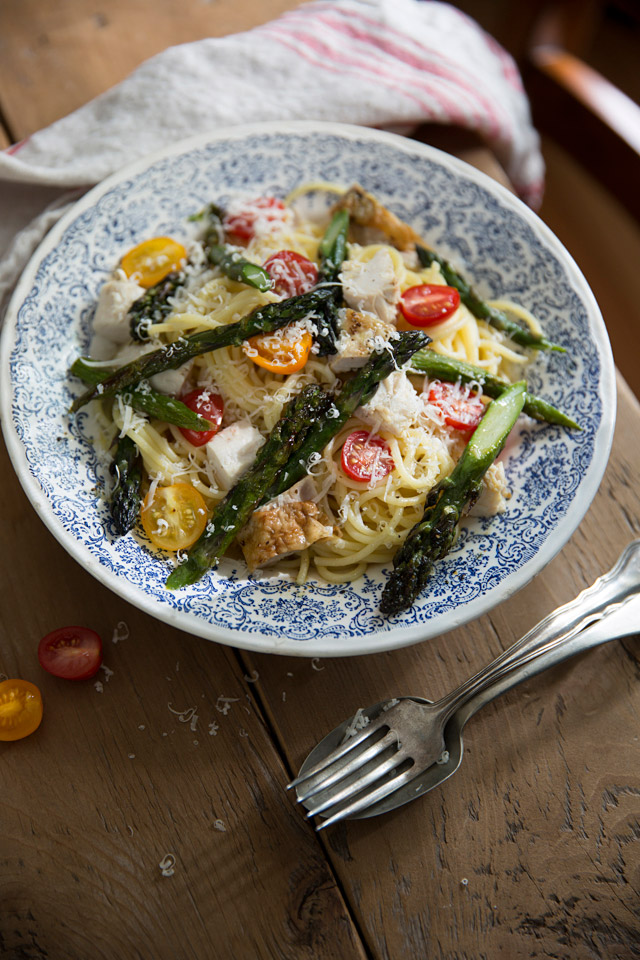
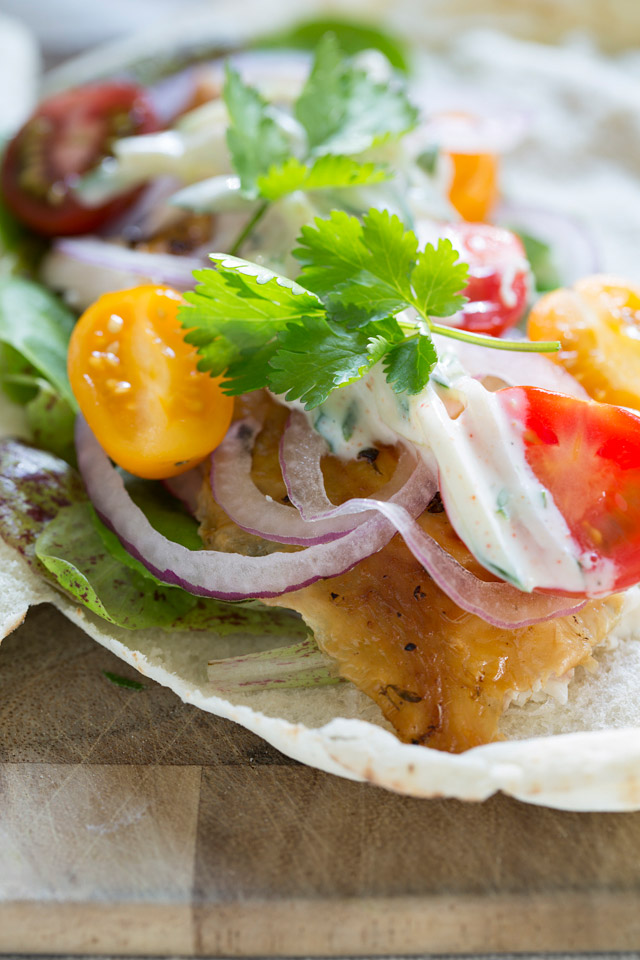
Possessed by a sudden craving at home, I did my best to imitate Canteen Mitra’s chicken wrap with a lemon herb twist. Alas, nothing beats that chicken wrap they serve, but this is still a pretty delicious version. Also, we enjoyed the leftover chicken made into another meal with roasted asparagus, a super simple yet tasty pasta dish.

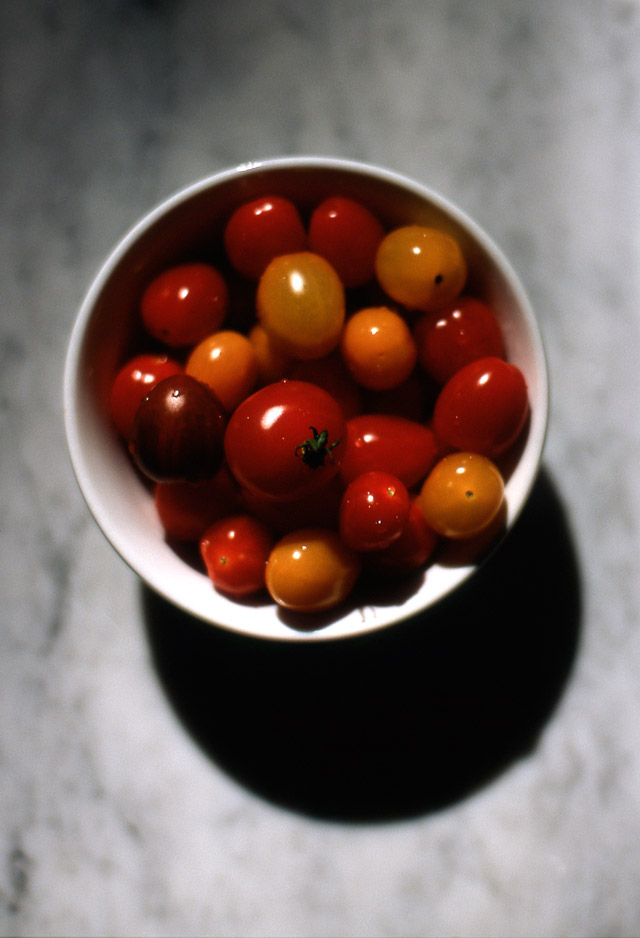
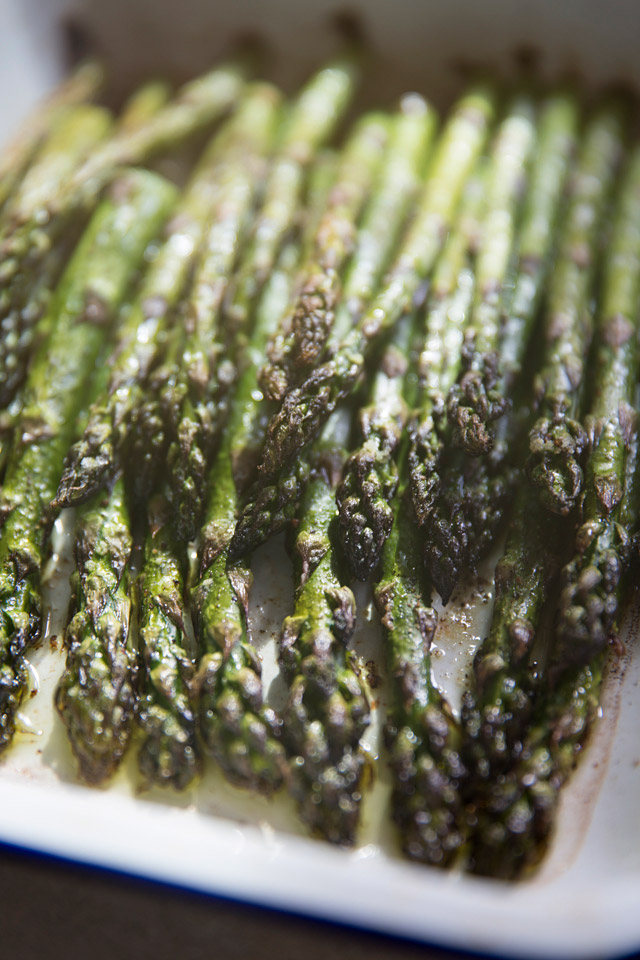
Chicken_wrap_at_Canteen_Mitrachicken_wrap_Canteen_MitraJJ_bean_coffee_roastersJJ_bean_coffee_roasters2JJ_beaningredientschicken_wraplemon_herb_roasted_chicken2cherry_tomatoes roasted_asparagus roasted_chicken_asparagus_pasta

Chicken Wraps

Makes 2 wraps

2 pieces of pita bread

Lettuce leaves

Roasted chicken (see recipe below)

Red onion, thinly sliced

Cherry tomatoes, cut in half

Tzatziki (see recipe below)

Cilantro leaves

Carefully tear the edge of the pita bread all around to open, leaving a part intact. Layer the ingredients on one side, flip the other side of the bread on top, roll tightly and serve.


Lemon Herb Roasted Chicken

1 free-range chicken

2 tablespoons butter, room temperature

A bunch of herbs (thyme, oregano and marjoram)

2 tablespoons olive oil plus extra for sprinkling

Sea salt and pepper

2 lemons

3 whole heads of garlic

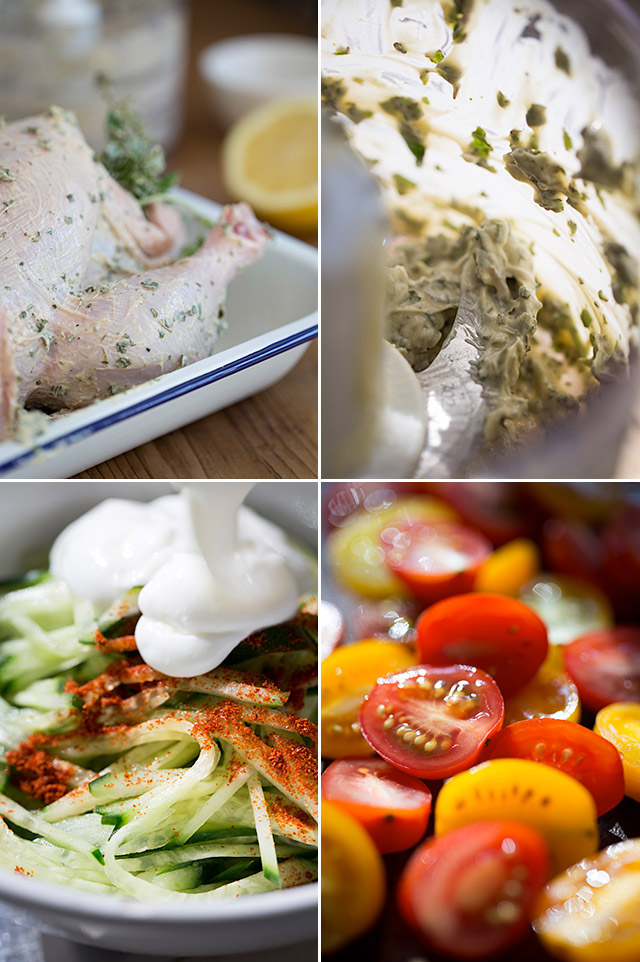
Make herb butter. Place the butter, half of herbs (remove tough stems) and oil in the bowl of a food processor and pulse until smooth. Set aside.

Quarter lemons lengthwise. Halve the garlic lengthwise. Set aside.

Preheat the oven to 425F.

Rinse the chicken inside out and pat dry. Season with a generous amount of salt and pepper. Rub the herb butter all around the chicken. Stuff two pieces of lemon, the rest of the herbs and ½ whole garlic head into the cavity. Tie the legs with kitchen string.

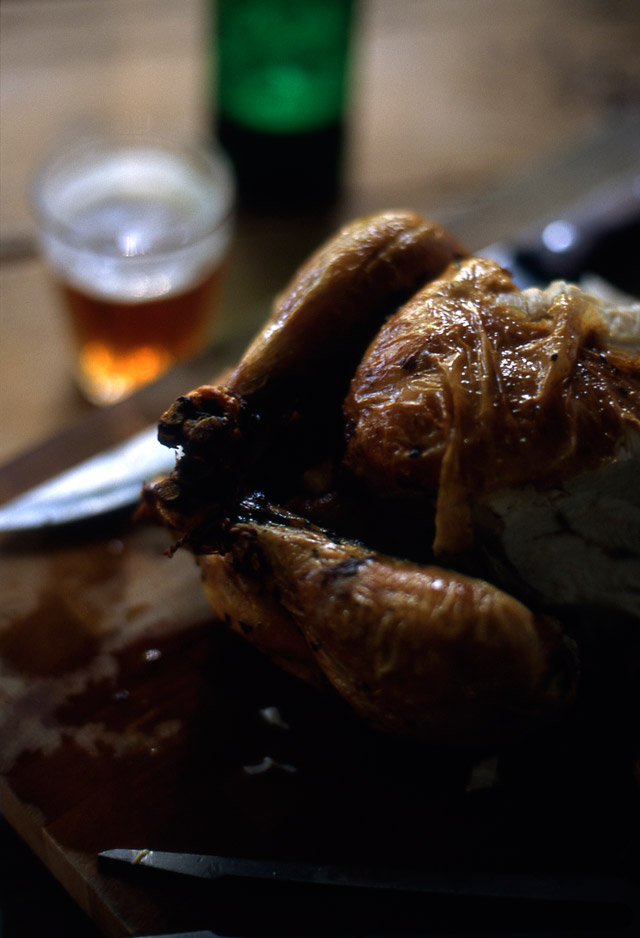
Place in a large roasting pan along with the remaining lemon pieces and garlic. Sprinkle some oil over the lemon and garlic. Roast until meat thermometer inserted in thigh registers 185°F, for about 1½ hours. Remove from the oven and cover with a piece of tin foil for 10 minutes. Carve and serve.


Tzatziki

Makes about 1 cup

2/3 cup julienned cucumber, moisture squeezed out

A few parsley leaves, finely chopped

A dash of lemon juice

A pinch of cayenne pepper

½ cup full fat plain yogurt

Salt and pepper

Combine all the ingredients in a bowl and stir to mix.


Roasted Asparagus

Serves 4

2 bundles of asparagus

Salt and pepper

Olive oil

Preheat the oven to 475F.

Rinse the asparagus and cut off the tough ends. Place them in a roasting pan and sprinkle with a generous amount of salt, pepper and oil over top.

Lower the oven to 450F. Roast until tender, for about 12 to 15 minutes. Serve hot. Remember to reserve the oil for the below pasta dish!


Pasta with Roasted Chicken and Asparagus

Serves 4

Spaghetti

Leftover cold chicken, cut in cubes

Roasted asparagus, cut in 2 inch pieces, oil saved

Cherry tomatoes, cut in half

Parmesan cheese, grated

Salt and pepper

Boil water, add a generous amount of salt and cook the spaghetti until al dente.

Drain the spaghetti well, and toss the chicken, asparagus, tomatoes and reserved oil from the asparagus in a large bowl to mix. Serve and sprinkle with the cheese. Adjust with salt and pepper.

 

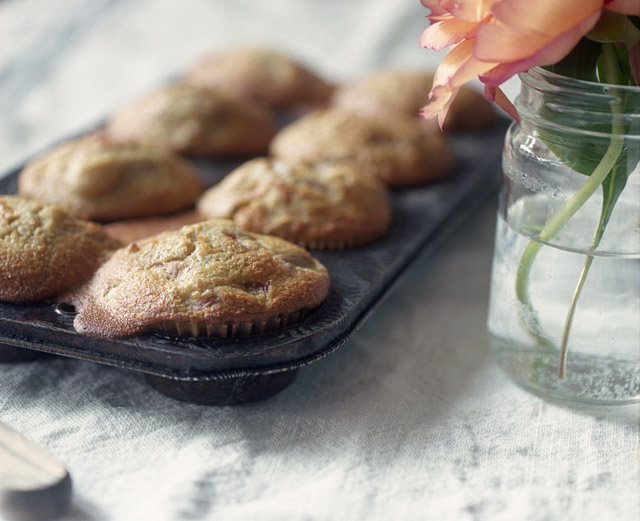
Rhubarb Cream Cheese Cornmeal Muffins

rhubarb_muffins

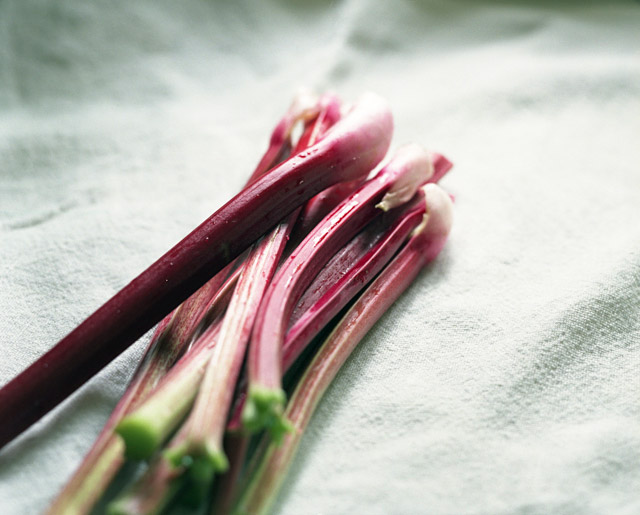
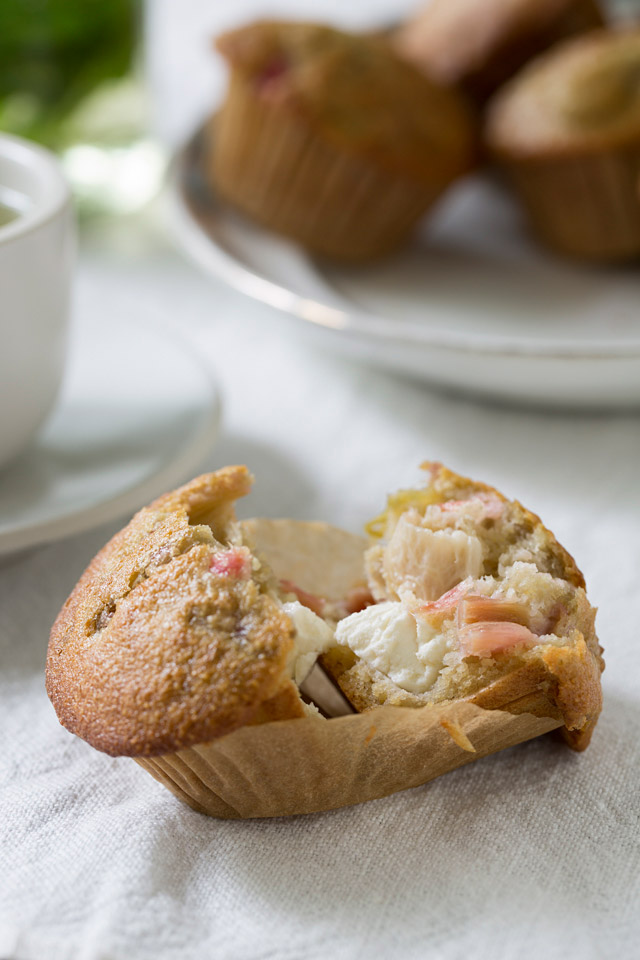
It’s getting a bit difficult for me to create yet another rhubarb recipe after having already included several in my blog. Nonetheless, I came up with this cornmeal muffin idea in a delightfully whimsical manner.

I knew I wanted to cook some rhubarb from the garden so I started daydreaming and burrowing my face into the fur of one of my Labradors. If you are a dog owner, you know what I’m talking about! “Oh, you smell like cornmeal behind your ear…” Yes, the light bulb went off! Another strange coincidence was when I opened my food recipe journal and the first thing I saw was this old wrinkled handwritten recipe that read “Blueberry cornbread muffins.” I’m not kidding you here. It must be a 12 year-old-recipe because I used to hand copy recipes from food magazines just after I came to Canada for the sake of improving my English! I don’t remember ever having baked it though. Haha, it’s really funny… it appeared at just the right time to give me a clue as to what recipe I should share next.

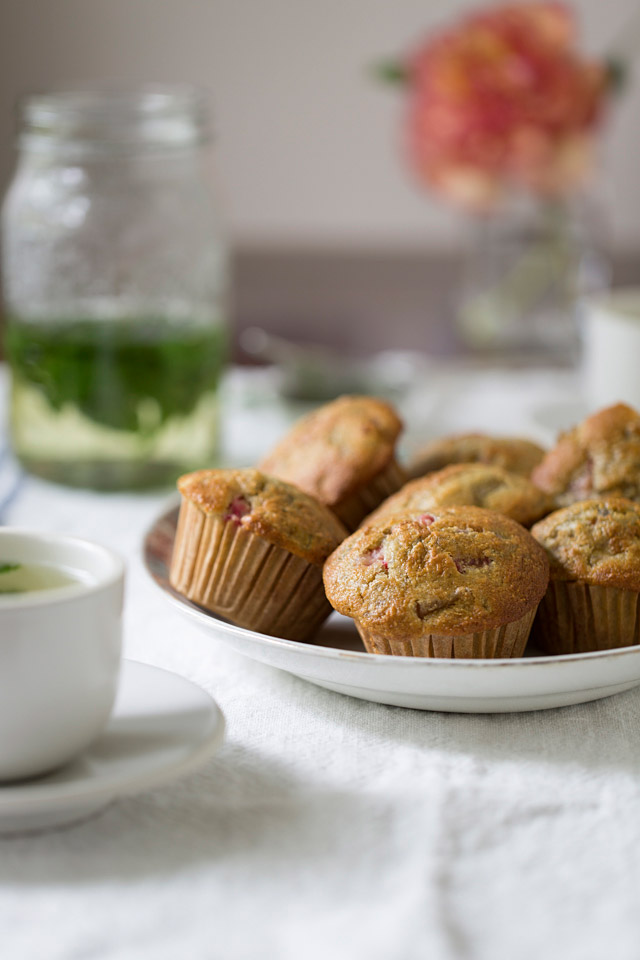
rhubarb_muffins3rhubarbcornmeal cream_cheeserhubarb_muffin_mixturemint_tea3rhubarb_muffins2mint_tea2mint_tea peony

Rhubarb Cream Cheese Cornmeal Muffins

Makes 12 small muffins

2 cups rhubarb, cut into ½ inch pieces

6 tablespoons cane sugar

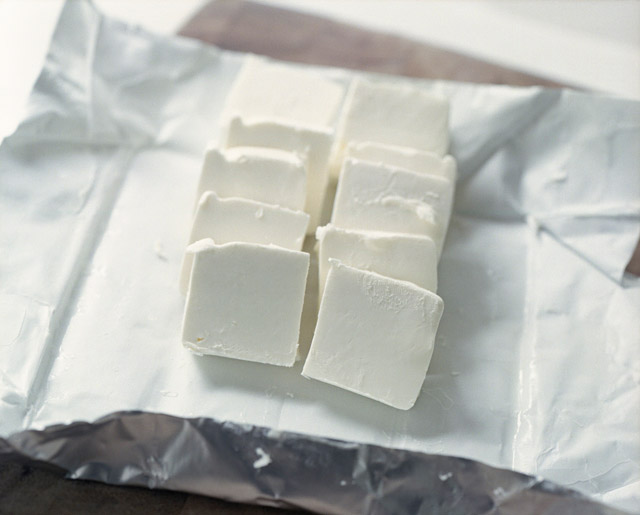
½ package (250g) cream cheese, room temperature and cut into cubes

¼ cup sugar

1¾ cups cake flour (I used this instead of all-purpose because it ran out)

¾ cup cornmeal (fine textured)

2/3 cup cane sugar

½ teaspoon salt

1 tablespoon baking powder

1 teaspoon baking soda

1 1/3 cups 2% milk

1 large whole egg plus 2 egg whites

2 tablespoons canola oil

Place rhubarb and the sugar in a small saucepan over medium high heat, cook to dissolve sugar and continue until just before the rhubarb loses its shape. Strain the excess juice for another use (see below). Let cool.

In a bowl, beat the cream cheese and sugar until smooth.

Preheat the oven to 375F.

Combine the flour, cornmeal, sugar, salt, baking powder and baking soda well in a bowl. In a separate mixing bowl, combine all remaining ingredients except cream cheese and whisk until smooth.  Then, pour the wet ingredients into the flour mixture. Mix just until all the ingredients are moist. Add the rhubarb and lightly mix with a spatula.

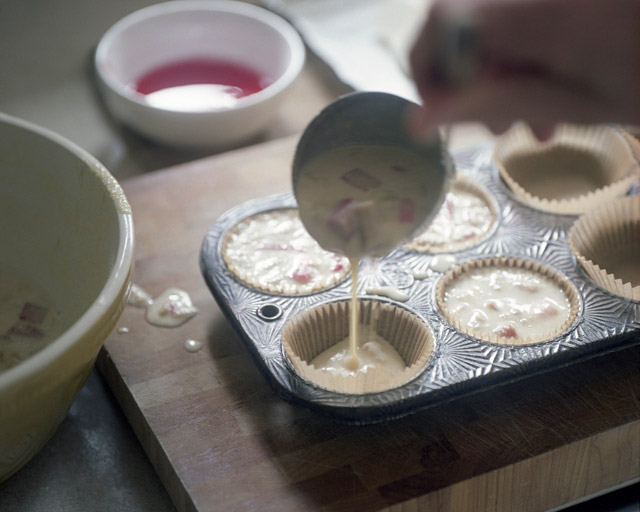
Pour the batter into a muffin cup-lined tin and spoon a big dollop of the cream cheese into each muffin cup. Bake until golden brown, for about 20 minutes. A cake tester inserted into the centre should come out clean. Let cool.

Serve warm or at room temperature. Store any leftovers in an airtight container and refrigerate.


Mint Tea

A bunch of mint leaves

Hot water

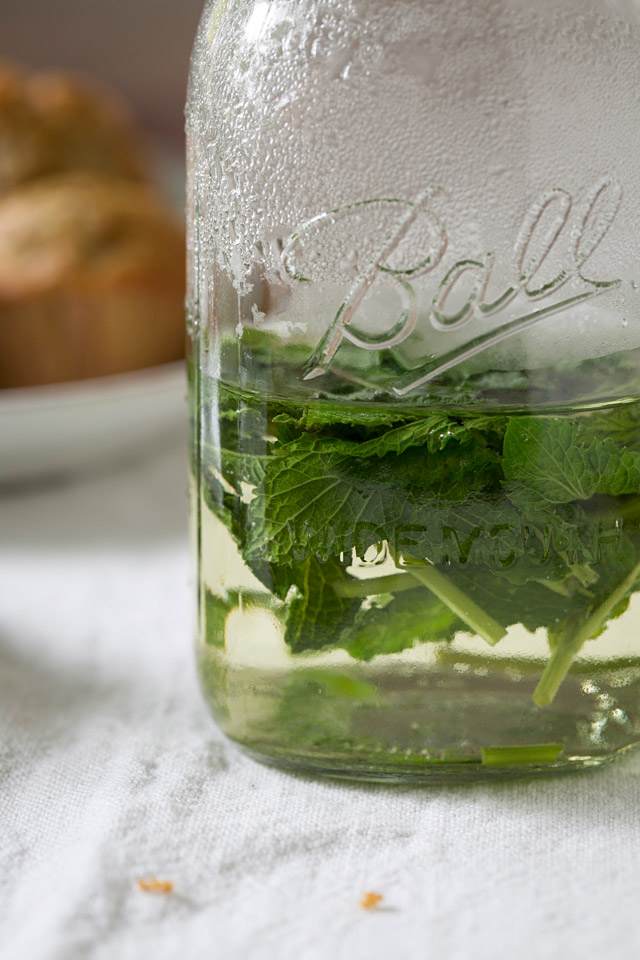
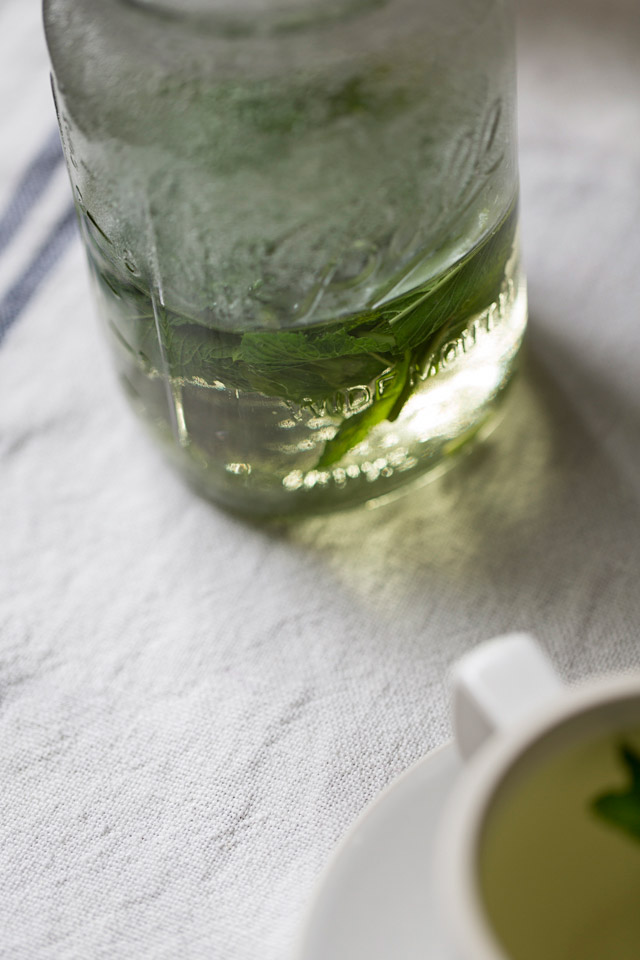
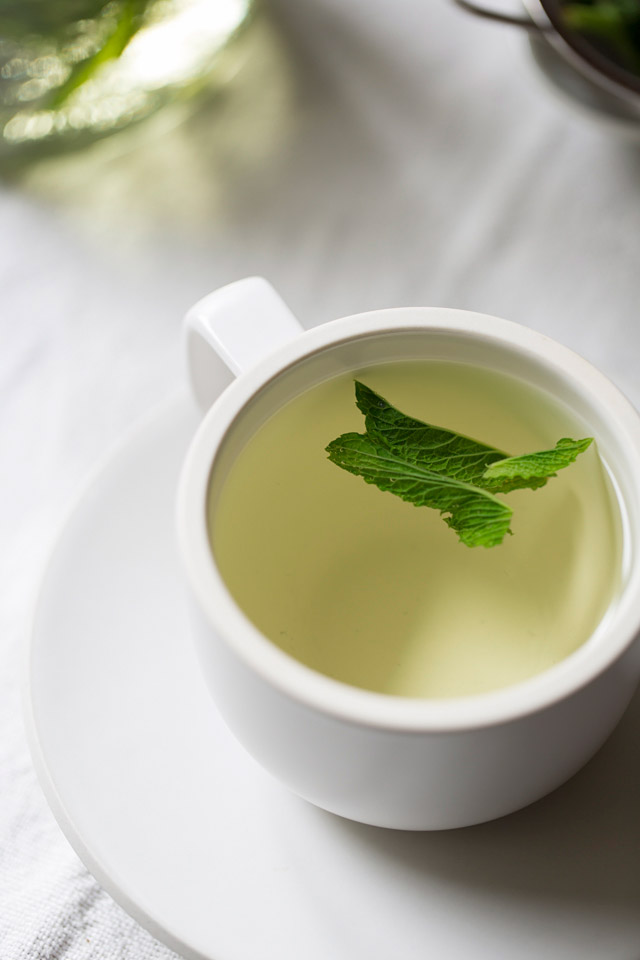
Wash the mint and cut into 1 inch pieces. Place the mint in a teapot (a jar in my case), pour hot water over top and steep for a few minutes. Strain into individual cups.


Rhubarb Refresher

Ice cubes

Extracted rhubarb juice (from above recipe)

Dash of lemon juice

Carbonated water or club soda and/or rum!

A sprig of mint leaves

Freestyle to accommodate whatever one’s heart desires.

rhubarb_refresher

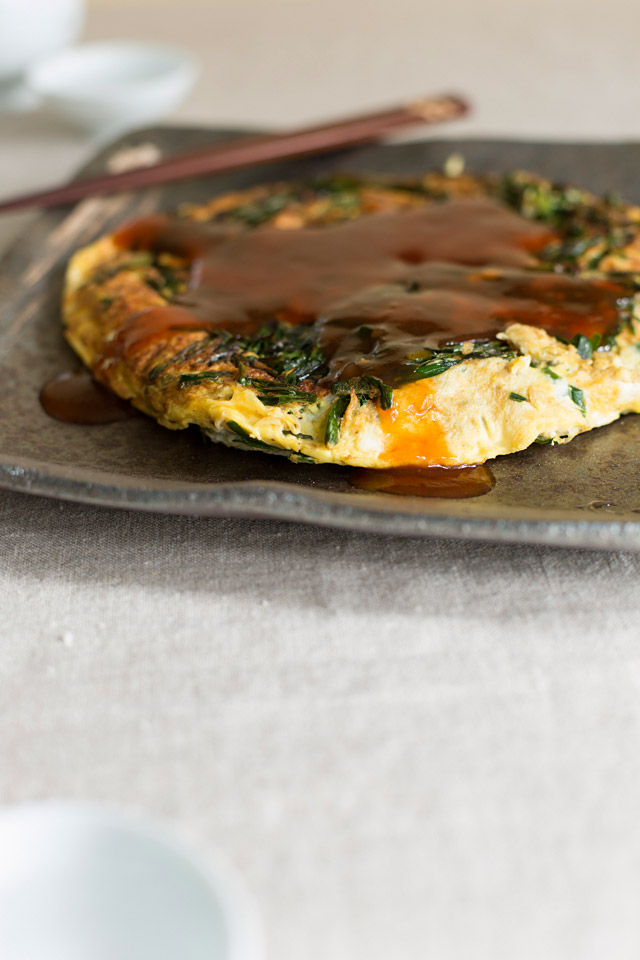
Nira-Tama (Garlic Chive Omelette)

nira-tama5

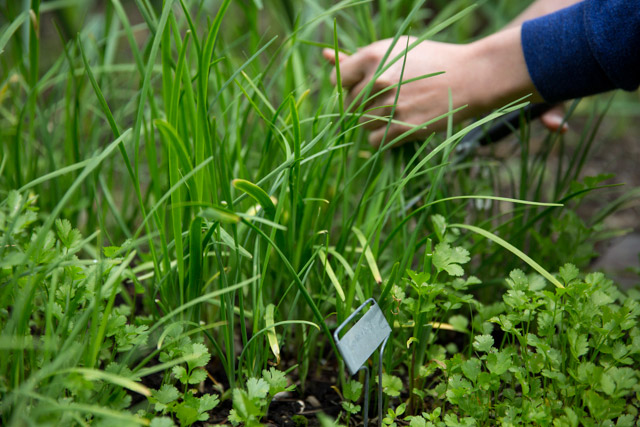
Garlic chive is one of vegetables I started to grow due to a lack of organically grown supply at my local market. It is important for me to know where food comes from and how it is grown (or treated) before it comes to my kitchen, and ultimately ends up on my plate. That’s one of two reasons why I started my garden, beginning with a 12 x 15’ community garden plot and expanding to my current front and back yard spaces. The other reason? I LOVE growing plants, and I love talking to my plants. Besides, how can I go back to conventional produce after tasting freshly-picked tomatoes still warm from the sun’s energy or sweet, brightly coloured carrots that I have just dug from the ground myself and which possess the concentrated flavours of home?

Garlic chive is a staple ingredient in Japanese/ Chinese cuisine; toss it into miso soup with thinly cut abura-age (deep fried tofu), stir-fry with pork liver and mung sprouts, or combine with cabbage for gyoza or to create aromatic dumplings.

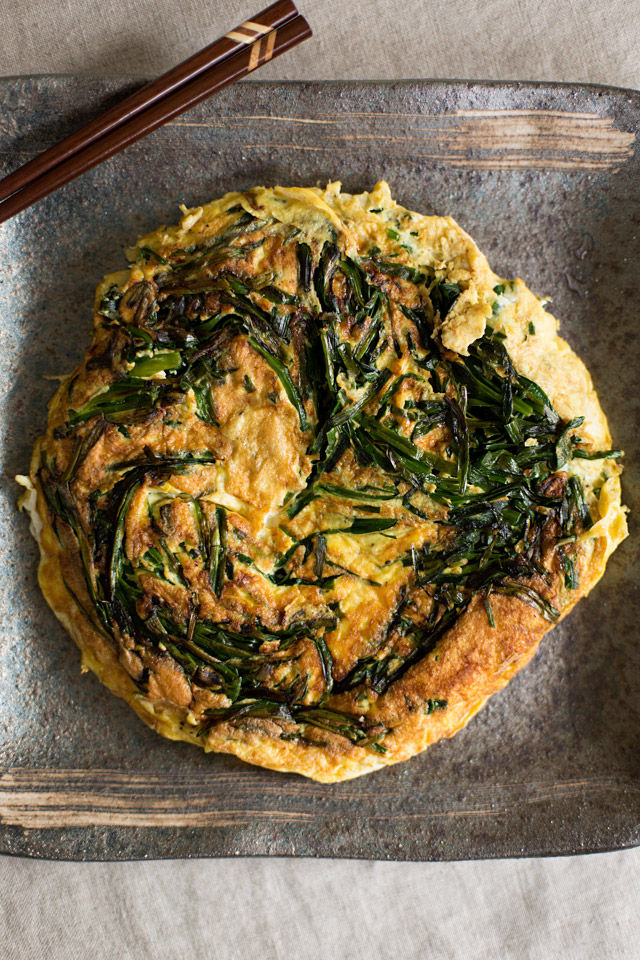
Nira-Tama was my childhood favourite when my grandma used to make it, and later became a before-pay-day meal when I was in a college. Now with home-grown garlic chives, it has become an easy, quick and nutritious dinner solution when I am in a hurry.

nira-tama-with-ankakegarlic_chiveseggold-notenira-tama-with-ankake2

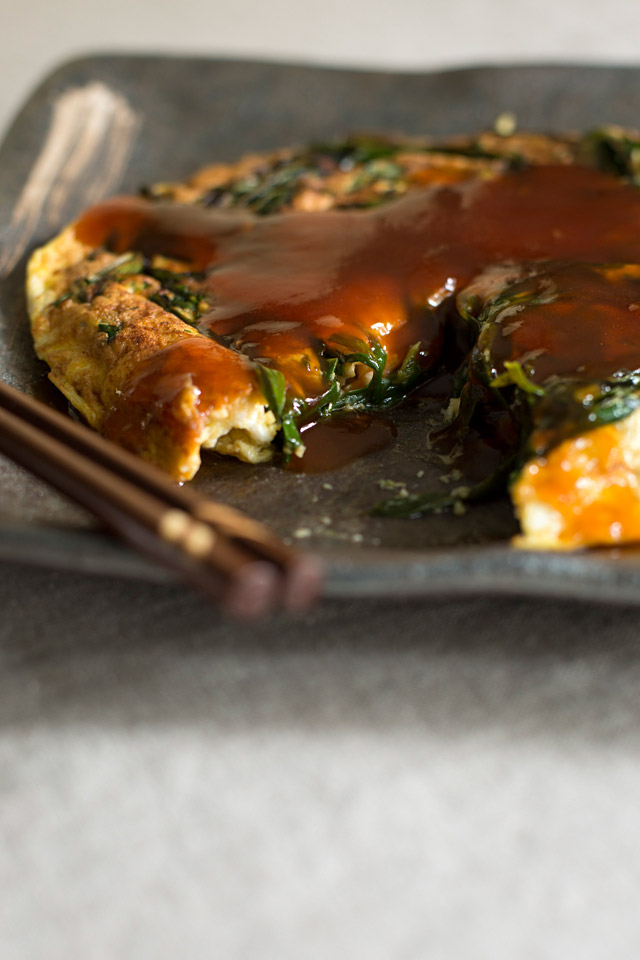
Nira-Tama with Ankake (Sweet & Sour Sauce)

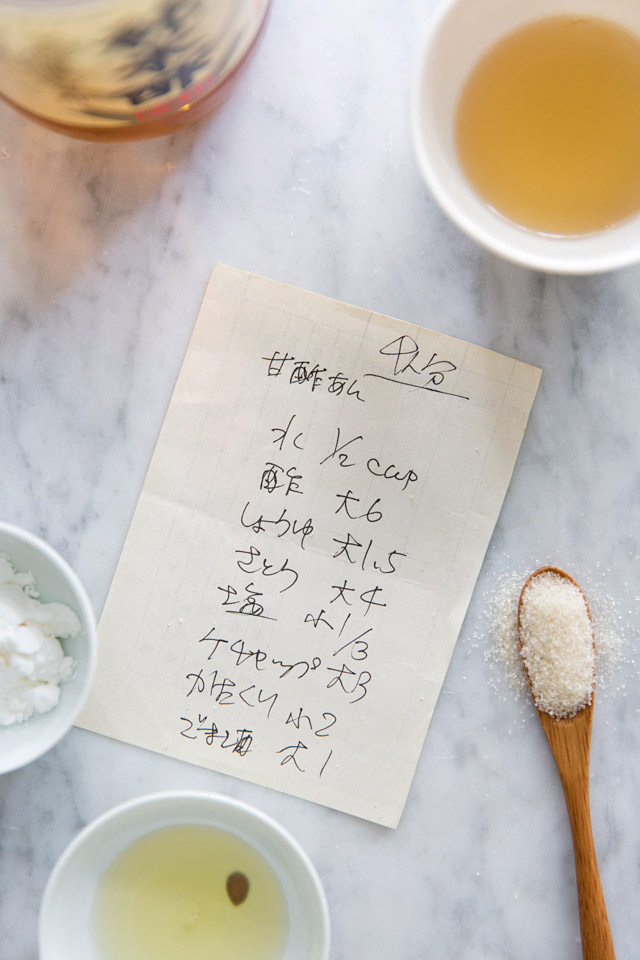
I used an ankake recipe that I had jotted down on a piece of paper so many years ago and that I recently rediscovered in my cooking journal. It is probably from my colleague in Tokyo who made amazing meatballs that were dunked in this sauce.

Serves 4

6 eggs, room temperature

Salt and pepper

1 bunch garlic chives, cut into 1 inch pieces

1 tablespoon vegetable oil

Ankake

1/3 cup plus 1 tablespoon water

6 tablespoons rice vinegar

1 ½ tablespoons soy sauce

4 tablespoons sugar

1/3 to 1 teaspoon sea salt

3 tablespoons good quality ketchup

1 tablespoon toasted sesame oil

3 teaspoons corn starch

Make ankake by placing all the ingredients, except the cornstarch, in a small saucepan over medium high heat. Bring to a boil and cook for a few minutes to dissolve the sugar and salt.

In a small bowl, mix the cornstarch well with 3 teaspoons of water. Add to the boiling sauce and stir constantly, cooking for a couple of minutes. Cover and remove from heat.

Place a well-seasoned or non-stick medium sized pan (mine’s a 9-inch skillet) over high heat and warm up the oil until smoky hot.

In the meantime, whisk the eggs in a medium bowl and add a hearty pinch of salt and pepper.
Sauté the garlic chives in the pan until wilted. It will only take a minute or two. Then spread the chives evenly on the pan.

Pour the eggs over top, swirling to cover the chives and ensuring that the mixture reaches to the edges of the pan. Turn the heat down to medium, cover and cook until the bottom of the eggs become golden.

Flip carefully with a heat-proof spatula, being careful not to break the eggs. Cover and cook until raw egg whites have just set. Don’t overcook because you want to keep the eggs nice and fluffy!

Serve hot with ankake on a large platter or cut into pieces for individual plates.