I’ve been itching to bake a tart with summer berries, but after tasting my gooseberries and the like (black currants, red currants and raspberries), I think I might have to give them a week of sunshine to get that last oomph of sweetness (if the sun ever decides to come out). So today, I’m going to share an assortment of photos related to casual meals, a local farmer’s market visit and my latest addiction, London Fog tea.

Dolce Grey tea from BEAN AROUND BOOKS & TEA.


Lavender shortbread: to me, a touch of vanilla and lavender from the shortbread enhances the experience of the London Fog tea since I like my tea without sugar. I didn’t include a recipe for the shortbread, since there is no shortage of wonderful recipes online. I just added a dash of homemade brandy vanilla extract and a spoonful of lavender flowers.

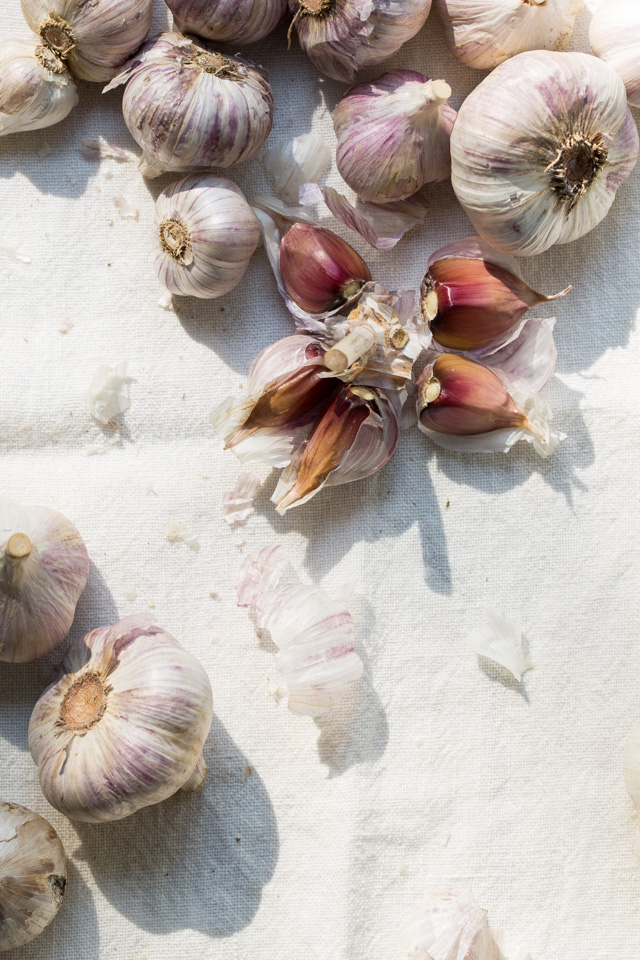
Pickled garlic scapes: made with young stalks of garlic plants from my garden. Thank you to Kathy from De la Bouche Specialty Foods for sharing a wonderful recipe for the pickles (recipe follows). I also acquired a jar of raspberry mango jam from her booth at a local farmer’s market; savouring it along with some cream cheese was such a delight.
Pear tart: from Sweet Thea at the local farmer’s market. Teacup roses and lamb’s ear create welcoming bouquets for my household. Beef filet mignon with a salsa verde appetizer was a great hit at my casual garden dinner (recipe follows)!

Gulf prawns: thank you my dear friends for bringing such a treat and even cooking for us:) (recipe follows)

This year, I’m trying to not waste all that abundant mint in my garden. Besides some mint tea, having mojitos to share is always a plus!

A local farmer’s market visit: creative and hardworking people, Jocelyn and Chris from The Farm for Life.


Sometimes I fail a whole roll of film due to an inaccurate metering, an inadequately slow shutter speed (due to a limited film speed) etc., but in this case I salvaged the last frame of this photo of our dog; it made me smile.

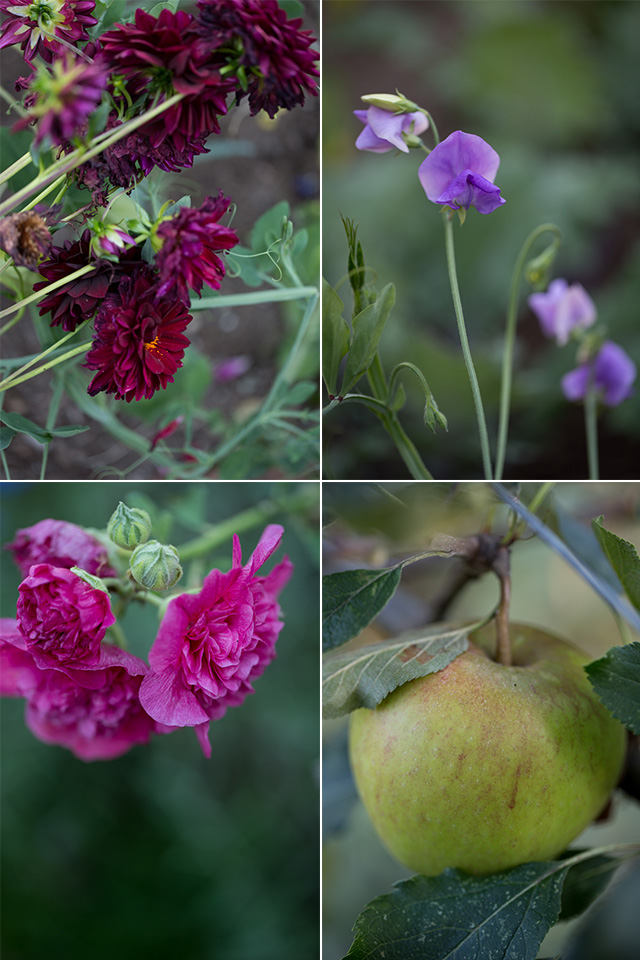
I planted this rose a few years ago. I fell in love with it at once, especially thanks to the name, which means something along the lines of “memory of perfume” in French. It’s never a good idea to leave a tag on a rose bush. I can’t get to it since it’s painfully thorny.
We truly enjoyed this beautiful bottle of rosé from Okanagan. Stuffed pork tenderloin with caramelized onion and balsamic sauce (recipe follows). Ah, another plant I want to take full advantage of; sea of lavender on a pathway.

We need sun to ripen and sweeten these berries!

Pickled Garlic Scapes (by Kathy from De la Bouche Specialty Foods)
I have never weighed the scapes, but it takes a lot to fill 2 jars.
Makes about 2 x 1L jars
3 tablespoons pickling or coarse salt
3 cups white vinegar
3 cups water
A lot of scapes to fill the jars
1 to 2 stems lemongrass, roughly chopped
A few piece of Thai bird chili
In a large stainless steel saucepan, combine salt, vinegar and water. Bring to a boil over medium high heat, stirring to dissolve the salt. Leave on the stove to keep hot.
Place the lemon grass and chili in the bottom of each jar, and add the scapes that are cut lengthwise at least 1/2 inch from the top of the jar. Cold pack them into hot sterilized jars tightly. Make sure your lids are hot. Pour brine over the scapes to within 1/2 inch of the top of the jar. Put lids on, fingertip-tight. Place in a boiling water bath for 10 minutes at full boil. Then, remove lid of the canner, turn off the burner and let the jars sit in the water for another 5 minutes before removing. Let cool, and store.
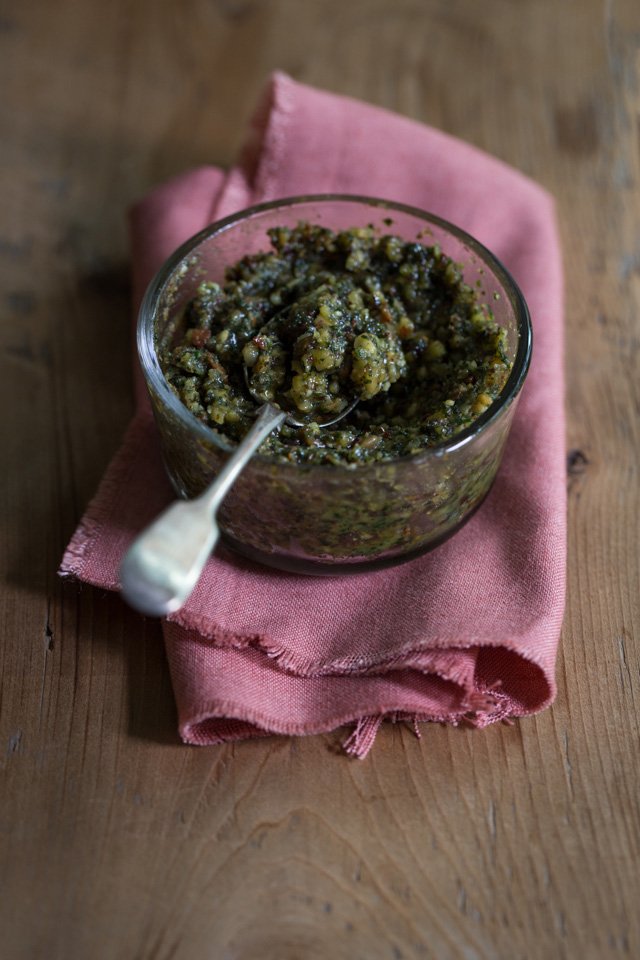
Beef Filet Mignon with Salsa Verde
This amazingly refreshing treat contains tons of garden herbs, yet melts on your tongue. Try to source the best quality meat from a reputable butcher for safe consumption.
Serves 4
2 pieces beef filet mignon
½ cup extra virgin olive oil and extra for searing
¼ cup lemon juice
¼ cup Italian parsley, finely chopped
4 scallion stems, finely sliced
¼ cup mint, finely chopped
2 tablespoons salted capers, roughly chopped
2 teaspoons grated lemon zest
1 ¾ teaspoons coarse salt
1 teaspoon freshly ground pepper
1 tablespoon minced garlic
2 tablespoons butter
Place the oil, lemon juice, parsley, scallions, mint, capers and lemon zest in a medium sized bowl and stir to combine.
Add ¾ teaspoon salt and ½ teaspoon pepper to the herb mixture; stir and set aside.
Place the beef in a flat glass tray or container, and rub the remaining salt, pepper and garlic all over the beef. Pour in half of the herb mixture and marinate all sides evenly. Cover and let sit for a couple of hours (up to 1 day) in the refrigerator.
Preheat the oven to 400F.
Warm up a skillet over high heat with butter and olive oil. When the pan is smoky hot, sear each side of the beef until nicely browned, for about 2 minutes on each side.
Place in the oven for 5 minutes for medium rare doneness.
Remove from the oven, transfer to a cutting board and cover with a piece of tin foil for about 5 minutes.
Slice the beef, transfer to a serving plate and drizzle the rest of the herb mixture over top. Serve immediately.
Gulf Prawns
Serves 4
A dozen or more Gulf prawns, rinsed and patted dry
½ onion, sliced
1 cup mushrooms, sliced
1 tablespoon butter
1 tablespoon olive oil
Pinch of brown sugar
Pinch of salt
Freshly ground pepper
A dash of dry white wine
A sprig of Italian parsley
Warm the butter and oil in a medium sized skillet over medium high heat. Sauté the onion until caramelized.
Add the mushrooms and continue to cook until soft. Add the sugar, wine and prawns and cook until prawns change colour. Adjust with salt and pepper.
Add the parsley and serve immediately.
Stuffed Pork Tenderloin with Caramelized Onions and Balsamic Sauce
Serves 6
1 tablespoon whole grain mustard
1 tablespoon maple syrup
2 tablespoons soy sauce
2 tablespoons balsamic vinegar
2 pieces of pork tenderloin
1 medium yellow onion, thinly sliced
6 mushrooms, sliced
1 tablespoon butter
1 tablespoon vegetable oil
Salt and freshly ground pepper
Whisk the mustard, maple syrup, soy sauce and balsamic vinegar in a small bowl. Set aside.
Place the pork in a flat glass tray or container, and rub with a pinch of salt and pepper. Spoon 2 to 3 tablespoons of the balsamic sauce all over the meat, cover and marinate in the refrigerator.
In the meantime, sauté the onion with the butter and oil over medium high heat until caramelized. Add mushrooms and continue to cook until mushrooms are soft.
Add the rest of the balsamic sauce and cook until thickened. Remove from heat and let cool.
Preheat the oven to 390F.
Take the pork from the refrigerator. Make a slit on each piece, and stuff the onion mixture inside, leaving ¼ inch borders. Using toothpicks, close the slits as tightly as possible.
Roast in a roasting pan for 20 to 23 minutes. Remove from the oven and cover with a piece of tin foil. Rest for 5 minutes.
Meanwhile, collect the liquid from the roasting pan in a small saucepan. Reduce until thickened over medium heat.
Slice the pork and transfer to a platter. Pour the sauce over top and serve immediately.