Good Pumpkin Bread & Things from Our Pantry

Good_pumpkin_bread

It’s been a month since we came back from the exciting/ emotional trip to Japan, and things have been going back to normal. That means, for us, scavenging food from our garden, cold storage and kitchen pantry (and the occasional visit to a local grocery store). Although we enjoy challenging eating in this way, I felt that it was really a luxury not to plan a meal, not to gather ingredients from our household, and not to cook: the entire process and ritual. While we were traveling, we ate street food, decadent pastries, traditional meals that my family prepared plus enjoyed some delicious dishes at izakayas and a couple of restaurants.

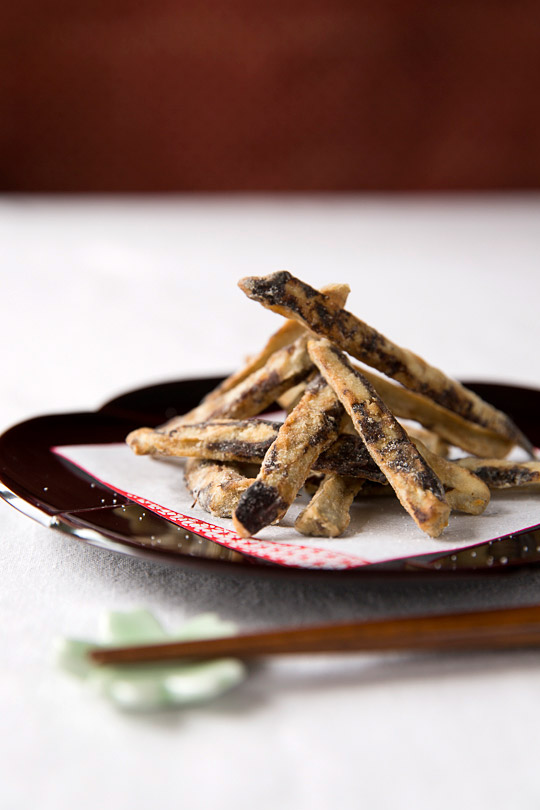
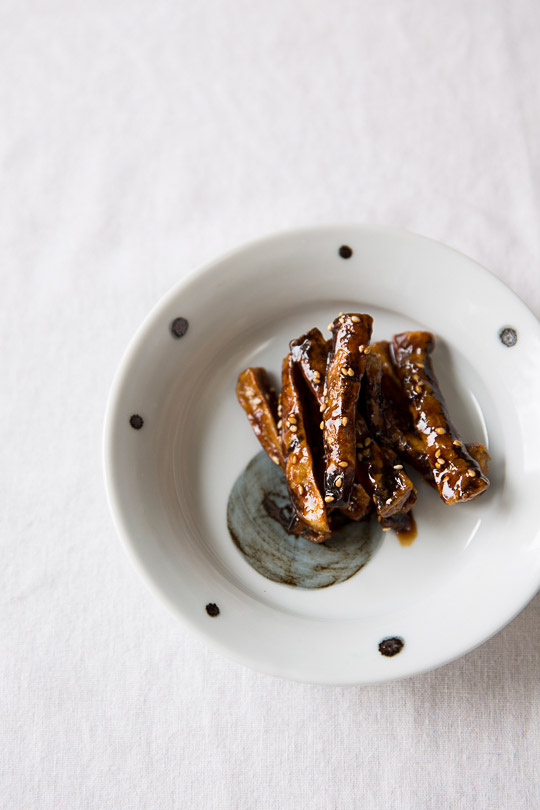
One of my favourite snacks during the trip was a skewer of grilled chicken liver yakitori finished with teriyaki sauce, enjoyed while browsing the city streets. I also munched on a variety of salads with seafood, meat or grains that I could pick up at the food section at decent department stores. These experiences opened my eyes to creating new recipes with unusual ingredient combinations. As for those dishes that I have longed for but could not manage to eat during this trip, I will try to replicate them and introduce them to you in the near future. For now, here are some examples of what we’ve been eating recently.
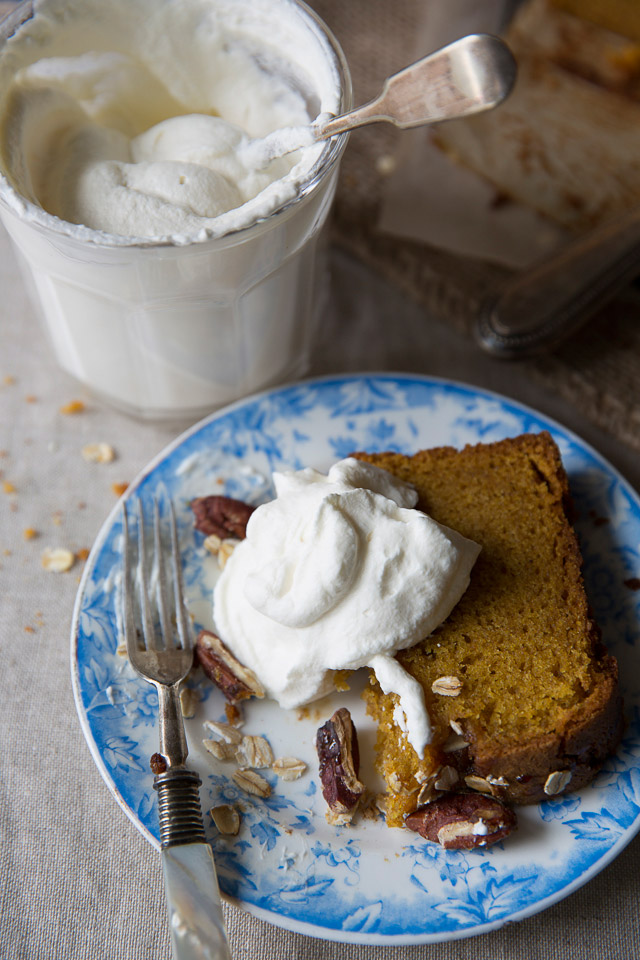
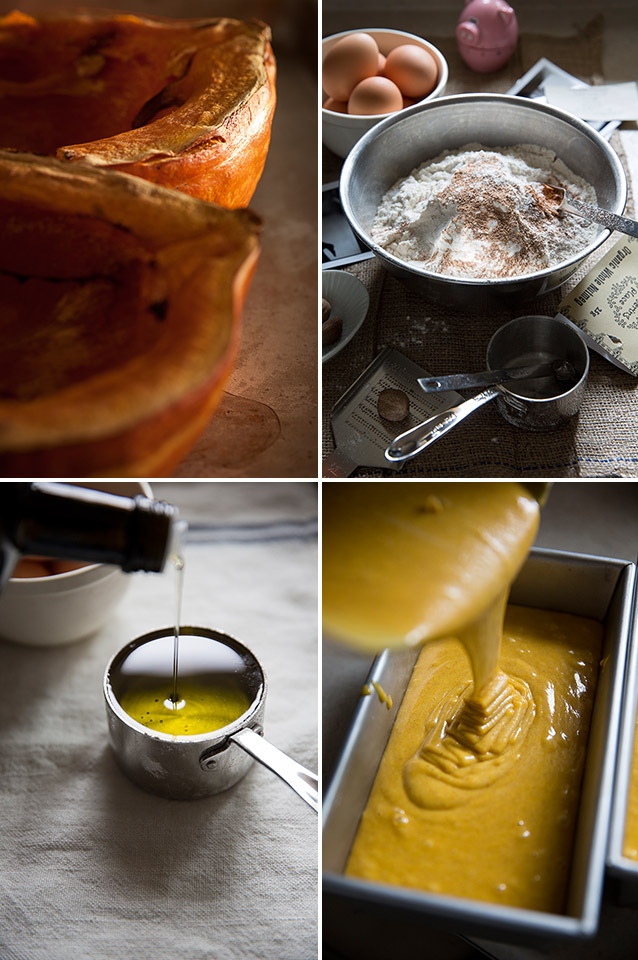
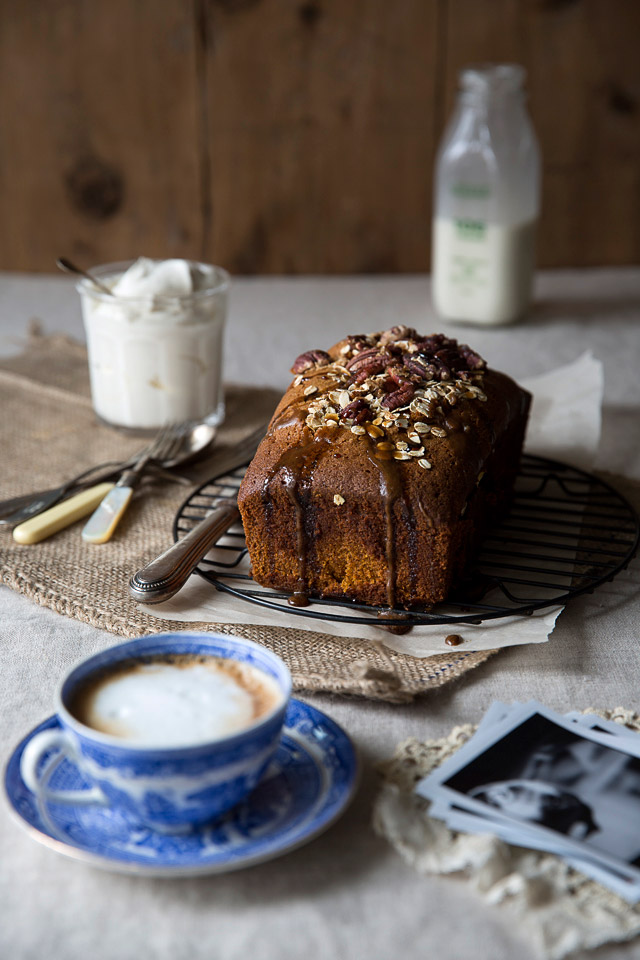
Good_pumpkin_bread2

Good_Pumpkin_Bread4

Latte

Good Pumpkin Bread

Originally this recipe was given to me by a very beautiful person while I was studying at horticulture school. She loved nature and good, healthy food as much as I do. Upon tasting her bread, I demanded a copy of the recipe and she kindly shared it with me. I modified it slightly, and the bread got even better! This is why I now grow certain varieties of winter squashes. The key to this particular bread is to use creamy, nutty, sweet and flavourful squashes like Red Kuri or Marina Di Chioggia, but not those sugar pumpkins that you carve for Halloween.

Makes 2 of 9 x 5 x 3 inch loaf pans

3 cups sugar

1 cup grape seed oil

4 eggs

2 ½ cups all purpose flour

1 cup spelt flour

1 ¼ teaspoons baking powder

1 teaspoon baking soda

2 teaspoons sea salt

1 teaspoon ground cinnamon

1 teaspoon freshly ground nutmeg

2 cups pureed pumpkin from 1 large pumpkin (or winter squash)

½ cup water

1 teaspoon vanilla extract

Topping

3 tablespoons rolled oats

Handful of pecans

2 tablespoons brown sugar

1 tablespoon water

Whipping cream for serving

Preheat the oven to 350C. Cut pumpkin in half. Remove seeds. Place them cut side up on a baking sheet and roast until tender, for about 30 minutes. Remove meat from the skin and puree in a food processor or blender (our dogs love the roasted skins!). If the puree feels too dense, add 1 or 2 tablespoons water to loosen it. Let cool to room temperature.

Preheat the oven to 350C.

Sift the flour, baking powder, baking soda, salt, and spices together in a bowl. Mix the sugar, oil, and eggs in another large bowl.

Then, add the dry ingredients to the wet ingredients while slowly adding in the water to create batter. Finally, add in the pumpkin and vanilla, and stir to combine completely.

Pour the batter into greased pans. Top with the rolled oats and pecans. Bake in the centre rack of the oven until an inserted skewer comes out clean, for about 1 hour. If the pecans become too dark, cover with a piece of tin foil to prevent them from burning.

Cool completely on a rack. In the meantime, make icing. Combine the brown sugar and water in a small saucepan and stir until bubbly. Pour onto the top of the bread.

If you have extras, they freeze beautifully. Thaw at room temperature when ready to eat.

Serve with a dollop of whipping cream.
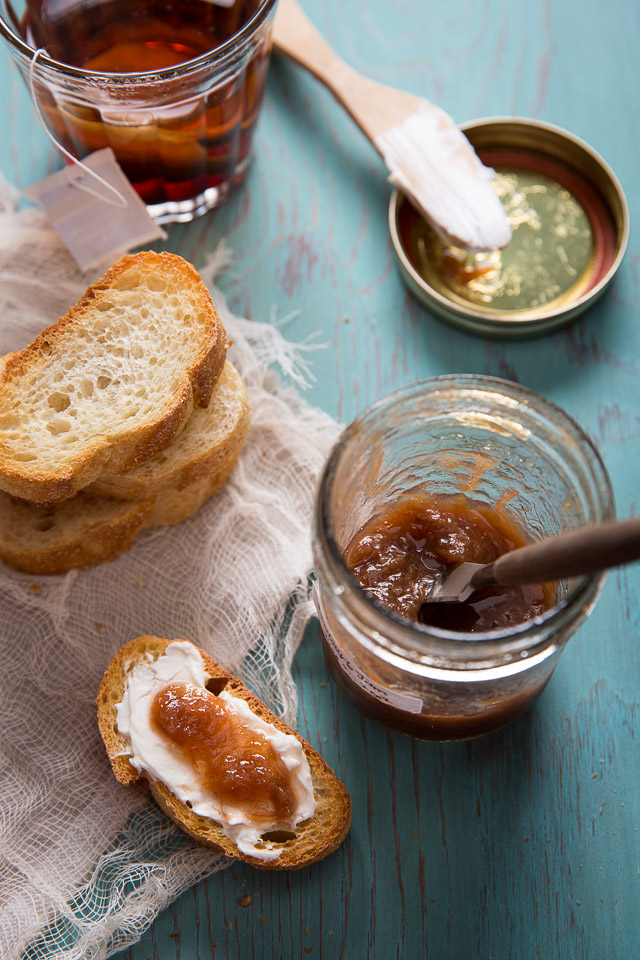
 

Rhubarb Jam

If you read last year’s post “Rhubarb bars,” you may remember that I introduced the jam recipe there. Now is the time to enjoy the hard work of gardening and preserving from the growing season. I sit at the breakfast table, pour some tea, enjoy the view of my winter garden, savour the richly smeared condiment on toasts and, of course, contemplate another year of garden planning.
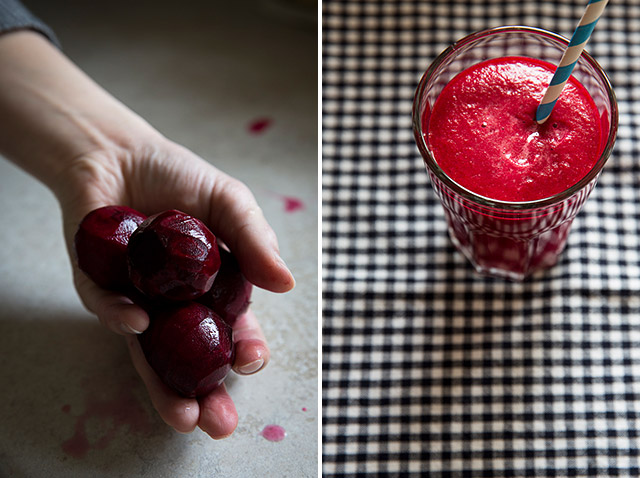
Rhubarb_jam_toasts


Beet Juice

We go through a lot of root vegetables, such as beets, carrots, and potatoes from our cold storage. In particular, we like to turn the beets and carrots, among other ingredients, into fresh juice. It looks like we have enough to make it to this year’s harvest. Recipe can be found here.
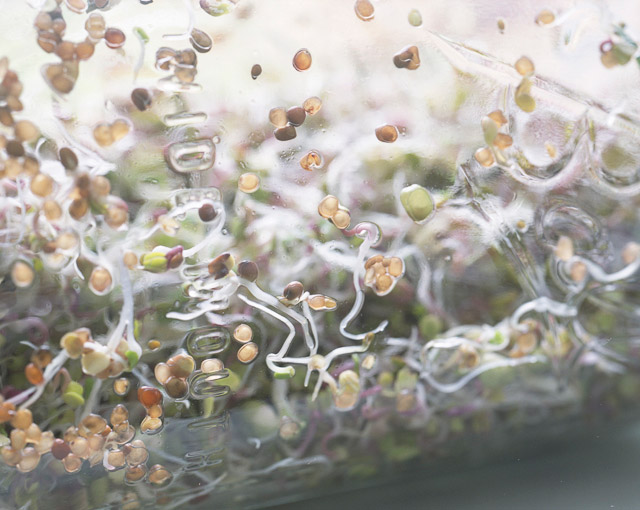
Beet_juice


Sprouts

This is our source of raw food during winter months. There are always a couple of bottles sprouting on our windowsill. They provide a great texture and flavour for sandwiches, noodle soups, salads and fresh juices.

sprouts


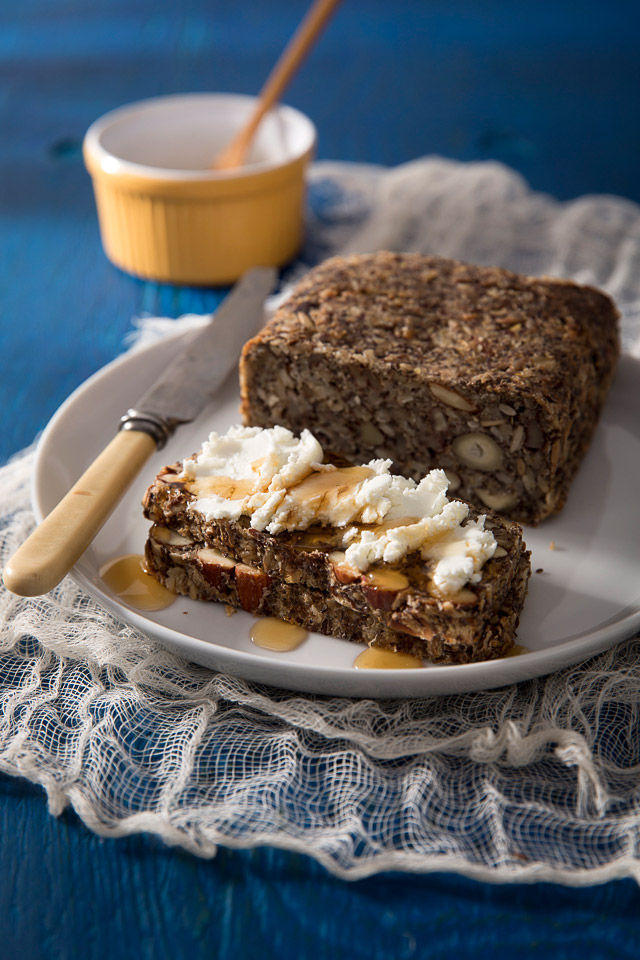
Gluten Free Bread “The Life-Changing Loaf of Bread” by My New Roots

Learning about this intriguingly named bread recipe actually made me run to a local organic store to pick up a bag of psyllium seed husks! The rest of ingredients are always at the read in my pantry. And the result? Yes, the bread changed my life! I feel lighter, healthier and more energetic after eating it. Sarah, the recipe creator, also has so many other amazingly sounding recipes that you may want to try, so I posted a link to her site above.  While this bread has about as many calories as my beloved French baguettes, it’s also packed with more protein and nutrients, making it a much healthier choice all around.. My favourite way of eating Sarah’s bread is to smear goat cheese on a toasted slice and drizzle maple syrup over top. It is unstoppably good! Oh, but I can’t live without that crust of French baguette once in a while.
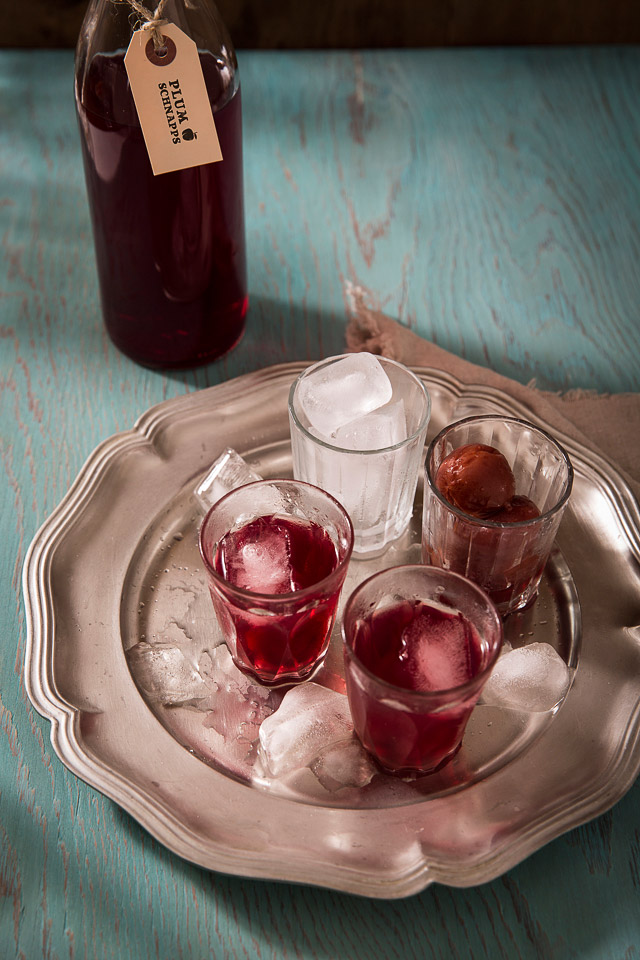
The_life-Changing_Loaf_of_Bread


Plum Schnapps

After baking many plum upside-down cakes last August, I bottled the rest of the Japanese “Beauty” plums with vodka from our front yard. Six months later, I filtered and tasted the batch. It still seems young, so I’ll let it mature a little longer. Nonetheless, the schnapps burst with flavour like summer in my mouth on a winter evening.
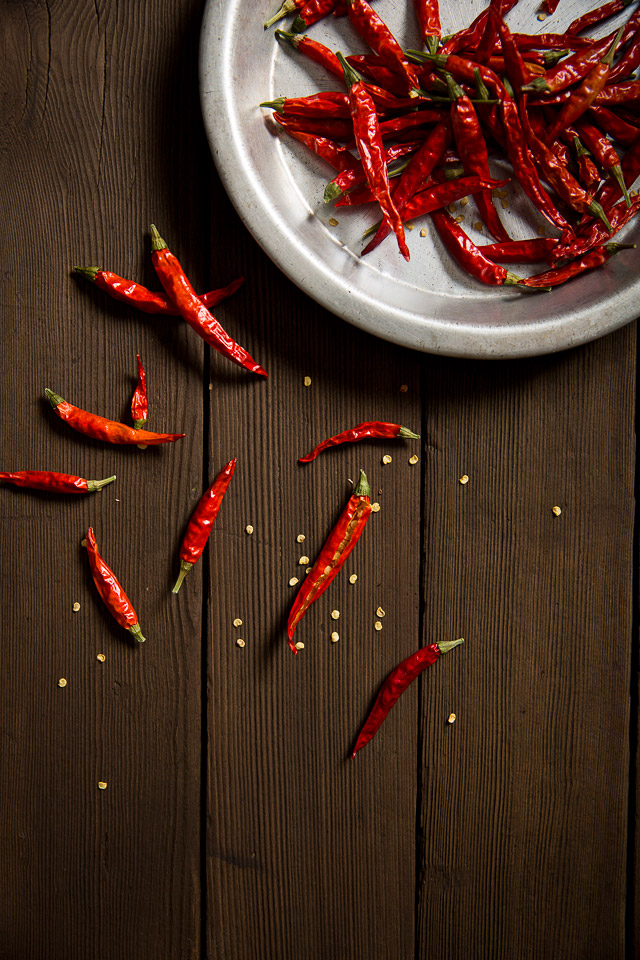
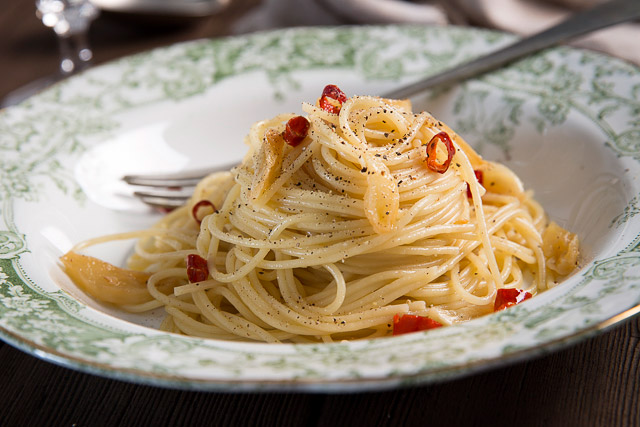
plum_schnapps


Peperoncino Pasta

I’m not much of a pasta person, unless we’re talking about the delectable dishes that my Italian chef sister makes with tons of seafood. Another exception to the rule is this spicy peperoncino pasta! I remember the days when I looked forward to this pasta dish, served at a family owned café in the Yokohama vicinity, especially after long autumn motorcycle rides. Life is funny–I never ever imagined that I would no longer be riding a motorcycle and instead spend my time growing my own chili peppers in the Vancouver countryside. The heat of chili peppers and garlicky goodness melt together and wrap each individual pasta noodle in a fabulously oily sauce. This is a perfect pasta dish to help warm you up (and may eventually make you steam emerge from your head!). Oh, try not to rub your face while dealing with these peppers like I once absentmindedly did. It hurts for a long time! I miss motorcycling dearly and cherish even the memory of stuffing thick newspapers inside my leather jacket to keep myself warm while commuting on the highway in winter!
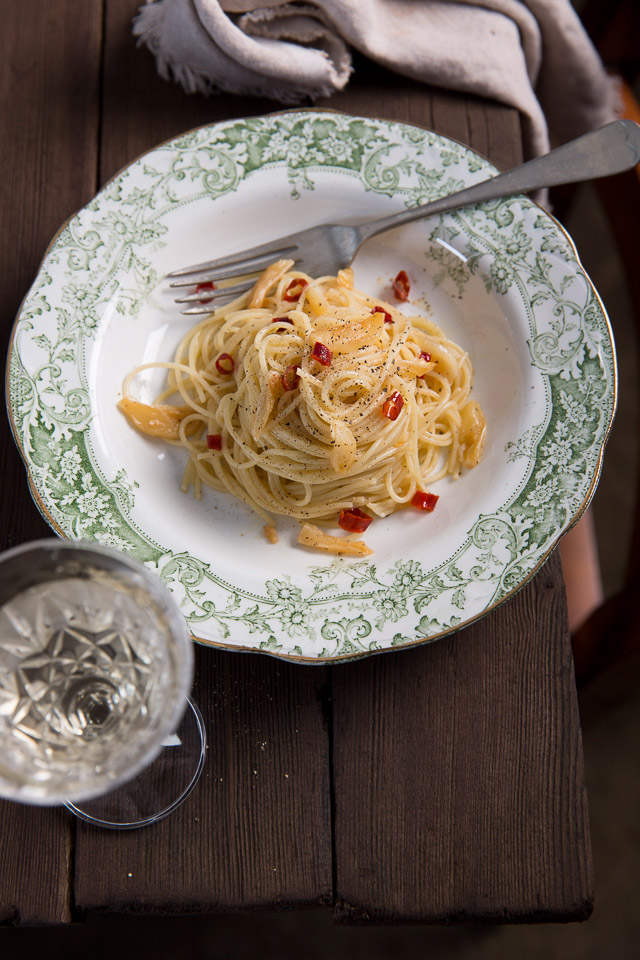
Thai_dragon_peppers

peperoncino_pasta3

peperoncino_pasta

Peperoncino Pasta

Serves 2

200g spaghettini pasta noodles

3 tablespoons olive oil

4 garlic cloves, sliced

4 red chili peppers, seeds removed and sliced

Salt and pepper

Bring a pot of water to a boil and add PLENTY of salt. Cook pasta to just before al dente. Reserve some cooking liquid.

In the meantime, sauté the garlic and peppers with oil in a large skillet on low heat. Be patient and take time to infuse the oil, about 12 minutes. When the garlic turns golden and soft, add ¼ to ⅓ cup pasta water to create pasta sauce. Stir the pasta noodles into the sauce, making sure to coat all over. Finish cooking the pasta noodles in the sauce for a couple of minutes. Serve hot and adjust the taste with salt and pepper.


Good_Pumpkin_Bread3

Goboroot Turns 1 Year Old!

deep fried gobo

It’s kind of late for “Happy New Year” but I wish all of you fantastic readers out there a great year with lots of love, peace, great health and of course, good food!

Since we came back from our trip to Japan almost a week ago, things have finally started to settle down. Although I’m still lingering over the vibrant memories that we created with our friends and family during the trip, I am refreshed and very much looking forward to another exciting year to come.

I meant to upload some photos during the trip in Japan, but then there was so much happening in the city, so many materials to see and so much scenery to observe. So I decided to live in the moment, completely abandoning the idea of posting news, totally cutting myself off from emails and online activities and soaking up the culture that I had truly missed. This act really helped me a great deal to feel rejuvenated and renewed. No computers, no Internet. I even enjoyed using pay phones everywhere we went; however, it was very hard to spot them! I appreciated the simple things in such a technologically advanced country.

As I was wondering what I would post for goboroot’s 1-year anniversary, I  received an email in the nick of time from one of my readers asking if I had a recipe for gobo “French fries” in my archives. He was on a business trip to Japan last week and seemed to have enjoyed lots of gobo in many different dishes. What better way to celebrate the website’s anniversary than to share this delicious recipe! I quickly went into my kitchen and used the last batch of gobos I had saved from last year, turning them into these mouthwatering snacks. Oh, it was a worthy usage of my precious gobos!

sweet & salty gobo

So thank you for the great inspiration, Mike. Comments like this from readers have always kept me inspired to update my blog and have encouraged me to pursue my journey. So a big THANK YOU to everyone who supported me along the way!

I will post some photos from the Japan trip with some news very soon. So stay tuned!

horizon

Deep Fried Gobo

Serves 4

1 lb gobo, preferably organic

Sea salt

All purpose flour

Cornstarch

Vegetable oil

Wash gobo root thoroughly to remove the dirt. Using the back of a knife, remove coarse hair and skin. You can leave some skin on, as it is said by Japanese culinary experts that the skin contains more nutrients.

Cut into ¼ to ½ inch strips and soak in cold water for 10 minutes. Continue to change water until it becomes clean.

Fill a large pot with water and cook the gobo on high heat until tender (but it should still have a bite to it), for about 10 minutes. Drain well and pat dry.

Heat the vegetable oil in a deep frying pan to 180C. Combine the salt, flour and starch in a large bowl. Add the gobo, coat well with flour mixture and then remove excess flour.

Deep fry until the gobo turns a golden colour. Sprinkle salt over top if you like. Serve hot.


Caramelized Sweet and Salty Gobo

If you have any leftovers, try this recipe, as we frequently devoured them with a big bowl of rice for breakfast while in Japan. Thanks to my auntie, who enthusiastically introduced this dish to us along with mentaiko (spicy raw Pollock eggs) and nori in the morning.

Leftover deep fried gobos

1 tablespoon brown sugar (I used Okinawa black sugar and loved the rich flavour)

2 tablespoons soy sauce

Roasted white sesame seeds

In a medium pan, heat the sugar and soy sauce over medium heat until bubbling. Add the gobos and stir continuously to mix until the texture of the sauce is sticky. Sprinkle sesame seeds over top. Serve hot or at room temperature with some rice.


Furofuki Daikon, the Memory of Tenderness

furofuki daikon with Enoki mushroom sauce

I recently received the sad news of my dear friend’s mom’s passing. Mrs. W has helped care for me for many years. After all, she was my Chinese grandmother in Canada, helping compensate for that fact that I have been far away from my own family for so long.

It’s odd but I felt that somehow certain people would live for a long time, and she was one of them along with my own grandmother who was born in the same year as Mrs. W, the year of rooster in the Chinese/ Japanese zodiac. Years ago, Mrs. W gave me a family of little rooster figurines made of crystal. She had kept them for a long time, ever since the time she and her husband owned an antique store, and one day asked me to give it to my grandma as a gesture of their friendship before I left for a visit to my hometown. Although they had never met, my grandma really appreciated the gift, and understood how well I was taken under Mrs. W’s wings.

As I have not lost anyone close to me in my life, I did not know how to cope with the news. So I went into my kitchen, just wanting to slow down to discern the situation. It felt appropriate and comforting to make this dish due to its required finesse, which would allow me a good length of time to cope with my feelings. Simple, calm, warm, reminiscent, tender yet strong, and indeed, deep and complex in flavour; something that resonates with my version of Mrs. W.

Trimming the sharp edges of daikon helped settle my panting heart. The golden colour of dashi stock calmed my mind. I stared at the gently swaying daikon pieces in the simmering pot of water for a long long time, and faded into many fond memories of Mrs. W.

furofuki daikon with Enoki mushroom sauce

furofuki daikon with Enoki mushroom sauce

Furofuki Daikon

Serves 4

1 large organic daikon

2 tablespoons of Japanese rice grains

1 large sheet of kombu (about 6 x 8 inch), wiped and cleaned with a wet cloth

11/2 cups tightly packed bonito flakes

1 large package of Enoki mushrooms

3 tablespoons of soba sauce

Or a combination of

1 tablespoon sugar

2 tablespoons soy sauce

1 tablespoon mirin

Salt

1 tablespoon cornstarch

Scallions, finely chopped

In a large pot, place 7 cups of water. Make slits in the kombu with scissors, submerge in the pot and set aside for about 20 minutes. This will permit the kombu to emit the flavour necessary to make good dashi.

Peel the daikon and discard the ends. Slice into 1 inch thick pieces and trim the sharp edges with a peeler.

In a large pot, place the daikon and rice grains, and cover completely with water. Bring to a boil. Turn the heat down to medium low and simmer until a skewer can easily go through, for about 40 minutes.

In the meantime, set the pot of kombu over medium heat, and just before the water starts rolling, remove the kombu and discard. *Do not let it boil, as the kombu will start to give off an unpleasant flavour.

Throw the bonito into the kombu stock and bring it back to a boil for a few seconds. Turn the heat off and remove from heat. Let stand until the bonito flakes sink to the bottom of the pot. This will let the gentle umami emit into the dashi stock as well as make the dashi stock golden in colour.

Remove the daikon from the cooking liquid and rinse as gently as possible so as not to scar. Discard the rice and cooking water, and clean the pot.

Drain the dashi stock using a fine mesh into the cleaned pot, reserving 1 cup separately to make sauce. Place the daikon back in the dashi stock and bring to a simmer. Continue to cook for another 40 minutes or so until they are very tender.

While waiting, make sauce. Place 1 cup of the reserved dashi stock in a medium saucepan with Enoki mushrooms over medium heat, and bring to a boil. Turn the heat down, skim if necessary, and add the soba sauce and a pinch of salt. Cook until the mushrooms are tender, for about 7 minutes. Dissolve the cornstarch with 1 tablespoon of water and whisk into the sauce. Continuously stirring, bring to a boil to thicken. Remove from heat.

Serve each daikon piece with the sauce and a sprinkle of scallions. If you have any leftovers, keep them in the dashi stock and refrigerate.