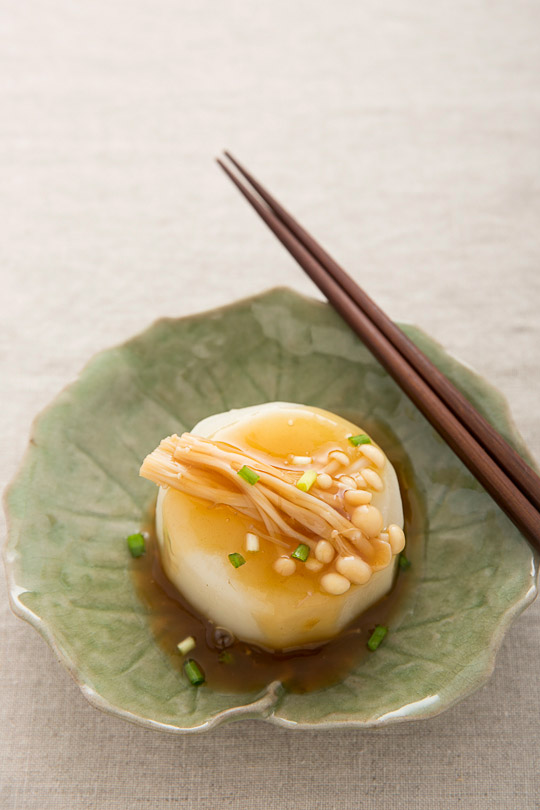
Furofuki Daikon, the Memory of Tenderness

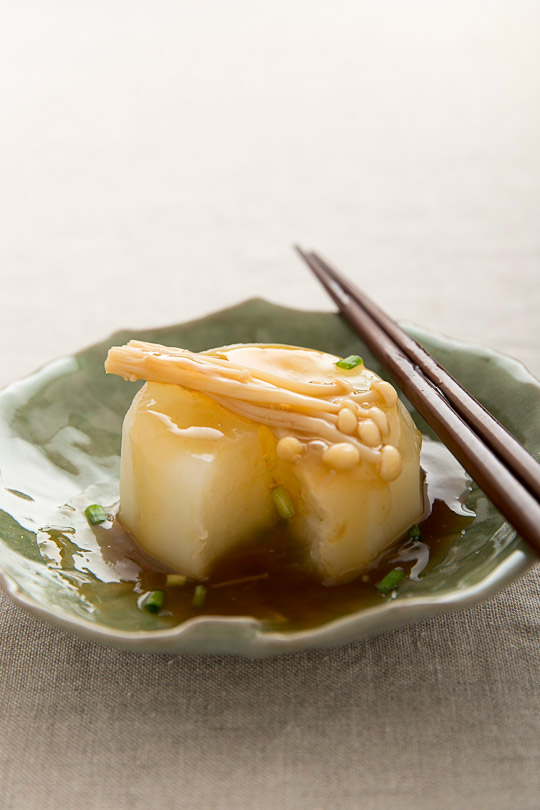
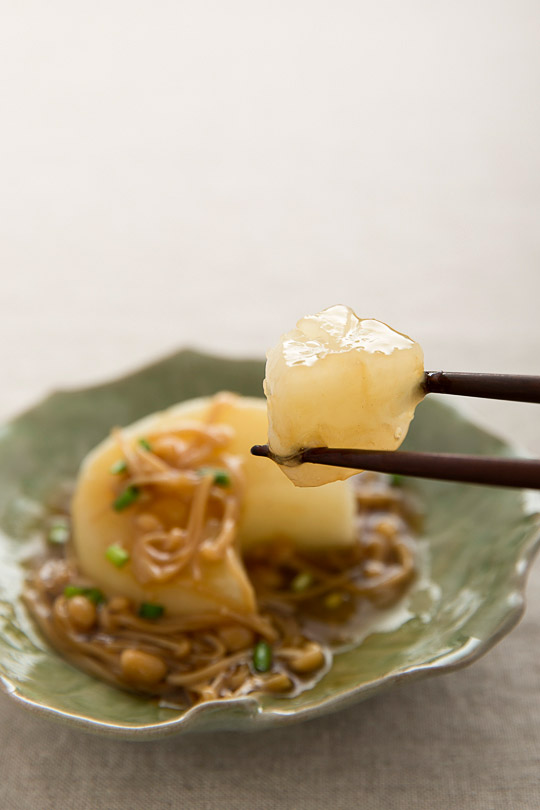
furofuki daikon with Enoki mushroom sauce

I recently received the sad news of my dear friend’s mom’s passing. Mrs. W has helped care for me for many years. After all, she was my Chinese grandmother in Canada, helping compensate for that fact that I have been far away from my own family for so long.

It’s odd but I felt that somehow certain people would live for a long time, and she was one of them along with my own grandmother who was born in the same year as Mrs. W, the year of rooster in the Chinese/ Japanese zodiac. Years ago, Mrs. W gave me a family of little rooster figurines made of crystal. She had kept them for a long time, ever since the time she and her husband owned an antique store, and one day asked me to give it to my grandma as a gesture of their friendship before I left for a visit to my hometown. Although they had never met, my grandma really appreciated the gift, and understood how well I was taken under Mrs. W’s wings.

As I have not lost anyone close to me in my life, I did not know how to cope with the news. So I went into my kitchen, just wanting to slow down to discern the situation. It felt appropriate and comforting to make this dish due to its required finesse, which would allow me a good length of time to cope with my feelings. Simple, calm, warm, reminiscent, tender yet strong, and indeed, deep and complex in flavour; something that resonates with my version of Mrs. W.

Trimming the sharp edges of daikon helped settle my panting heart. The golden colour of dashi stock calmed my mind. I stared at the gently swaying daikon pieces in the simmering pot of water for a long long time, and faded into many fond memories of Mrs. W.

furofuki daikon with Enoki mushroom sauce

furofuki daikon with Enoki mushroom sauce

Furofuki Daikon

Serves 4

1 large organic daikon

2 tablespoons of Japanese rice grains

1 large sheet of kombu (about 6 x 8 inch), wiped and cleaned with a wet cloth

11/2 cups tightly packed bonito flakes

1 large package of Enoki mushrooms

3 tablespoons of soba sauce

Or a combination of

1 tablespoon sugar

2 tablespoons soy sauce

1 tablespoon mirin

Salt

1 tablespoon cornstarch

Scallions, finely chopped

In a large pot, place 7 cups of water. Make slits in the kombu with scissors, submerge in the pot and set aside for about 20 minutes. This will permit the kombu to emit the flavour necessary to make good dashi.

Peel the daikon and discard the ends. Slice into 1 inch thick pieces and trim the sharp edges with a peeler.

In a large pot, place the daikon and rice grains, and cover completely with water. Bring to a boil. Turn the heat down to medium low and simmer until a skewer can easily go through, for about 40 minutes.

In the meantime, set the pot of kombu over medium heat, and just before the water starts rolling, remove the kombu and discard. *Do not let it boil, as the kombu will start to give off an unpleasant flavour.

Throw the bonito into the kombu stock and bring it back to a boil for a few seconds. Turn the heat off and remove from heat. Let stand until the bonito flakes sink to the bottom of the pot. This will let the gentle umami emit into the dashi stock as well as make the dashi stock golden in colour.

Remove the daikon from the cooking liquid and rinse as gently as possible so as not to scar. Discard the rice and cooking water, and clean the pot.

Drain the dashi stock using a fine mesh into the cleaned pot, reserving 1 cup separately to make sauce. Place the daikon back in the dashi stock and bring to a simmer. Continue to cook for another 40 minutes or so until they are very tender.

While waiting, make sauce. Place 1 cup of the reserved dashi stock in a medium saucepan with Enoki mushrooms over medium heat, and bring to a boil. Turn the heat down, skim if necessary, and add the soba sauce and a pinch of salt. Cook until the mushrooms are tender, for about 7 minutes. Dissolve the cornstarch with 1 tablespoon of water and whisk into the sauce. Continuously stirring, bring to a boil to thicken. Remove from heat.

Serve each daikon piece with the sauce and a sprinkle of scallions. If you have any leftovers, keep them in the dashi stock and refrigerate.

 

Stuffed Kabocha with Quinoa

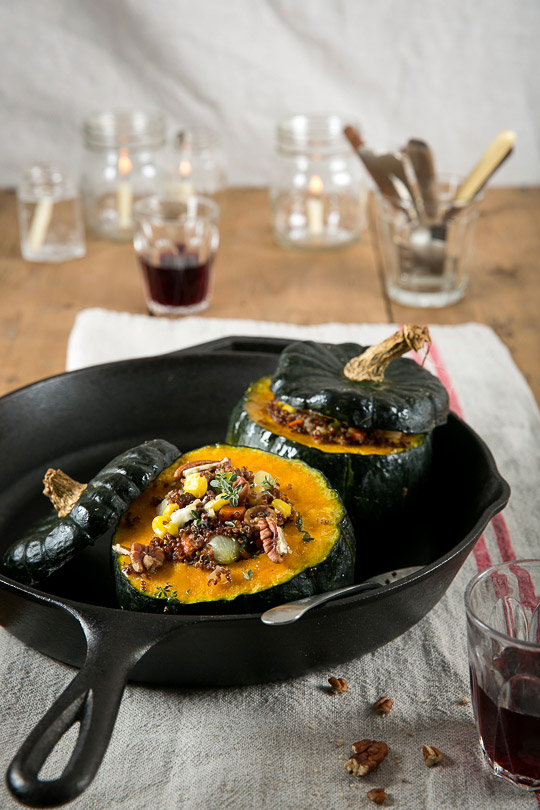
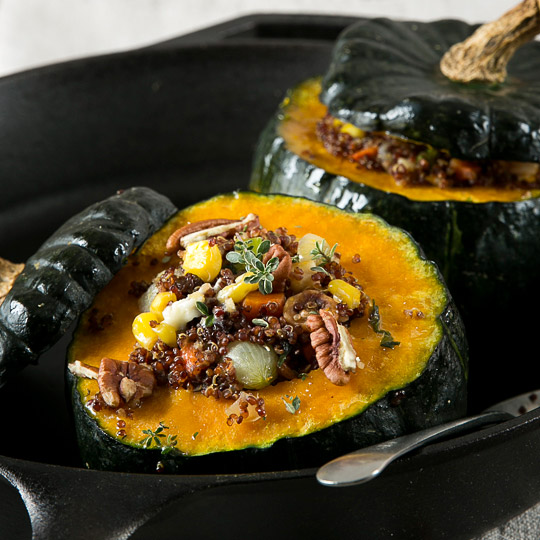
stuffed kabocha with quinoa

Autumn is really about cooking with wisely stored summer goodies; anything from frozen corn, dried herbs and hazelnuts to just harvested winter squash. This is a delicately flavoured dish where the sweetness of autumn fruits meets the warm savouriness of herbs and vegetables. The dish is simple yet possesses an entertaining visual appeal. Kabocha’s nutty dense meat completes this plate as a main dish, keeping you fulfilled and satisfied, while the lightness of the quinoa salad helps balance the meal.

I have been trying for quite a while to create a super healthy yet fulfilling treat to settle into the new season, and with this recipe, I am confident that I have achieved one of many delicious winter dishes yet to come!

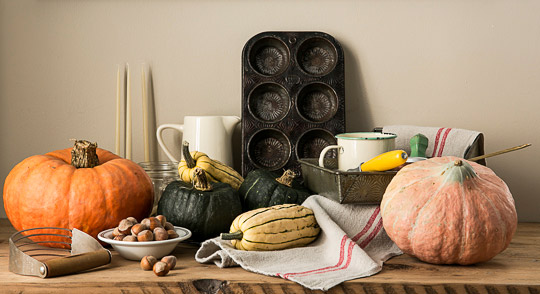
winter squashes

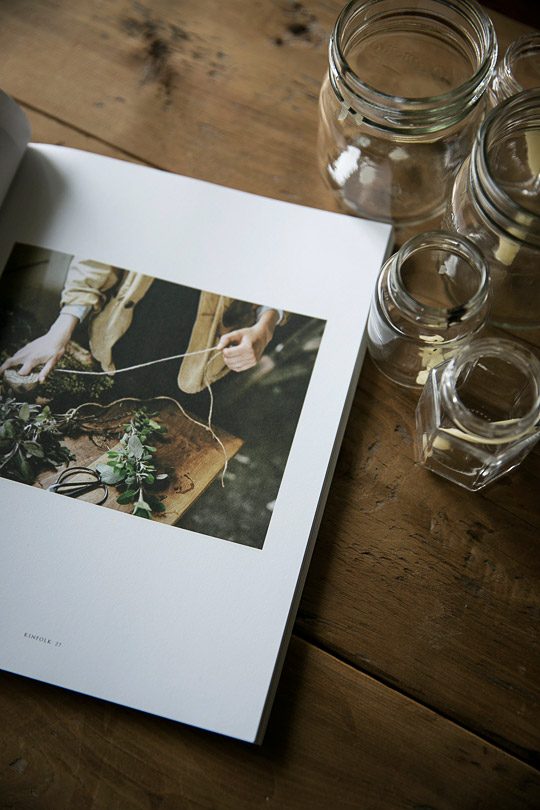
If you are interested in storing herbs for winter use, I recommend a magazine, KINFOLK for its herb drying section and beautiful photography.

KINFOLK magazine

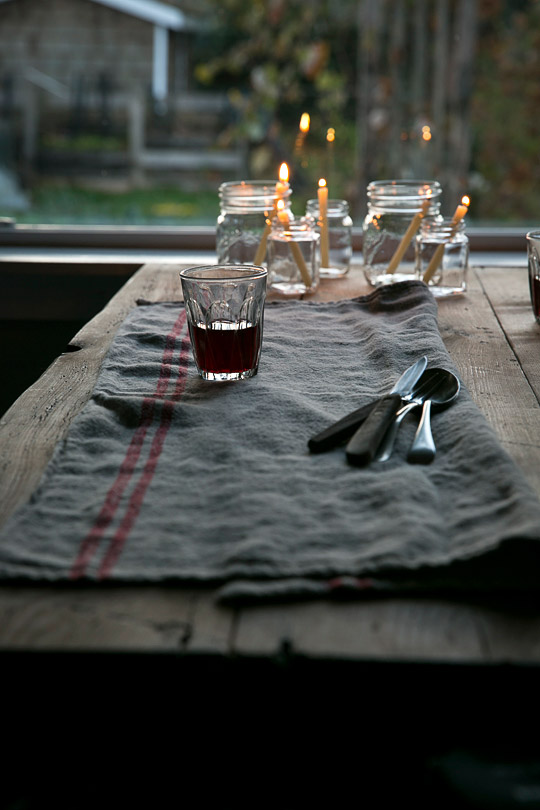
candles and red wine

stuffed kabocha with quinoa

Stuffed Kabocha with Quinoa

Serves 2

2 small kabocha (or buttercup squash)

½ cup red quinoa

1 cup chicken stock or vegetable stock

¼ teaspoon salt

1 teaspoon butter

1 teaspoon vegetable oil

1 garlic clove, finely chopped

1 small knob of ginger, finely chopped

½ onion, cut into ½ inch pieces

1 small carrot, cut into ½ inch pieces

½ rib celery, cut into ½ inch pieces

2 scallions, cut into ½ inch long pieces

2 sprigs thyme

½ small apple, cut into ½ inch pieces

½ cup thawed corn

1/3 cup raisins

A small handful of roasted hazelnuts and pecans

A dash of nutmeg

Salt and pepper

1/3 cup Parmesan cheese, freshly ground

1 teaspoon butter

Rinse the outside of the kabochas well, cut the tops off and spoon the seeds out. Save the tops as lids for roasting.

Rinse the quinoa in a fine mesh strainer to remove the saponin, and drain well. Bring the stock to a boil in a medium saucepan. Add the quinoa and salt. Lower the heat, cover with a lid and simmer for about 12 minutes or until the liquid is absorbed. Remove from heat and let stand for a few minutes.

Preheat the oven to 350F.

In a large pan, sauté the garlic, ginger, onion, carrot, celery and scallions with the butter and vegetable oil over medium heat until the vegetables are softened. Add 1 sprig of thyme plus the apple, corn, raisins, and nuts; continue to sauté for the next 5 minutes. Adjust the flavour with the nutmeg, salt and pepper. Add the cooked quinoa and cheese, and stir well.

Stuff the kabochas with the quinoa mixture, put the kabocha tops back on, place in a large oven-proof pan or on a baking sheet, and roast for about 1 hour.

When the kabocha is soft, it is done. Open the lids of the kabochas, and place ½ teaspoon butter inside each. Then, scatter the rest of the thyme leaves on top of the quinoa for decoration. Serve immediately.


Garlicky Creamy Roasted Tomato Soup

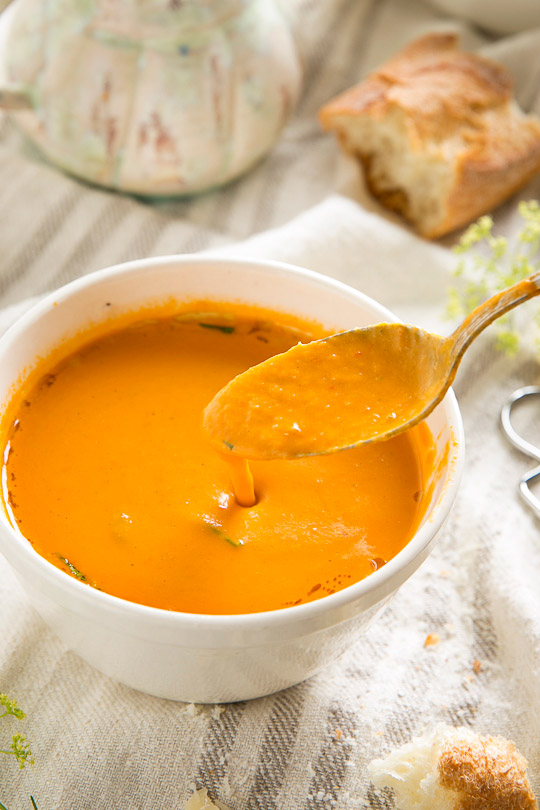
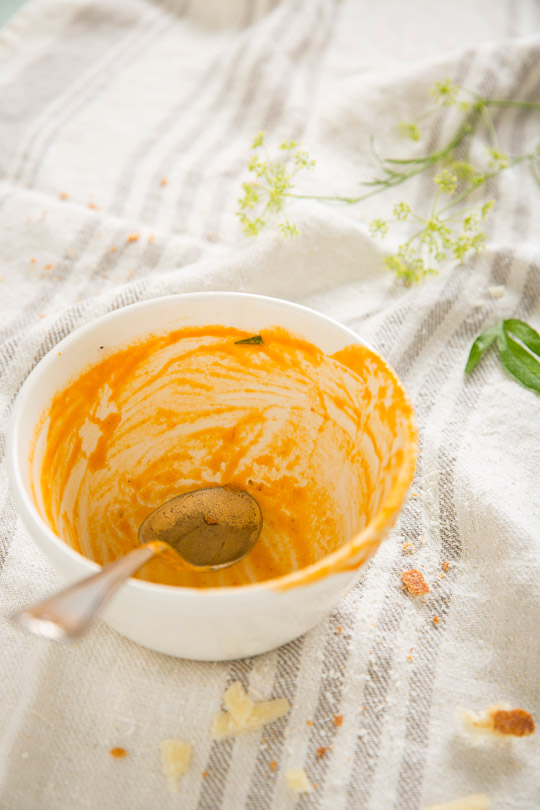
garlicky creamy roasted tomato soup

As I planted garlic cloves for next year’s harvest in the chilly weather today, my hands were cold even though it was a clear sunny day after many days of rain. All I thought of is how I was going to make the garlicky creamy roasted tomato soup that warms me up inside out.

garlicky creamy roasted tomato soup

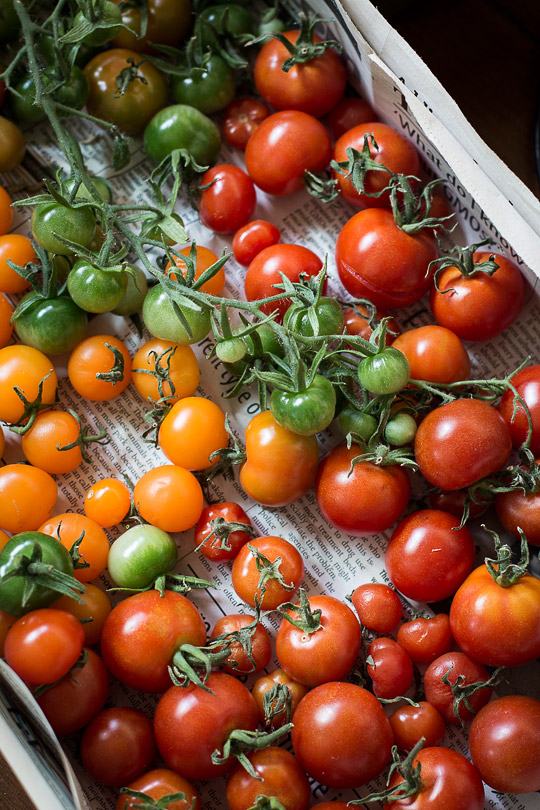
heirloom tomatoes

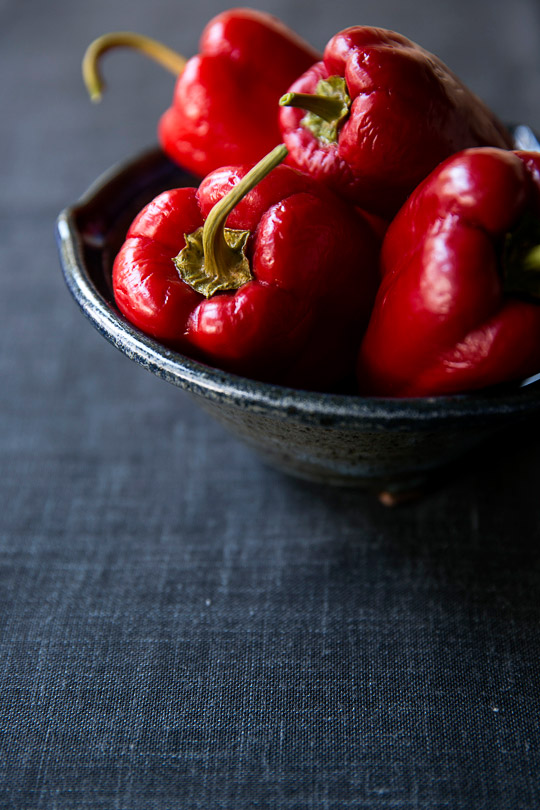
Some of my heirloom tomatoes and red bell peppers from this summer have remained sitting on a kitchen counter to ripen. This recipe is a nice way to clean up my kitchen and create some room for imminent winter vegetables.

red bell peppers

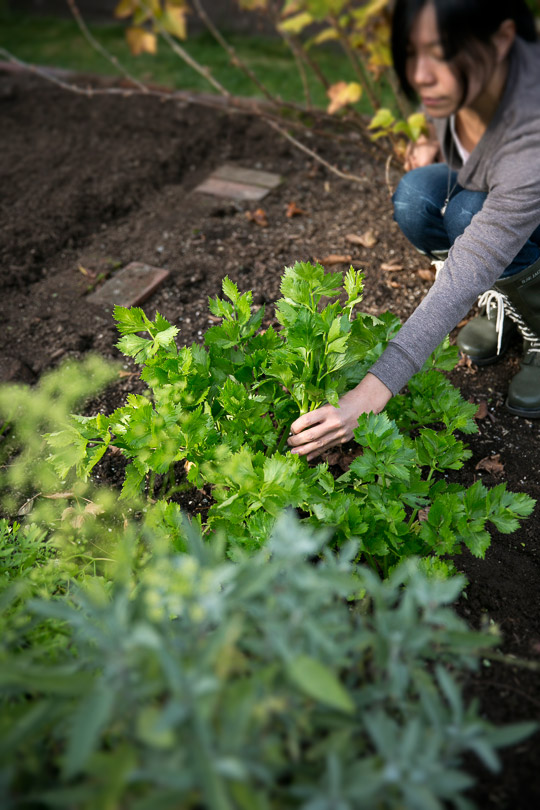
celery plant

roasting tomatoes

roasted tomatoes, onions and garlic

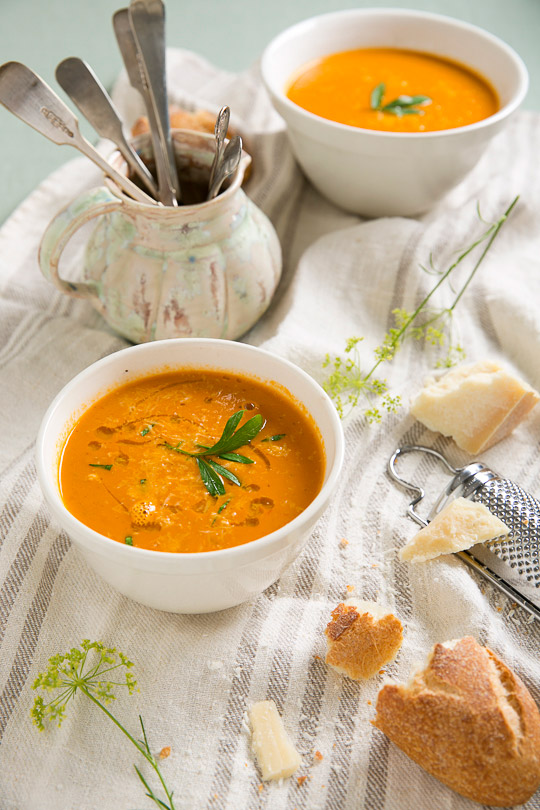
roasted tomato soup

roasted tomato soup

Garlicky Creamy Roasted Tomato Soup

I always eyeball the amount of ingredients for this recipe. When I have too many tomatoes screaming to be used, the soup gets thicker. So feel free to adjust to your desired consistency using fewer tomatoes. The result is always delicious as long as you stay patient and carefully roast and semi-caramelize the vegetables.

Yields about 2.5 L

2 kg heirloom tomatoes, sliced into 1 inch pieces

2 red bell peppers, seeded and cut into 1 inch pieces

2 onions, sliced into ½ inch pieces

10 garlic cloves, peeled and roughly sliced

1 tablespoon cane sugar

1 teaspoon salt

1 teaspoon black pepper

½ cup olive oil

1 tablespoon butter

2 stalks celery, cut into ½ inch pieces

1½ L chicken stock or vegetable stock

1 cup heavy cream, warm

Garnish

Parmesan cheese, freshly ground

Italian parsley, chopped

Preheat the oven to 375F.

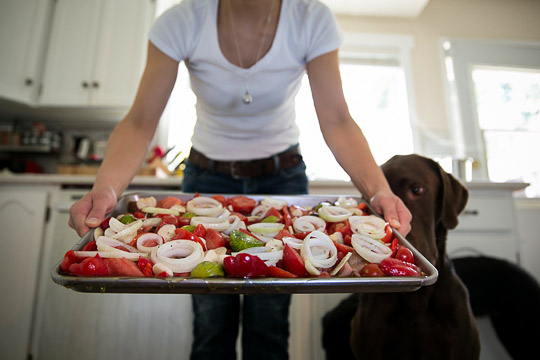
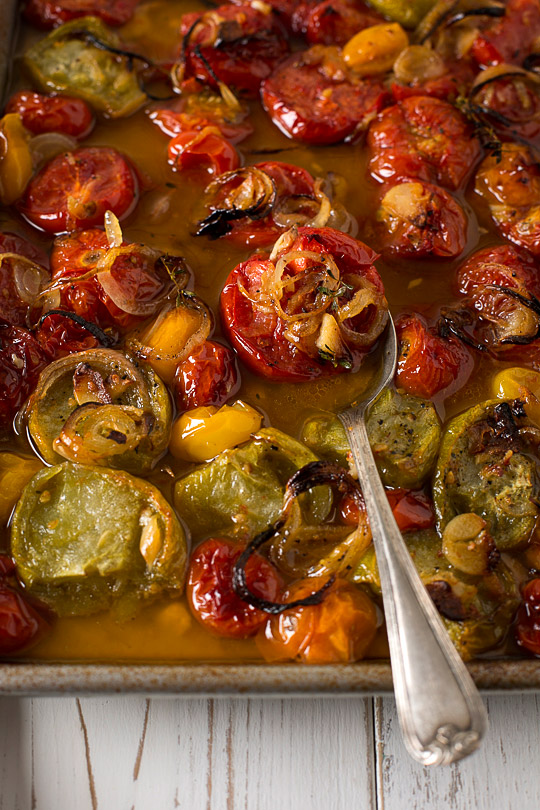
Place the tomatoes and red bell peppers on a rimmed baking sheet. Scatter the onions and garlic on top. Sprinkle over the vegetables with the sugar, salt, and black pepper, and then drizzle with the olive oil, coating all the onions and tomatoes as much as possible. Roast until the tomatoes and onions are lightly charred, about 30 minutes.

Baste the liquid over the vegetables and roast for another 10 minutes.

In a large heavy bottomed pot, melt the butter and sauté the celery over medium high heat.

Add the roasted tomatoes and the liquid to the pot, and bring to a simmer.

Add the chicken stock and simmer for 30 minutes. Skim constantly.

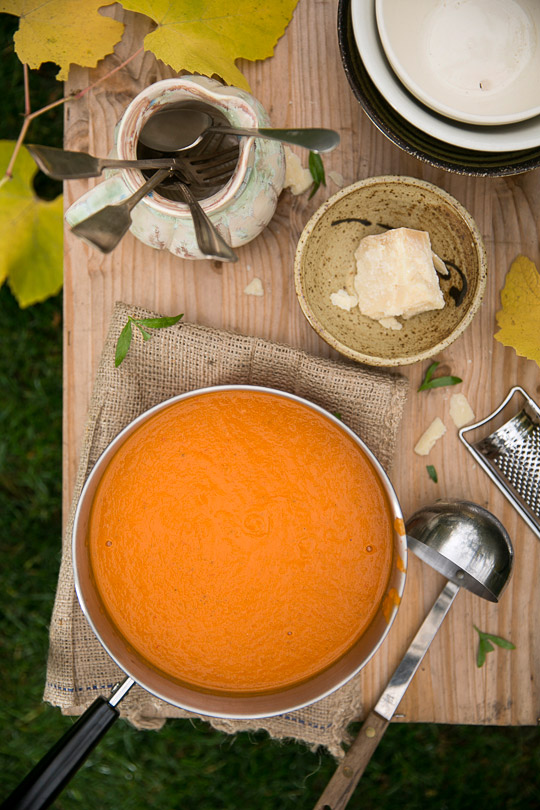
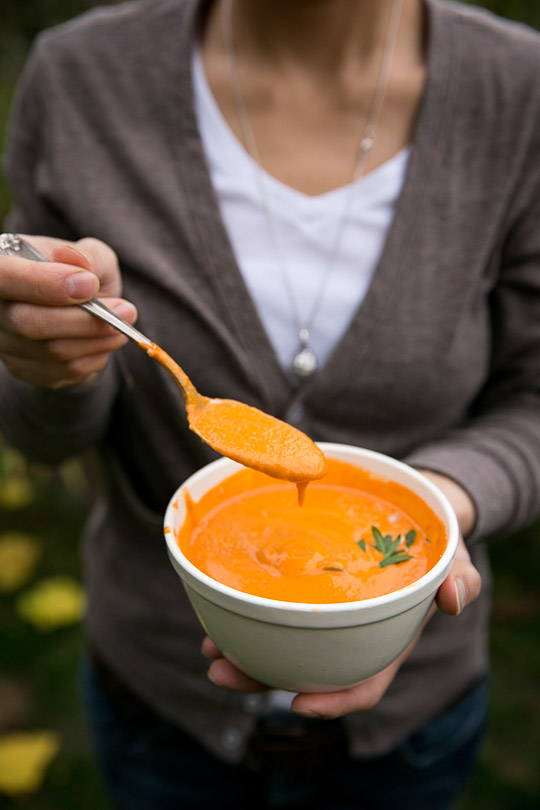
Puree the soup in a blender or Vitamix, and return it to the pot. Add the warmed cream and simmer further to reach the desired consistency.

Adjust with salt and pepper and serve immediately with crusty bread. Garnish with the cheese and parsley.

garlicky creamy roasted tomato soup