Plum Upside-Down Cakes + Grand Marnier Ice Cream

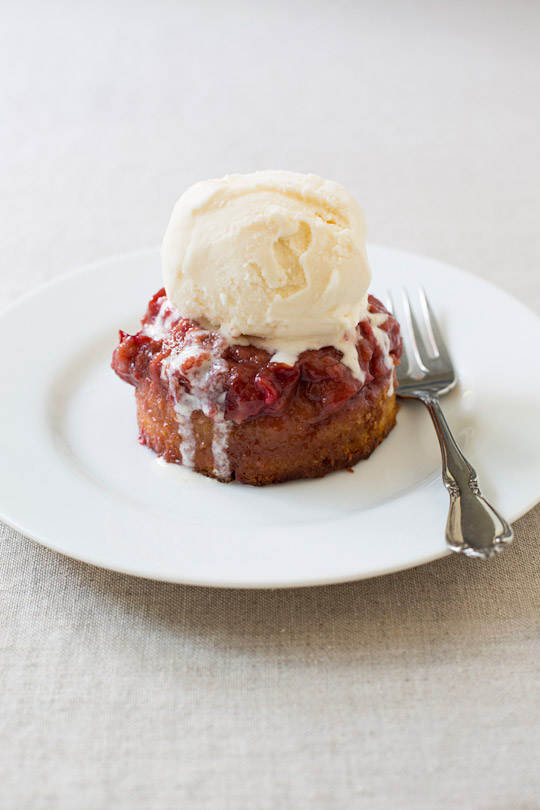
plum upside-down cake

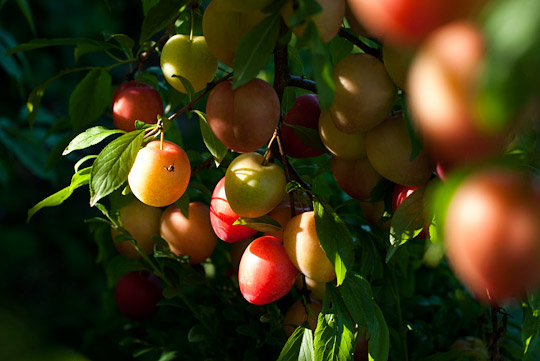
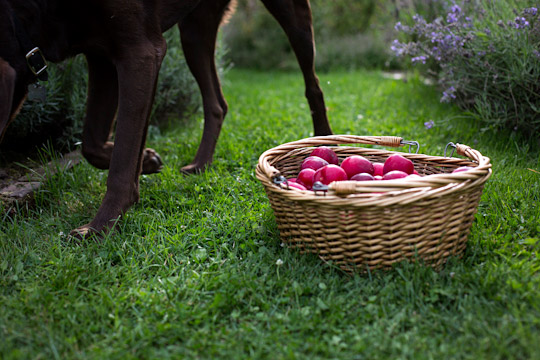
Has your long awaited dream come true recently? One of mine just did with the sweet and juicy fragrance of Japanese plums wafting all over our house and garden. The name of the plum tree “Beauty” somehow coincides as if celebrating a realization of my will. I have kept a twelve-year-old fine COOKING magazine, the September issue to be exact, that features two pastry chefs in a challenge to improvise a plum dessert using a limited number of ingredients. From there, one recipe particularly grabbed my heart so much that I was determined to plant my own plum tree(s) in a future garden and bake this recipe with the very fruits from the tree. I have baked this recipe a number of times but now that I can finally harvest my own hard-earned fruits, I can report that it was a splendor well worth waiting for! You undoubtedly have your own dreams. Let them come true by maintaining a strong will, desire and a little patience.

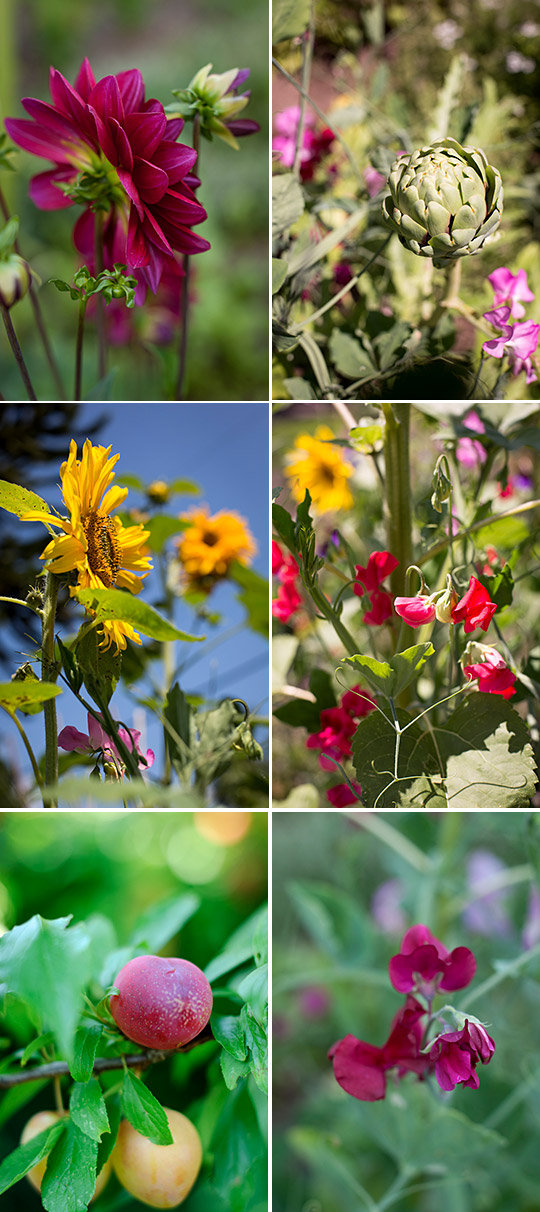
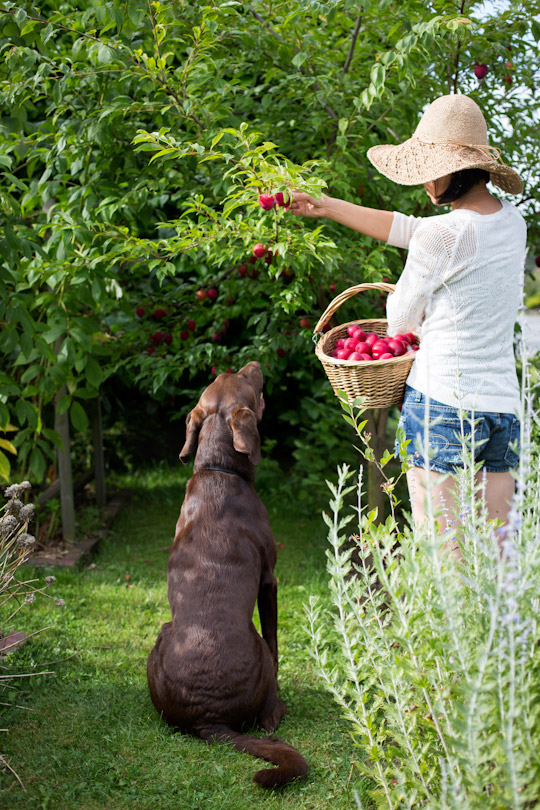
Japanese plums "Beauty"plums and flowers in the gardenplum pickingplums and a dog

Plum Upside-Down Cakes

The recipe calls for smallish plums that are ripe but firm. I used my Japanese “Beauty” plums, and they worked wonderfully with their nice balance of sweetness and acidity to accompany a big dab of Grand Marnier ice cream.

Makes eight 8-oz ramekins

10 oz. (2½ sticks) unsalted butter, softened at room temperature

Extra butter for greasing the ramekins

¾ cup firmly packed brown sugar

6 medium-size red plums, pitted and sliced 1/8 inch thick

½ cup plus 1 tablespoon milk

1 tablespoon fresh lemon juice

6 oz. (1½ cups) cake flour

1 teaspoon baking powder

¼ teaspoon baking soda

½ teaspoon ground cinnamon

¼  teaspoon salt

1 cup sugar

Grated zest of 1 orange

2 large eggs

2 teaspoons vanilla extract

Butter the ramekins. Heat the oven to 350F.

In a medium saucepan over medium heat, combine 6 oz. (1½ sticks) of butter with the brown sugar, whisking until smooth and combined. It’s okay if you still have sugar granules.

Immediately pour into the bottoms of the buttered ramekins, dividing evenly. Arrange a layer of plum slices in each ramekin, overlapping them slightly, using smaller slices to fill any gaps.

In a small bowl, combine the milk and lemon juice. The mixture will curdle and that is okay.

In another bowl sift together the cake flour, baking powder, baking soda, cinnamon and salt.

Cream the remaining 4 oz. (1 stick) of butter with the sugar and orange zest in a mixer. Add the eggs and vanilla, and mix to combine.

Alternately add the dry ingredients and the milk mixture, mixing just to combine.

Divide the batter among the ramekins. Arrange the ramekins on a rimmed baking sheet and bake until the cakes are firm to the touch and the juices are bubbling, 35 to 40 minutes, rotating the sheet midway through baking to ensure even cooking.

Let cool on a rack until warm. Run a paring knife around the inside edge of each ramekin, invert onto a plate, and gently lift it off the cake. Top each cake with a scoop of Grand Marnier ice cream (recipe below).

*If you’ve baked the cakes ahead, heat the oven to 350F, set the ramekins on a rimmed baking sheet and heat until just warmed, about 2 to 3 minutes.

Adapted from Karen Barker’s recipe from fine COOKING.


Grand Marnier Ice Cream

This dessert is a perfect way to chill out during hot summer afternoons. It also happens to be a perfect match for the Plum Upside-Down Cakes.

Makes about 1L

3 eggs

1 cup sugar

2 cups whipping cream

2 cups whole milk

¼ cup to ½ cup Grand Marnier

Beat the eggs and milk together in a large saucepan. Add sugar and cook over low heat, whisking constantly until thickened, about 15 to 20 minutes. This is the time to dream about your future. Instead of yesterday’s thoughts, let’s imagine and dream, not necessarily about a plum tree but whatever suits your fancy; and of course, don’t forget to keep whisking! The mixture should smoothly coat the back of a spoon.

Strain into a large bowl and cool. Then, add the cream and Grand Marnier starting from a small portion. Taste it and adjust the amount of liquor.

Refrigerate at least 4 hours or overnight. Churn the mixture according to the manufacturer’s instructions. You can transfer the ice cream to an airtight container and store in a freezer to encourage further solidification.

See more ice cream recipe here.


Rhubarb Tart

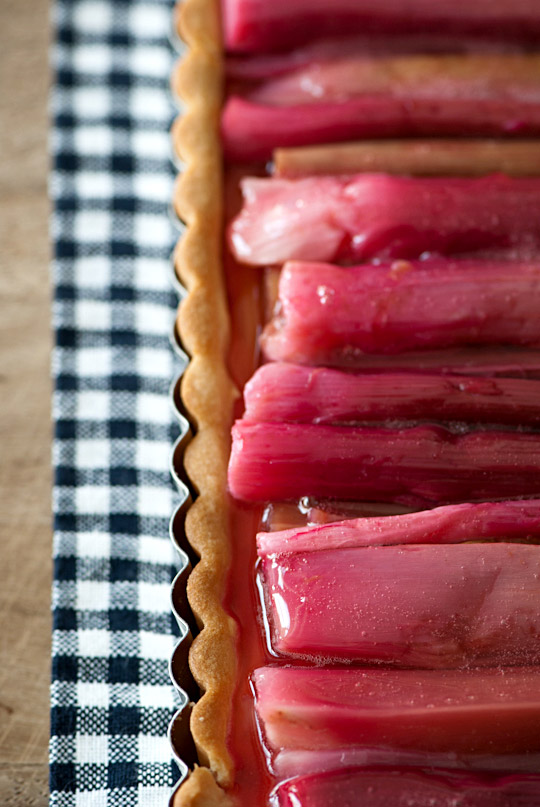
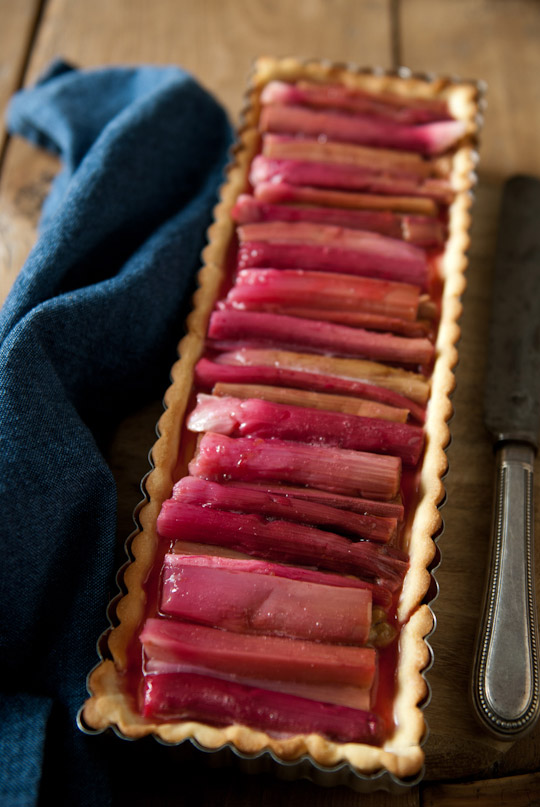
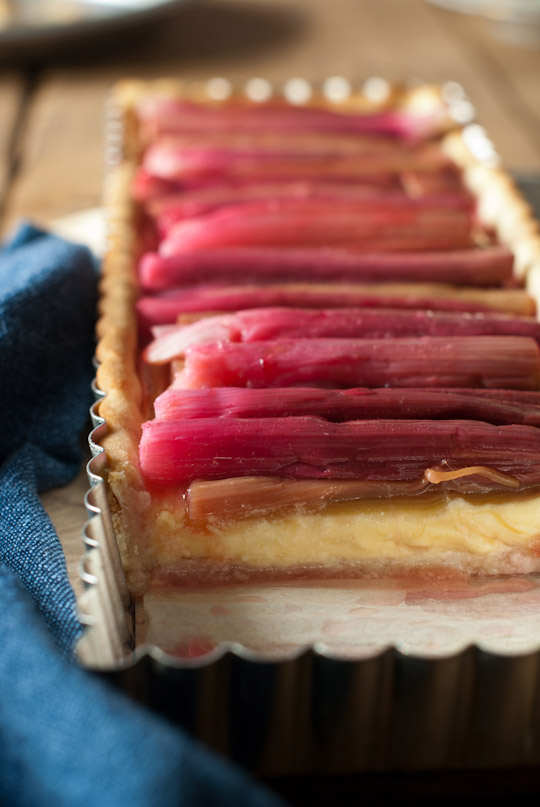
rhubarb tart

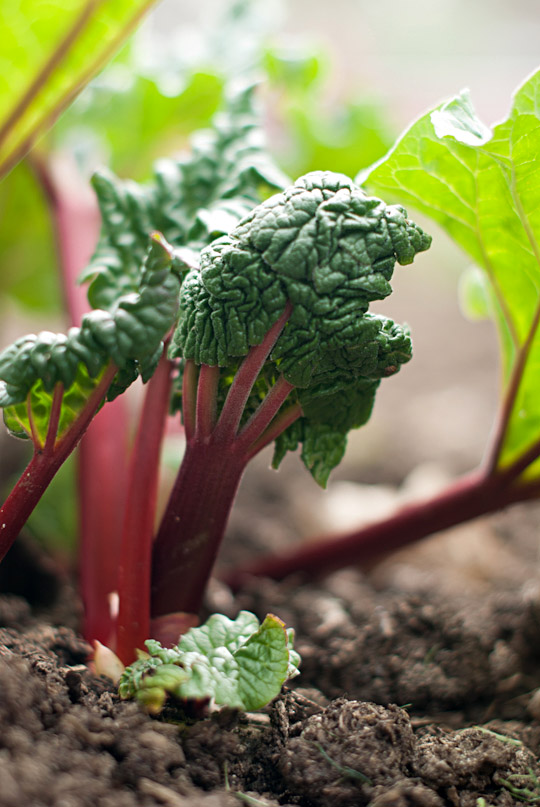
When I can harvest just the right amount of stalks from my rhubarb plants for baking, when a peach tree on the south wall of our house starts blooming and the blossoms of our ‘Beauty’ plum tree start giving off their sweet scent, that is when I know that warm weather has truly arrived in my garden.

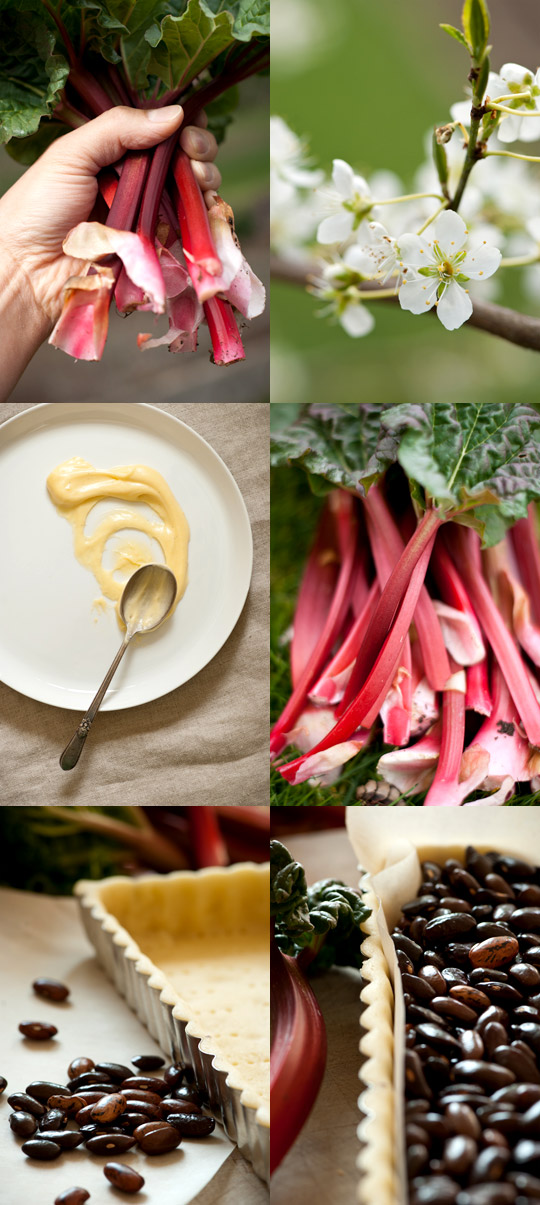
rhubarb, tart dough and pastry cream

I long for those vibrant red stalks all winter, dreaming of the many desserts I will make with them in the upcoming months. Crisps, cobblers, pies, stews, tarts, jam…the rest is up to your imagination. However, rhubarb is also an urban gardener’s dilemma.

rhubarb tartrhubarb plant

Rhubarb plants grow slowly in the beginning of the season, which can really test your patience, at least mine! I just have to quietly watch them grow until they are tall enough to be harvested. But two years ago, I wasn’t patient enough to wait for harvesting so instead of waiting, I planted five plants! Once the real heat came, there was no way to catch up with the speed of the rhubarb plant’s growth; I was left feeling overwhelmed and even guilty about not being able to utilize all of mother nature’s seasonal treat. In addition, the huge leaves of the rhubarb plants overly shaded the other vegetables in the garden! No wonder we weren’t excited to have a rhubarb dessert by midsummer, since the shelves in our pantry were filled with bottles of rhubarb jam and our freezer was packed with bags of frozen rhubarb slices even after the new growth emerged the following season! Unless you have a strip of unused land, I would suggest planting just one! This experience taught me that being patient is a part of gardening’s delight.

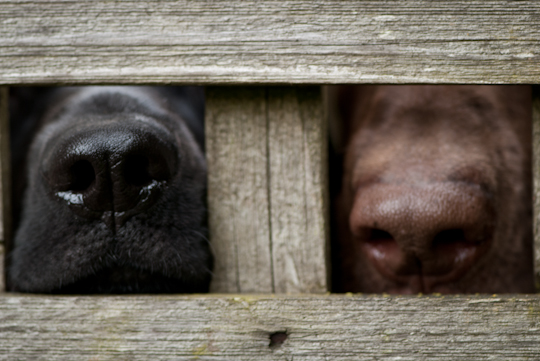
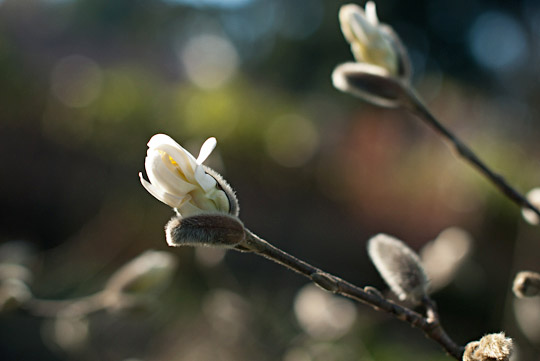
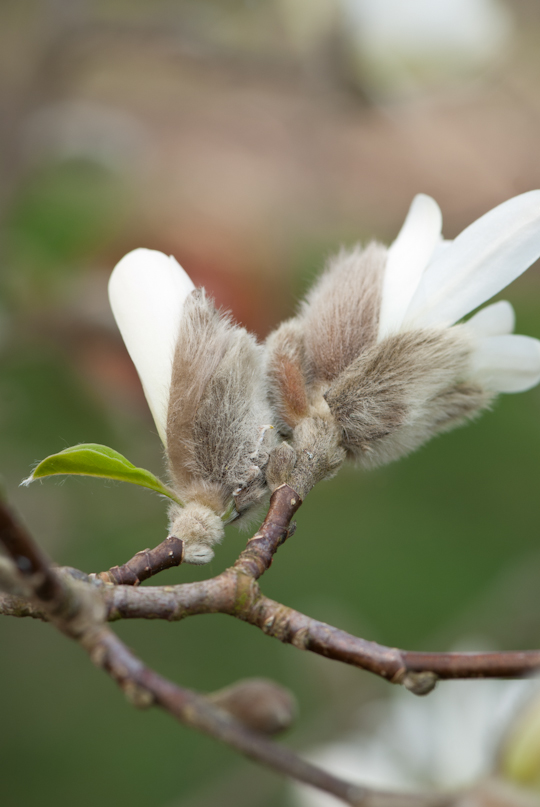
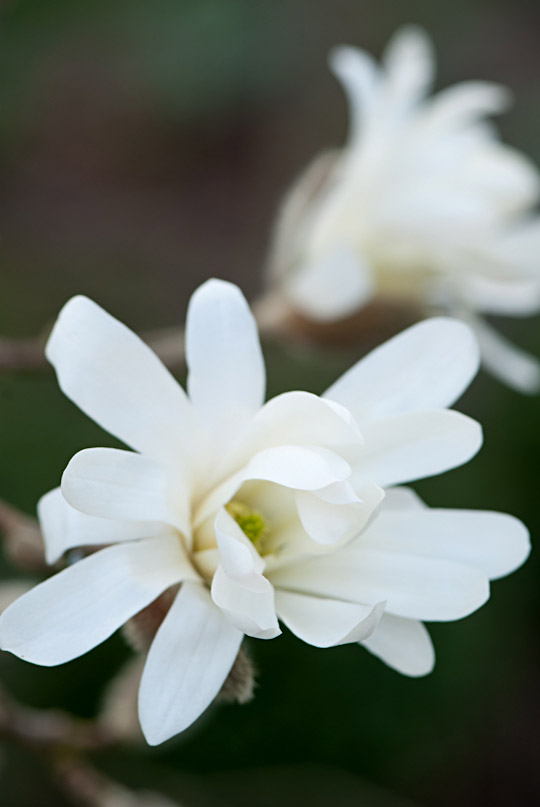
official inspectors in my gardenCherry trees at Kitsilano beach, VancouverCherry blossomsStar magnoliaStar magnoliaStar magnoliarhubarb tartrhubarb tart

Rhubarb Tart

For the dough, I halved the below recipe, taken from my favourite book, Desserts by Pierre Hermé, and used two 13 1/2” x 4” rectangular tart pans. The vanilla pastry cream recipe quantity is just the perfect amount to fill these two tarts pans.

Sweet Tart Dough

Makes enough for three 10 ¼-inch or four 8 3/4 –inch tarts

2 ½ sticks (10 ounces) unsalted butter, softened

1 ½ cups confectioner’s sugar, sifted

½ cup (lightly packed) ground blanched almonds

½ teaspoon salt

½ teaspoon vanilla bean pulp or ¼ teaspoon pure vanilla extract

2 large eggs, at room temperature, lightly beaten

3 ½ cups all-purpose flour

To make the dough in a mixer

Put the butter in the bowl of a mixer fitted with the paddle attachment, and beat on low speed until creamy. Add the sugar, almonds, salt, vanilla, and eggs and, still working on low speed, beat to blend the ingredients, scraping down the paddle and the sides of the bowl as needed. The dough may look curdled- that’s okay. With the machine still on low, add the flour in three or four additions and mix only until the mixture just comes together to form a soft, moist dough-a matter of seconds. Don’t overdo it.

To make the dough in a large-capacity food processor

Place the butter in the working bowl of a food processor fitted with the metal blade and pulse and process, scraping down the sides of the bowl as needed, until creamy. Add the confectioner’s sugar and process to blend well. Add the almonds, salt, and vanilla and continue to process until smooth, scraping the bowl as necessary. Add the eggs and process to blend. Add the flour and pulse until the mixture just starts to come together. When the dough forms moist curds, clumps and then starts to gather into a ball, stop- don’t overwork it. The dough will be very soft, pliable, and Play-Do-ish, more like your favourite butter-cookie dough than traditional pie dough-that’s just the way it should be.

To shape and chill

Gather the dough into a ball and divide it into three or four pieces: three pieces for 10 1/4-inch tars, four for 8 3/4 inch tarts. Gently press each piece into a disk and wrap each disk in plastic. Allow the dough to rest in the refrigerator for at least 4 hours or for up to 2 days before rolling and baking (at this stage, the dough can be wrapped airtight and frozen for up to a month).

To roll

For each tart, place a buttered tart ring on a parchment-lined baking sheet and keep close at hand. If you are using a tart pan, butter the pan and dust with some flour, then remove excess flour. Work with one piece of dough at a time; keep the remaining dough in the refrigerator.

Working on a lightly floured surface (marble is ideal), roll the dough between 1/16 and 1/8 inch thick, lifting the dough often and making certain that the work surface and the dough are amply floured at all times (I found it easier to roll the dough between two pieces of parchment paper, for the richness of the dough can make it difficult to roll). Just make sure that parchment paper doesn’t get rolled into the dough. Roll the dough up and around your rolling pin and unroll it onto the tart ring (or the tart pan). Fit the dough into the bottom and up the sides of the ring, then run your rolling pin across the top of the ring to cut off the excess. If the dough cracks or splits as you work, patch the cracks with scraps (moisten the edges to “glue” them into place) and just make certain not to stretch the dough that’s in the pan (what you stretch now will shrink later).  Prick the dough all over with the tines of a fork, and chill it for at least 30 minutes in the refrigerator or freezer. Repeat with the remaining dough if necessary.

To bake a tart shell

Preheat the oven to 350F. Fit a circle of parchment paper or foil into each crust (cut the paper or foil large enough to extend above the top of the tart) and fill with dried beans or rice. Bake for 18 to 20 minutes, then remove the parchment and beans and bake for another 5 to 8 minutes, or until golden. Transfer the crust(s) to a rack to cool.

Vanilla Pastry Cream

(Another recipe from Pierre Hermé)

Makes about 2 cups

2 cups whole milk

1 plump, moist vanilla bean, split lengthwise and scraped

6 large egg yolks

½ cup (slightly rounded) sugar

1/3 cup cornstarch, sifted

3 ½ tablespoons (1 ¾ ounces) unsalted butter, softened

In a small saucepan, bring the milk and vanilla bean (pulp and pod) to a boil over medium heat (or do this in the microwave oven). Cover the pan, remove from the heat, and allow the mixture to rest for 10 minutes, time enough for the liquids to be infused with the warm flavour of vanilla.

Fill a large bowl with ice cubes and set aside a small bowl that can hold the finished cream and be placed in this ice bath. Set aside a fine-meshed strainer too.

Whisk the yolks, sugar and cornstarch together in a heavy-bottomed medium saucepan. Whisking all the while, very slowly drizzle a quarter of the hot milk into the yolks. Still whisking, add the rest of the liquid to the tempered yolks in a steady stream. Remove and discard the pod (or save it for another use).

Place the saucepan over high heat and, whisking vigorously and without stopping, bring the mixture to a boil. While boiling, whisk energetically for 1 to 2 minutes, then remove the pan from the heat and press the cream through the sieve into the reserved small bowl. Set the bowl in the ice bath (you can add some cold water to the cubes now) and, stirring frequently so that the mixture remains smooth, cool the cream to 140F, as measured on an instant-read thermometer. Stir in the butter in three or four additions. Keep the cream over ice, stirring occasionally, until it is completely cool. The cream can be used now or refrigerated.

Rhubarb Topping

2 lbs of rhubarb stalks, cut into the width of a tart pan (if thick split in half)

½ cup cane sugar

¼ to 1/3 cup water

Preheat the oven to 320F. Place the rhubarb in a baking dish, sprinkle the rhubarb with the sugar and pour in the water. Bake in the oven for 25 to 30 minutes or until the rhubarb is tender but still holds its shape. Transfer gently to another plate, reserving the liquid. Set aside to cool. In the meantime, place the reserved liquid in a small saucepan over medium heat and reduce it by half or until it becomes thick with a syrupy consistency. Cool to room temperature.

Assemble the Tart

Spoon the pastry cream into the crust and smooth the top. Place the rhubarb widthways along the tart on the pastry cream and drizzle the syrup over top. Serve immediately.