Hummus and Signs of Spring

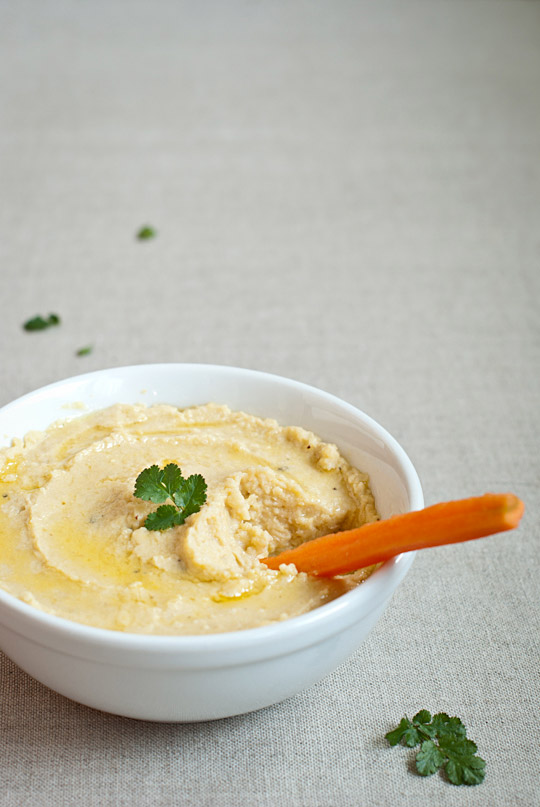
hummus and a stick of carrot

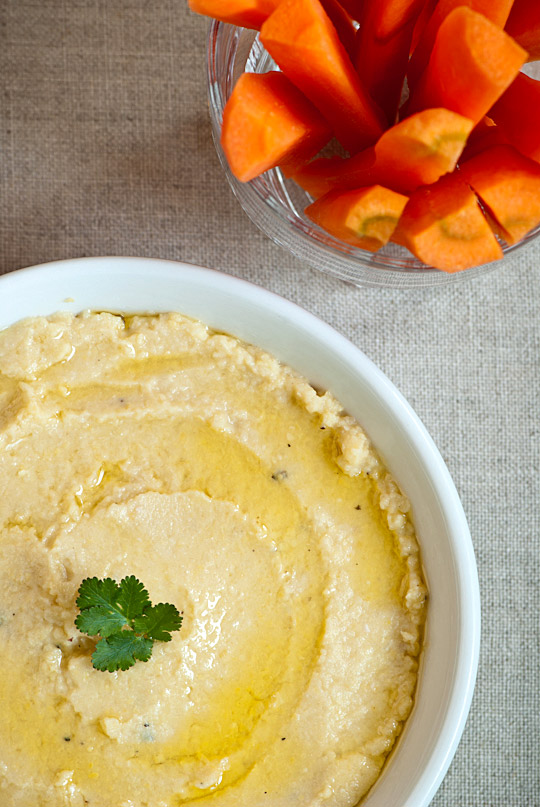
I have cooked this recipe many times whenever I craved fresh, crunchy raw vegetables. It is a healthy snack, allowing us to consume both legumes and nutritious, multicoloured vegetables on the go! As a matter of fact, this recipe was one of the meals that we packed when we drove across the country, not once but twice, to Quebec to see Pascal’s parents. It’s not only nutritious and easy to eat while driving across the prairies, but also the crunching action kept us awake through the ever changing sceneries.

hummus and carrot sticks

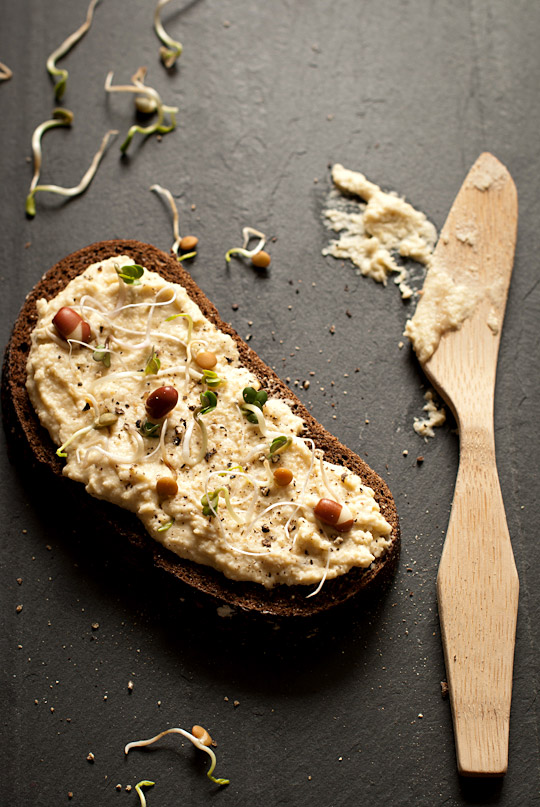
Another of my favourite ways to enjoy this beautiful creamy hummus is to smear the hummus generously on a slice of pumpernickel and crack extra black pepper on top. Sprinkle it with hot flavoured sprouts to finish! So many layers of flavours melt in your mouth to satisfy your taste buds.

hummus on a slice of pumpernickel bread

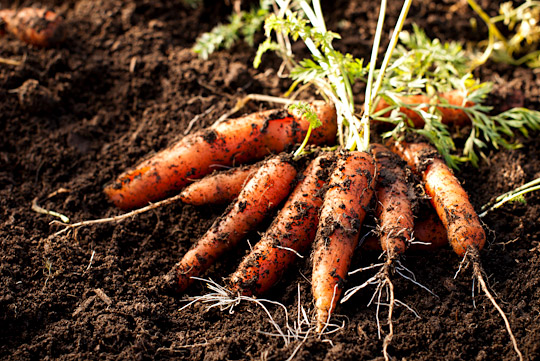
I grow carrots in succession, planting from late spring to mid summer to make sure we have them all year long, especially for winter. I have so far tried two methods of storing carrots. One method is to store them in a large container like a garbage can with a lid (I use it for storing food only!). I harvest whatever is left in the garden in late fall and select only non-blemished examples, leaving soil on them and trimming the tops with a knife. Here are the steps you can follow to properly store carrots during winter months:

  1. Line the storage container with a recycled plastic bag,
  2. Place some peat moss at the bottom of the container, and lay the carrots on top, leaving some room between them. Cover with more peat moss, making layers so that the carrots are not touching to each other. Repeat this up to the rim of the container.
  3. Close the bag, put the lid on and leave it in a cool, but not freezing, space such as a garage. The carrots may become hairy, but they will keep well into late spring.

After using all the carrots, I simply recycle the peat moss by sprinkling it around my acid-loving blueberry bushes.

The second storage method is to leave the carrots that I started in mid summer in the ground all winter. I cover the carrots with a piece of cloche (Remay cloth), and set up hoops over the carrot patch. Then, I place a heavy duty plastic sheet over the top to protect them from the harsh freezing temperature. This way, they don’t freeze and become mushy. By experimenting with these two methods, I’m more inclined to use the first one because I have discovered that some carrots rotted underground despite my best efforts to baby and blanket them for their comfort during the winter! Also, it makes sense to replenish the garden by sowing cover crops, like fall rye, for the coming season. The garden needs rest in winter as much as we urban gardeners do!

carrots

I know that spring has arrived each year when my bulbs finally bloom and fill the air with their sweet scents. I love spring bulbs for never failing to bloom when we really need some colours this time of year in the garden. It’s worth putting in the effort to plant them in the fall, which I only had to do once when we moved here from Main Street. Now, these perennial bulbs show this amazing display of white snowdrops, yellow, pink and purple crocuses, and blue irises, and that’s just for starters! When they start fading, bright blue coloured scilla, cream/ red diminutive tulips and 18 inch tall salmon pink French tulips fill in the space every spring!

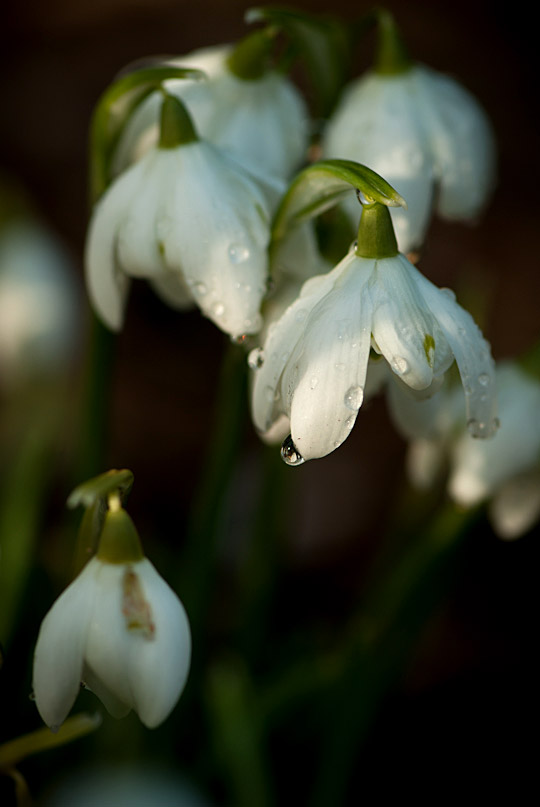
snowdrops

crocus

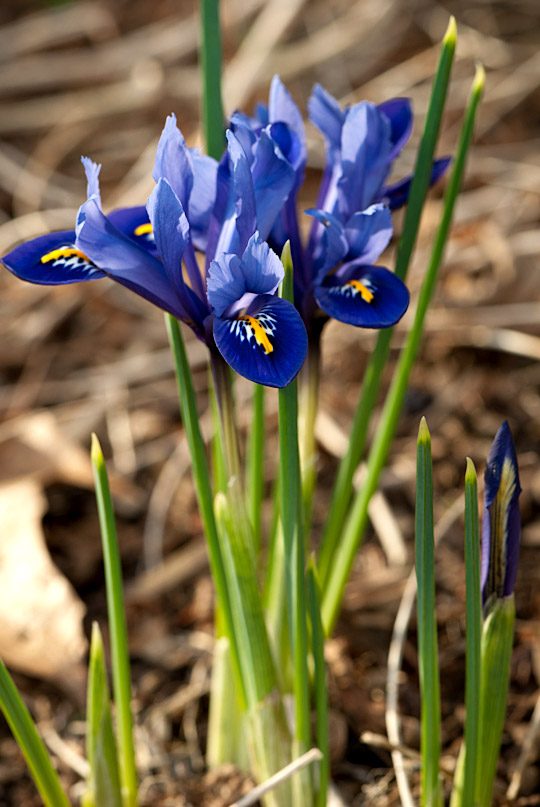
Iris

Hummus

Serves 8-10

1 cup dried chickpeas (garbanzo beans)

1 medium onion, peeled but left whole

4 to 5 cloves garlic

Juice of 1 1/2 large lemons, or to taste

3 tablespoons tahini

5 tablespoons olive oil

Sea salt and freshly ground pepper

A few leaves cilantro

Soak the chickpeas in cold water and leave overnight at room temperature. Rinse the chickpeas next day and cover with cold water in a large pot. Do not add salt at this point.

Bring to a boil and boil rapidly for 10 minutes, occasionally removing foam that floats on the surface. Add onion and 2 whole cloves of garlic. Continue simmering until the chickpeas are tender, for about 1 to 1 1/2 hours. Add hot water as necessary to keep the chickpeas well covered during cooking.

Drain the chickpeas, reserving some liquid, and discard the onion and garlic. Place the chickpeas in a food processor and add 2 cloves of garlic, the lemon juice, tahini, 3 tablespoons of the reserved liquid and 4 tablespoons of olive oil in a slow and steady drip. Blend until smooth. Taste and add salt and freshly ground pepper, more lemon juice, and garlic as desired. The hummus should be nice and fluffy; if it’s too thick, add more of the reserved liquid.

Serve in a bowl, smooth the surface and spoon the remaining olive oil on top to prevent it from becoming dry. Garnish with cilantro.

Adapted from Linda Collister’s Sensational Sauces.


Roasted Beet Borscht Soup

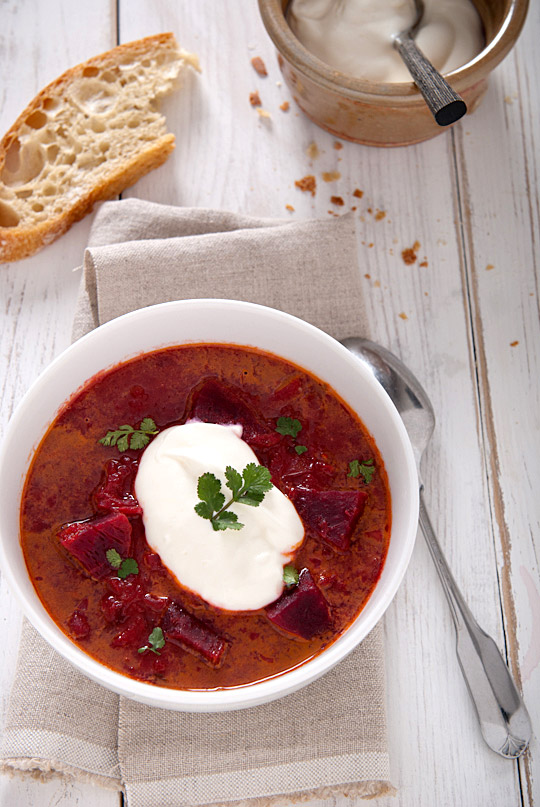
Borscht

This is a big pot of soup for a cold rainy afternoon, which can literally occur anytime here in the Vancouver area at this time of year!  You can serve this hearty soup for your guests or simply cook for two and take a day or two off from cooking over the next couple of days. The longer it cooks, the better the flavour gets so it is perfect for rainy afternoons when you can spare time for a cozy homemade meal to replenish your soul.

Ingredients

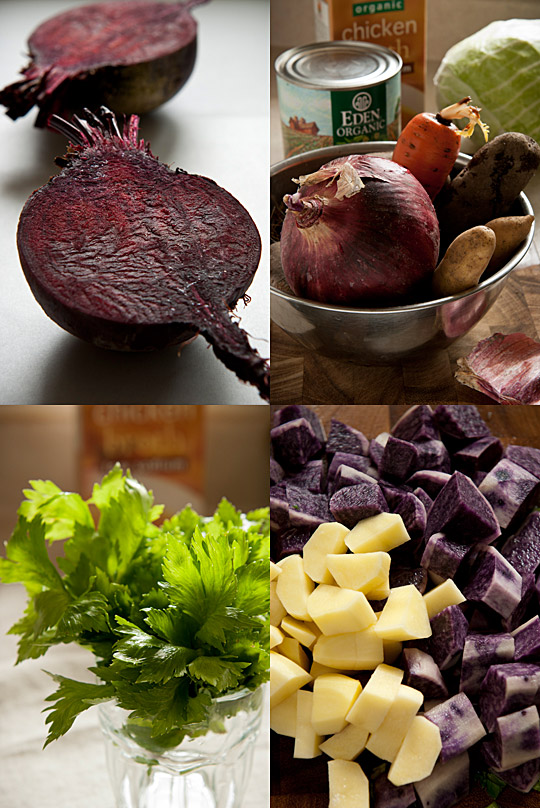
Some baby celery leaves from the previous year’s plant that I started from seeds have survived the freezing temperatures, and have now started to show the signs of spring! I like this soup slightly creamy but not too much. When I use heavy cream, I might omit sour cream or vice versa. It totally depends on your liking; feel free to adjust.

Roasted Beet Borscht Soup

Serves 6-8

1 pound beets

2 to 3 tablespoons olive oil

Sea salt and freshly ground pepper

2 tablespoons butter

2 cloves garlic, finely chopped

1 large onion, chopped

2 carrots, chopped

1 stalk celery, chopped

3/4 cup potatoes, diced

8 cups chicken stock (or vegetable stock)

2 1/2 cups canned diced tomatoes

2 cups cabbage, shredded

1/3 cup heavy cream

1 teaspoon or so salt

Freshly ground pepper to taste

Sour cream, for garnish

2 tablespoons fresh dill, chopped (I use whatever green leaves are available in my garden such as cilantro or chives)

Scrub the beets and remove the leaves, leaving a 1 inch stub from the top. Place them on a large piece of aluminum foil and season with salt and pepper. Drizzle with oil and seal the foil tight, then roast until they are tender when tested. Large beets may take an hour or so. Set aside and let cool

In the meantime, chop the vegetables, and heat a large heavy bottomed pot over medium-high heat to melt the butter. Sauté garlic, onion, carrots, celery and potatoes until softened and starting to colour, about 15 to 20 minutes. Add the chicken stock and bring to a boil. Turn down the stove top to medium-low heat and skim off the foam that floats on top. Add diced tomatoes, bring to a boil and repeat the process to remove unwanted foam on the surface of the soup. Remove the skins from the beets, chop into cubes and add to the soup. Let simmer over medium-low heat for an hour with a lid, stirring occasionally.

This is the time to serve yourself a glass of wine if you haven’t yet. Take a break for a while.

The last thing to do is to shred the cabbage and add it to the soup after simmering for 1 hour. Then, let simmer for another 20 minutes. Add cream and adjust the taste with salt and pepper to your liking.

Serve in bowls, garnished with sour cream and dill.


Gobo Root Appetizer (kinpira)

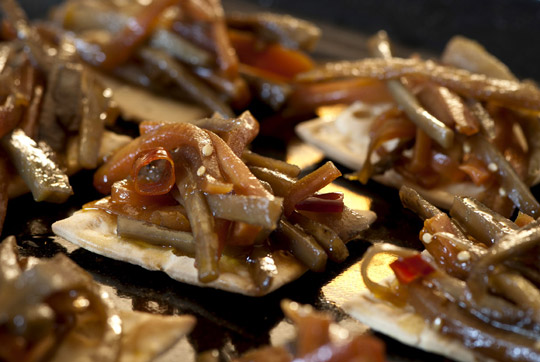
Gobo Cracker

Although gobo is one of my favourite vegetables, I hadn’t eaten it for a long time since coming to Vancouver. Fortunately, my friend gave me some seeds that she had harvested from gobo plants she grew. Despite its huge nutritional benefits, I feel that North Americans still do not know how to eat this beautiful vegetable. It contains a lot of minerals and fibre, which cleanses the stomach and intestines,  serving as a mild laxative to purify the body and eliminate toxins and  waste. What else do you need, right? So here is the recipe for you to reap the benefit of this rather conservative looking veggie that nonetheless contains impressively healthful attributes.

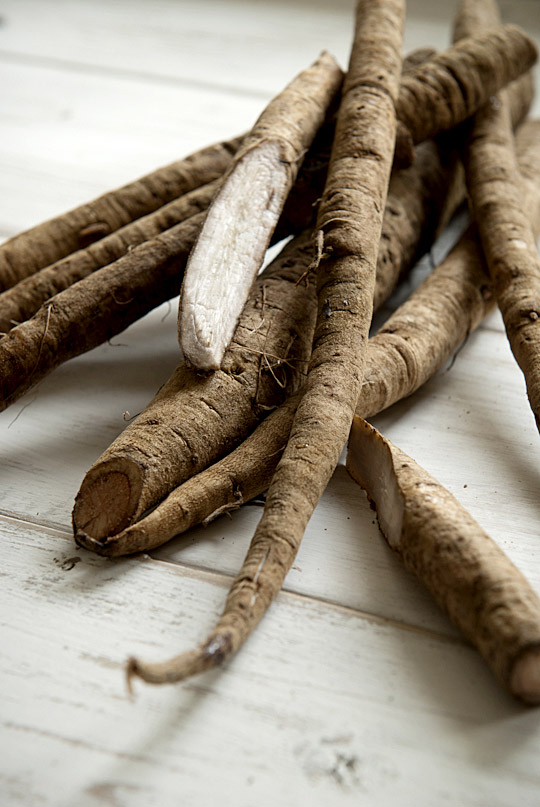
gobo

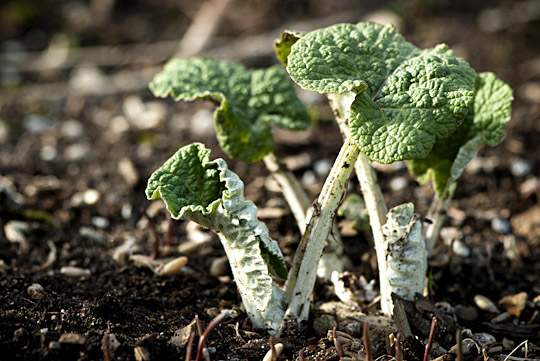
Last summer, I was away and missed the timing to sow the gobo seeds. However, I decided to take a chance and sowed the seeds in late August. The new growth was lush but sadly it disappeared during the winter months. So I couldn’t help getting giddy when I found the new growth today in my garden. I bought the organic gobo, pictured above, from a health store (cost me $18 for two pounds! It makes me realize even more how precious it is to grow them in my garden).

gobo leaf

I like to make plenty of this dish because it’s always the best next day! We ate some for dinner with rice and the next day, I stumbled upon the idea to serve the leftovers on Wisecrackers as an appetizer– it was delicious!

Kinpira

Serves 4-6

1 lb organic gobo (burdock roots)

1 lb of organic carrots

5 small dried chilli peppers (I grew and stored ‘Thai Dragon’)

2 tablespoons sesame oil

2 tablespoons vegetable oil

3 tablespoons organic cane sugar (or brown sugar)

6 tablespoons soy sauce

1 tablespoon mirin (Japanese cooking sweetener)

3 tablespoons toasted sesame seeds

Brush the gobo clean, jullienne and soak them in water with a few drops of vinegar for 30 min. Julienne carrots and chop chilli peppers to create thin rings. Change the water and continue to soak gobo for another 10 min. Drain gobo and remove moisture well. I do this ahead of time so they are fairly dry when I cook.

Heat a large pan with oil until smoking hot, then stir fry gobo and chilli peppers for 15 min. Add carrots and stir fry for another 10 min until carrots are cooked but not soft.  The secret is to cook in high heat by continuously stirring to ensure nothing burns and keeping the vegetable mixture dry, not wet. Add sugar and soy sauce to the carrot mixture, and continue to stir till sauce starts bubbling. Add mirin and sesame seeds and combine well for a few minutes. Mirin burns easily, so as soon as the sauce thickens and becomes bubbly, take the pan off the heat. Serve with rice and save some for the next day to serve on crackers as an appetizer.