Udon Noodles: Going Back To the Basics

udon_noodle

Lately, I have been enjoying doing old things. It seems like I’m against the current of modern technology of this day and age, but it just feels right in my own skin. Having started shooting using film is one of them. I truly enjoy the process of taking a photograph. Everything slows down. Unwrap a roll film. Load it and wind it on a spool, wind again to finally be able to shoot. It’s peaceful. Carefully choose a subject and think about a composition, so as not to waste one precious shot out of 10. Now decide on the aperture, take light metering and settle on the shutter speed. Concentrate. Focus. Duh, take off the darkslide, which I often forget to remove! Wait for the right moment. Press the shutter, hoping that neither my subject, nor I, have moved a mere inch. “Dung,” the heavy sound of mirror movement and shutter action completes all that it takes to photograph one scene, and that excites me very much. And yet, I won’t know if I managed to come away with the shot until the film is developed. I have become patient. Cock the shutter, advance the film and start all over again. I get indescribably giddy.

udon flour

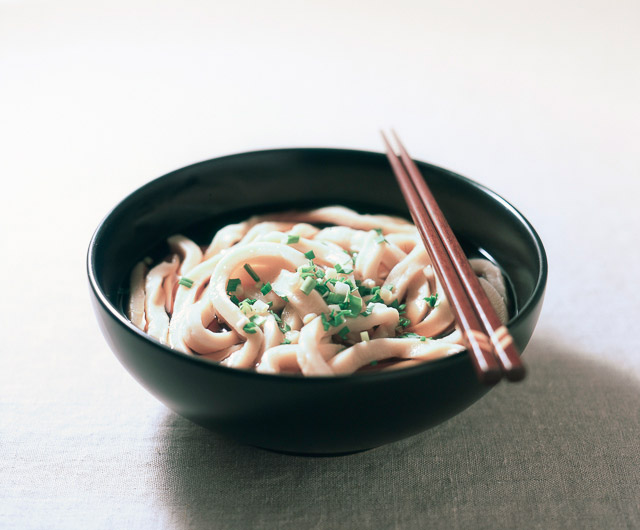
So going back to the old things, for this post, I made udon noodles for you in the traditional way that some Japanese people still do. It is a time consuming process, but if you are looking for something to clear your mind or are trying to settle your anxiety, or if you are like me, just like to use your hands to make food, it is like a type of meditation. At least, the result is certainly worthy: a warm, utterly satisfying bowl of noodle soup.

flour

mixing

kneading

udon dough

rolling the dough

udon noodle

Udon Noodles and Soothing Soup

Feeds 8 – 10 people

1 kg all purpose flour

Salted water (50g salt and 450 g water)

Cornstarch for rolling the dough

Topping

Green onions, scallions or chives, finely sliced

Soup (serves 3-4)

2 x Kombu (about 4 x 4 inch pieces), make some slits in it with kitchen scissors

2 cups bonito flakes

5 tablespoons mirin

5 tablespoons light coloured soy sauce (usukuchi soy sauce)

or Soba sauce (see the recipe)

Sea salt

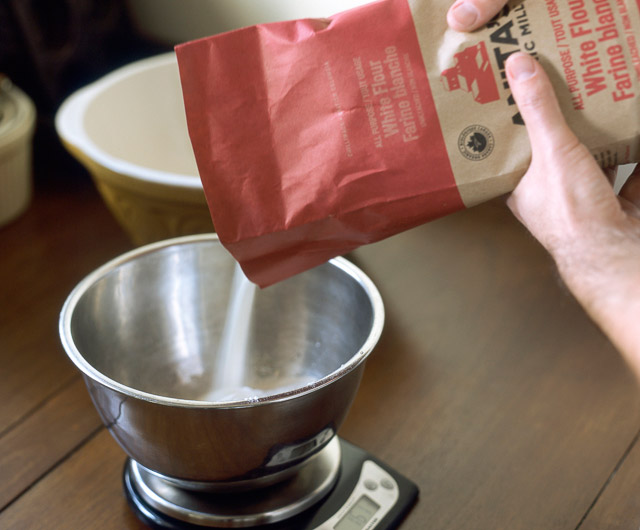
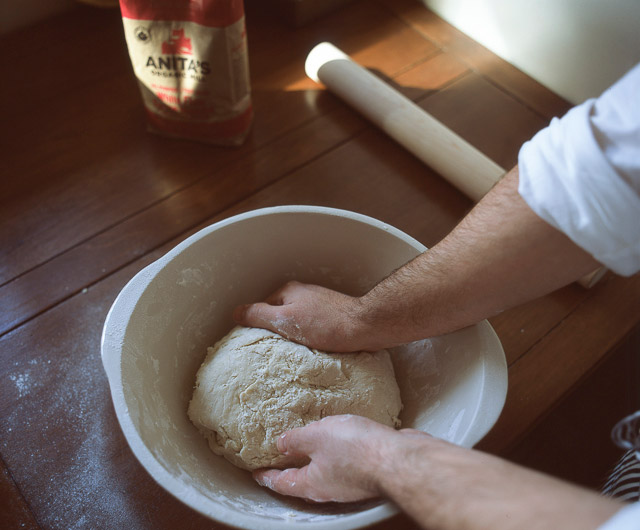
Dissolve salt well in 450g of water. Place the flour in a large bowl and add the salted water. Combine until there is no dry flour left. Form into a ball.

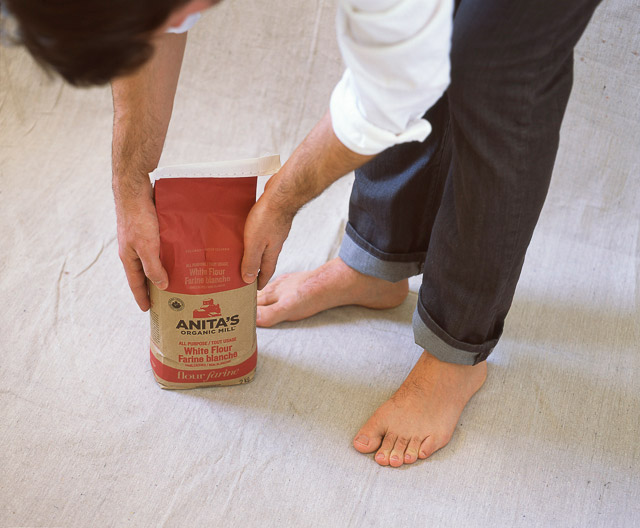
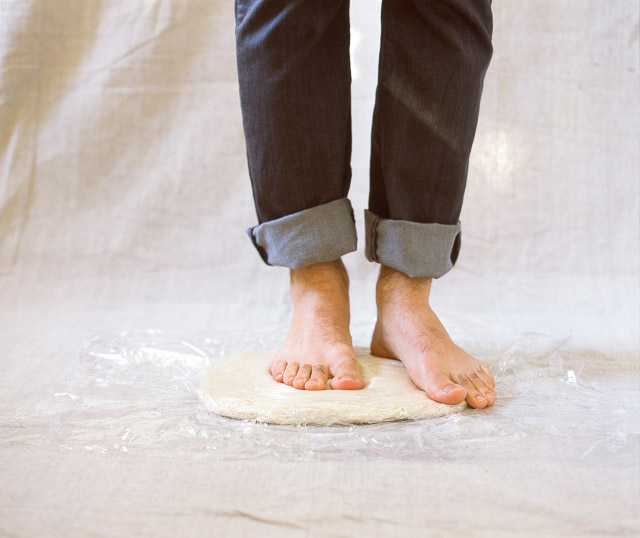
Place the dough in between two sheets of clean plastic sheets or Saranwrap on a sheet of clean cloth on the floor (yes, the floor!). Step on the dough with your clean feet. Fold it, step on it to stretch it and fold again. Repeat until the dough becomes smooth. Try not to let the air get inside the dough when you are folding. Match the corners neatly while folding so that it becomes a tidy small mass. Form into a ball.

Rest the dough in an airtight bag (or wrap tightly) at room temperature, 1 hour in summer time or 2 to 3 hours in winter.

In the meantime, make dashi stock. Wipe and clean the piece of kombu with a wrung wet cloth. Do not wash, as flavour leaches away.  Fill a large pot with 1.5 L of water and place the kombu inside. Let sit for 20 minutes to let umami leach into the water.

Warm up the pot over medium heat and, just before water starts boiling, remove the kombu from the pot. Don’t cook the kombu, as it gives off an unpleasant odor and taste.

Add the bonito flakes and bring to a boil very briefly: remove from heat. Do not boil the bonito, as it also makes the dashi unpleasant to taste. Leave the dashi until the bonito has sunk to the bottom of the pot and infused the stock. Strain the dashi stock into another pot. Warm up, and add mirin and soy sauce. Adjust with salt. Or, if you already have the soba sauce made, you can add 8 to 10 tablespoons of it. Just gradually add and taste to achieve your liking, and then adjust with salt. If you have extra, keep it refrigerated for up to a few days.

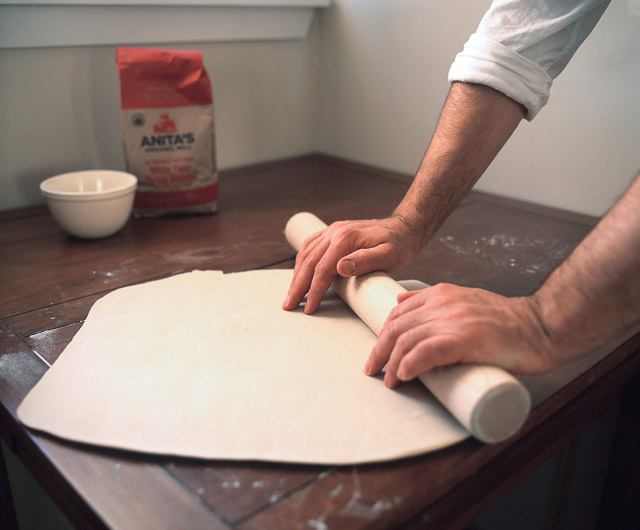
Step on the dough once again in between the two sheets of plastic, and form into a circle. Use your weight to stretch the dough as wide as possible, making it easier to stretch farther later. Flour the cornstarch on the working table and transfer the dough. Using a rolling pin, stretch the dough to about a 27-inch circle. Try to make the dough evenly thick. You can either form it into a circle or square. If you make the dough into a square shape, all the noodles become the same length when you cut them. Alternatively, if you find the dough too tough to stretch with a rolling pin, you can use a pasta attachment on a stand mixer to stretch it. Make the dough into about ¼ inch thickness.

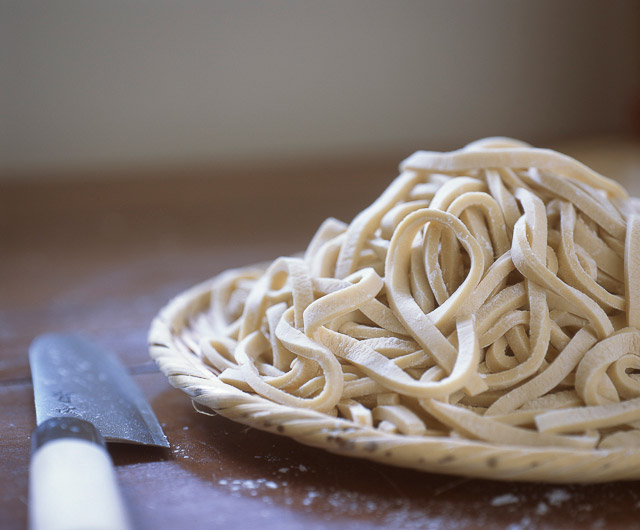
Scatter the cornstarch on the dough surface and fold in thirds; just like you fold a letter to fit in an envelope, pull an edge from one side to the centre and another from the other edge to the centre, overlapping. Cut into ¼ inch thickness with a sharp knife. The key is to match the width of the noodle with the thickness of the dough to make nice shapes. As you cut, fluff the noodles to prevent them from sticking to each other. If you don’t want to cook all the noodles, you can divide them into smaller portions and freeze in airtight bags (remove the air as much as possible so as to avoid freezer burn). Consume within 2 months for the best flavour.

Boil water in a large pot. You need about 5 L of water to cook 400g of noodles per 3 people. Cook the noodles until done, for 12 to 13 minutes. The thicker the longer it takes to cook, so if you are not sure about the doneness, cut a piece of cooked noodle and see if the centre part became translucent. Adjust the heat accordingly to avoid spilling the hot water.

Drain the noodles and rinse with cold water. Drain completely and serve a portion in each bowl. Pour the hot soup over the noodles and top with green onions.

“Itadakimasu.”


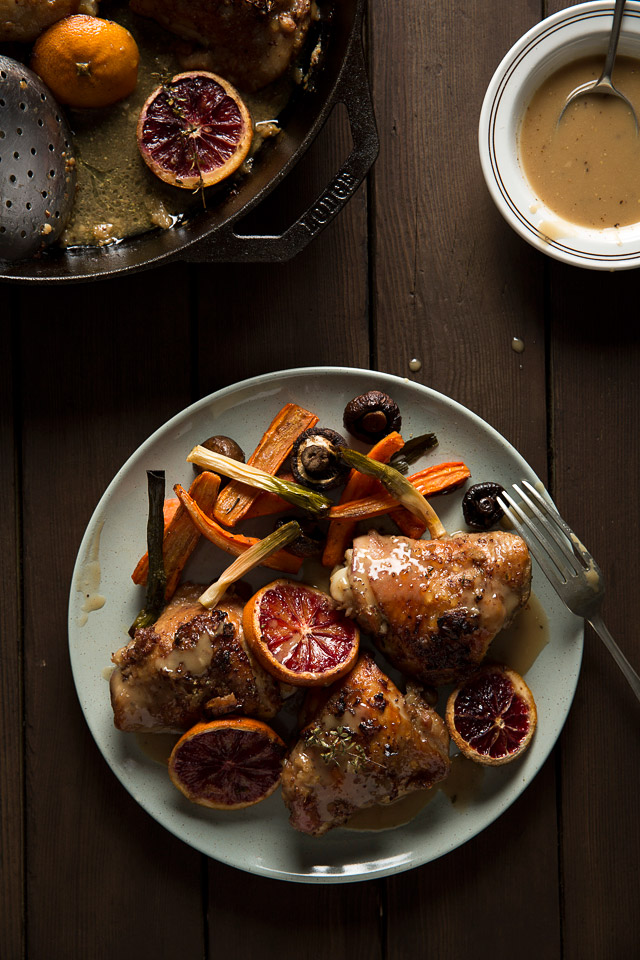
Blood Orange Roasted Chicken

blood_orange_chicken6B

I thought I would quickly throw together this amazingly satisfying recipe for a weekend meal idea since we really enjoyed it! It’s the blood oranges! It’s the chicken thighs!

blood_orange

What is your pick-me-up food when you are under the weather? Mine is Japanese mandarins. While laying on a thick futon, fighting a high fever for a few days during our Japan trip, that was the only thing I wanted to eat. They possess just the right juicy sweetness plus plump succulent meat with great acidity. They are tiny yet burst in your mouth: just a perfect fruit to quench one’s thirst. Coincidentally, Ninomiya, the suburb where we stayed with my sister, is one of the country’s most important producers of Japanese mandarins. Upon recovery, I truly enjoyed the crisp walk weaving through the orange fields under the sun.


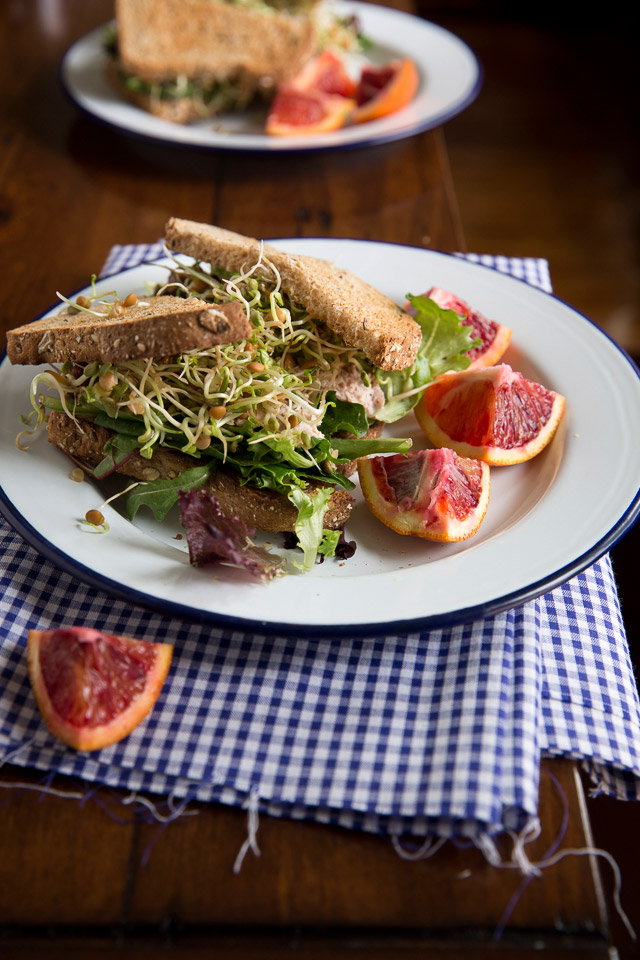
sandwich_with_blood_orange

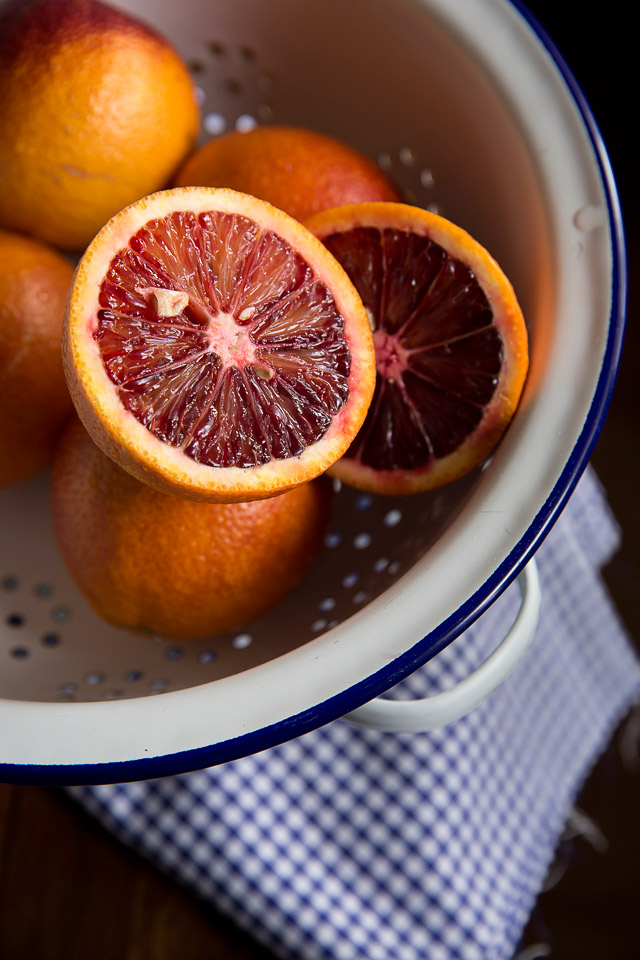
Those days seem already a faraway memory, so I tried to find my beloved mandarins in a local market in order to savour their unique flavour once more. Unable to find  the Japanese variety, I discovered red hued blood oranges instead. I simply could not resist their scent so I brought some back home with me. I ate some raw, slurped their flesh and paired them with roasted chicken for supper. I find it very refreshing when the garlicky, tangy citrus juice mixture meets the greasiness of the chicken. Another quick and easy yet delicious dish following my last post! The next day, I nestled the reheated leftover chicken pieces on the freshly cooked spaghettini, squeezed the roasted slices of blood orange over top and drizzled it all with the gravy. It was really an unexpected treat after having been soaked during a cold rainy night.

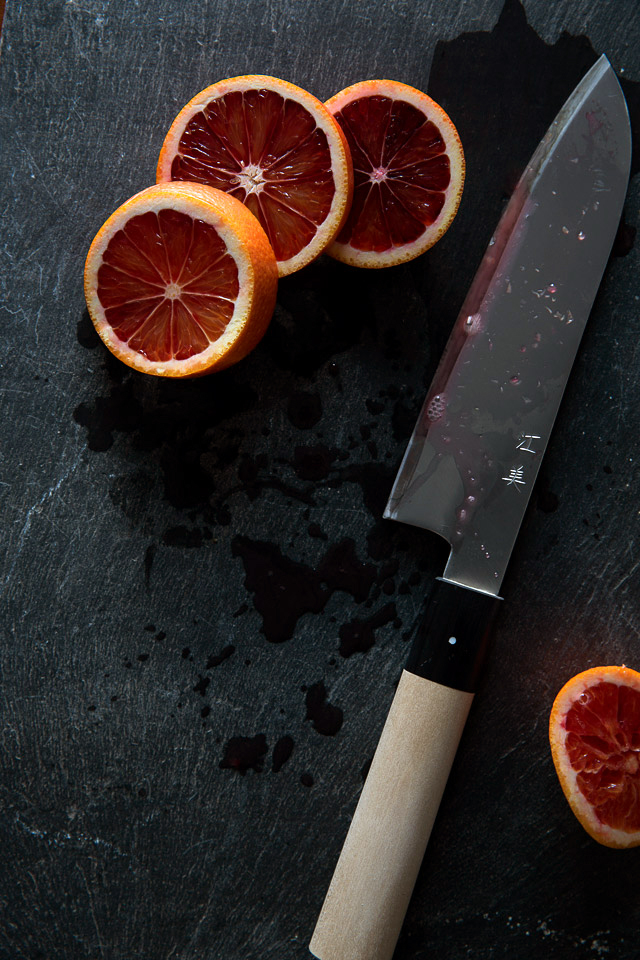
blood-oranges_knife2

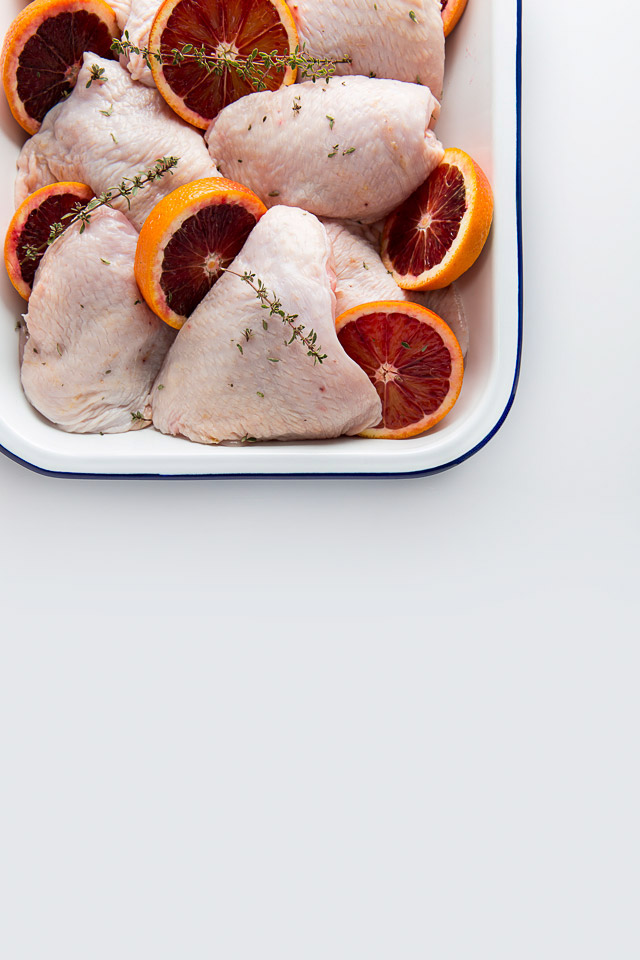
raw_chicken2

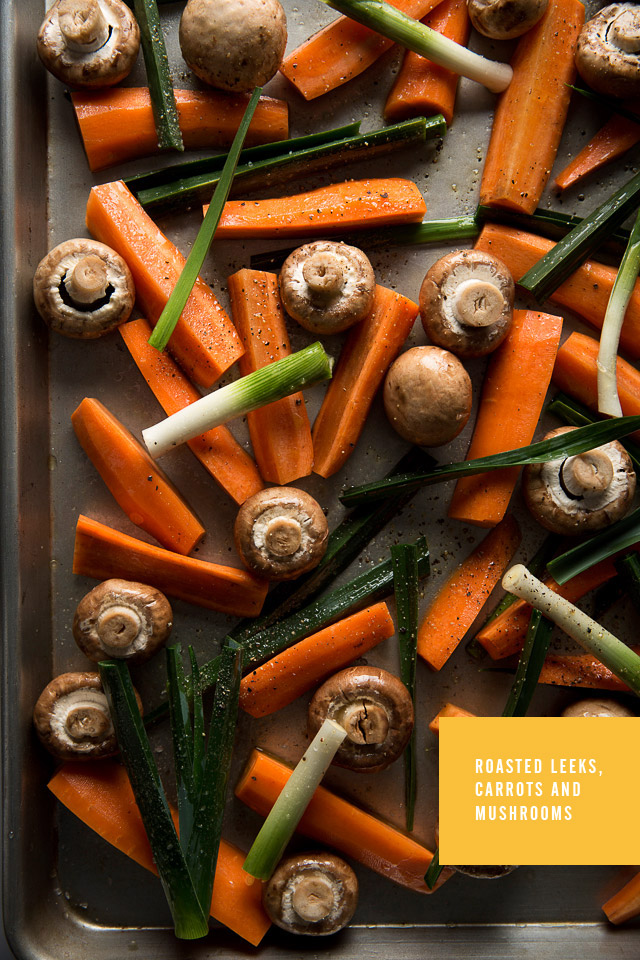
vegetables_b

blood_orange_chicken_b

blood_orange_chicken5

Blood Orange Roasted Chicken

Serves 4

2 ½ pounds chicken thighs, bone in and skin on

Marinade

3 garlic cloves

½ teaspoon sea salt

1 tablespoon smooth Dijon mustard

1 tablespoon whole grain Dijon mustard

3 tablespoons soy sauce

½ cup freshly squeezed blood orange juice (about 2 -3 oranges)

1 tablespoon white wine

3 tablespoons olive oil

Few sprigs of thyme

2 blood oranges, sliced into ½ inch thick pieces

3 tablespoons all purpose flour for gravy

Using a pestle and mortar, mash the garlic. Slowly add the salt and make into a creamy paste. Add the mustard and combine well. Transfer into a small bowl and add the soy sauce, orange juice, wine, oil and thyme. Mix well.

Rinse the chicken pieces and pat dry. Marinate them in the orange juice mixture in a large rimmed dish. Cover and refrigerate for at least 4 hours. Turn the meat upside down to ensure that it thoroughly marinates when half way done.

Preheat the oven to 325F. Place the chicken and sliced oranges in an ovenproof large heavy bottomed pan, making sure the thighs are not overlapping; pour the marinade liquid over top. Roast for 45 to 50 minutes, or until a thermometer inserted in the thick part reads 165F. Baste the chicken a couple of times during the roasting.

Transfer the chicken to a serving platter and make gravy. Add the flour to ½ cup water and stir well. Whisk the flour mixture into the remaining liquid in the pan and bring to a boil. Stir constantly and continue to boil until the desired thickness is achieved.

Serve with roasted orange slices and gravy sauce.


Roasted leeks, carrots and mushrooms

Serves 4

4 large carrots, cut in half and quartered lengthwise

2 leeks or a bunch of baby leeks, cut into 2 inch pieces and halved lengthwise if thick

2 cups mushrooms, washed with ends removed

2 tablespoons olive oil

Salt and pepper

Coat the vegetables well in oil, salt and pepper. Place them in a baking sheet and roast in the 325F oven for 30 minutes, or until the vegetables are tender.

Serve warm.

blood_orange2

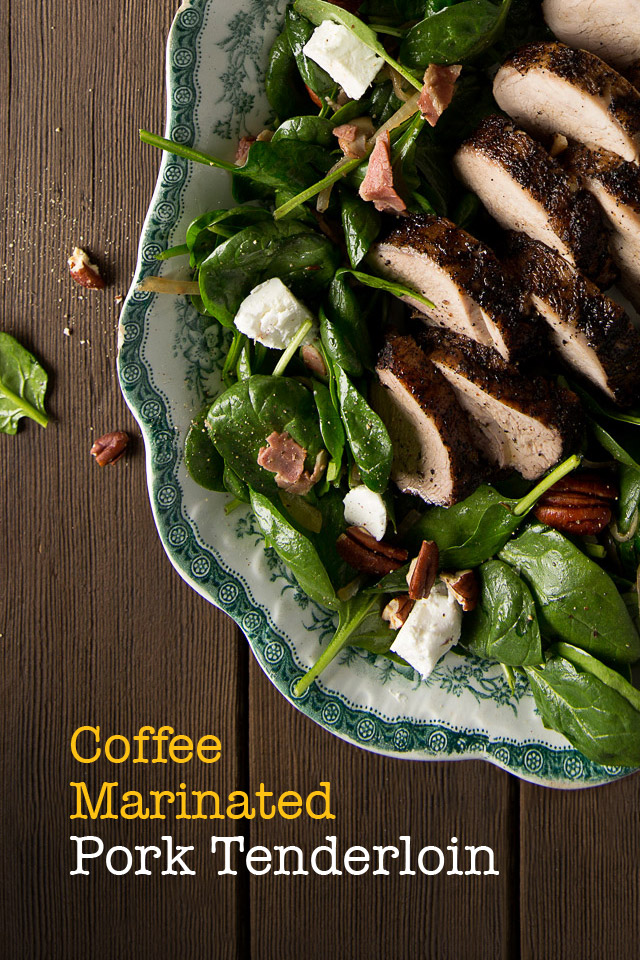
Coffee Marinated Pork Tenderloin and Coffee Ice Cream

Coffee_marinated_pork_tenderloin3

While visiting Japan, I was reminded of some of my favourites from our family recipes as much as I got inspirations for new recipes. Before I began to forget all the foodie excitement, I quickly started trying to recreate and adjust the Japanese recipes back in Canada. Today, I posted this tenderloin recipe that my twin sister always prepared for our family and friends at her BBQ / garden party along with other amazing dishes. This is the one of the easiest yet tastiest dishes when you crave good protein for dinner.

Inspired by this recipe, I thought I would group together all the coffee influenced recipes from my travel journal. It took me a couple of attempts to achieve the texture and taste that I desired for this. Although I NEVER drink instant coffee due to its inky taste, for this recipe I used good quality organic freeze dried ones, made by Mount Hagen Organic Café, that I had picked up from a local organic store. As a result, the recipe was easier to execute and I loved the result!

I’m planning to introduce matcha (Japanese finely ground green tea) influenced recipes as a counterpoint to today’s coffee recipes sometime soon, so stay tuned!

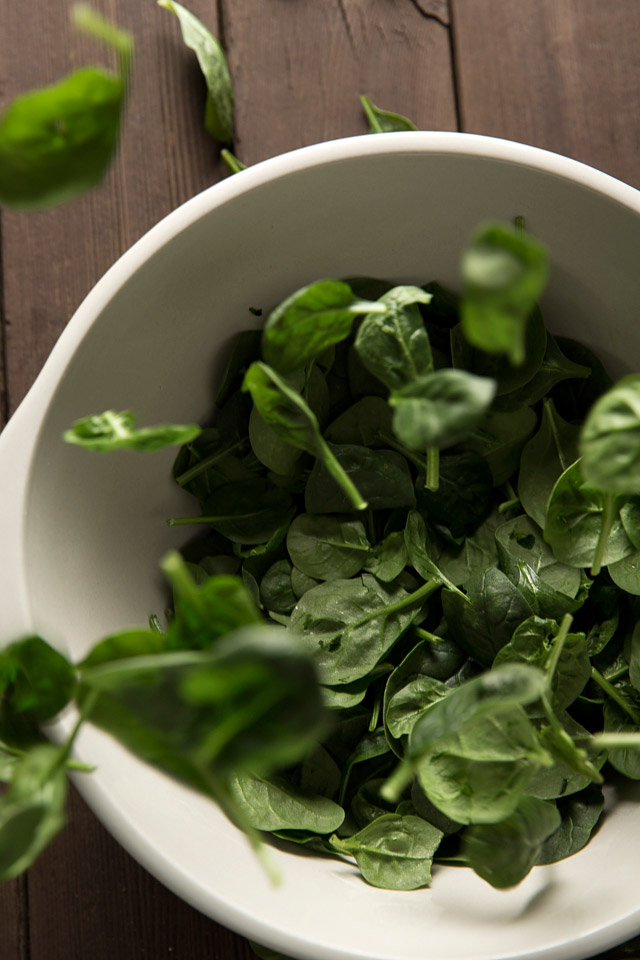
Spinach

Coffee marinated pork tenderloin2

Pork tenderloin recipe

Coffee_icecream5

Coffee_ice_cream

coffee-ice-cream2

coffee-icecream6

Coffee_liquor_syrup2

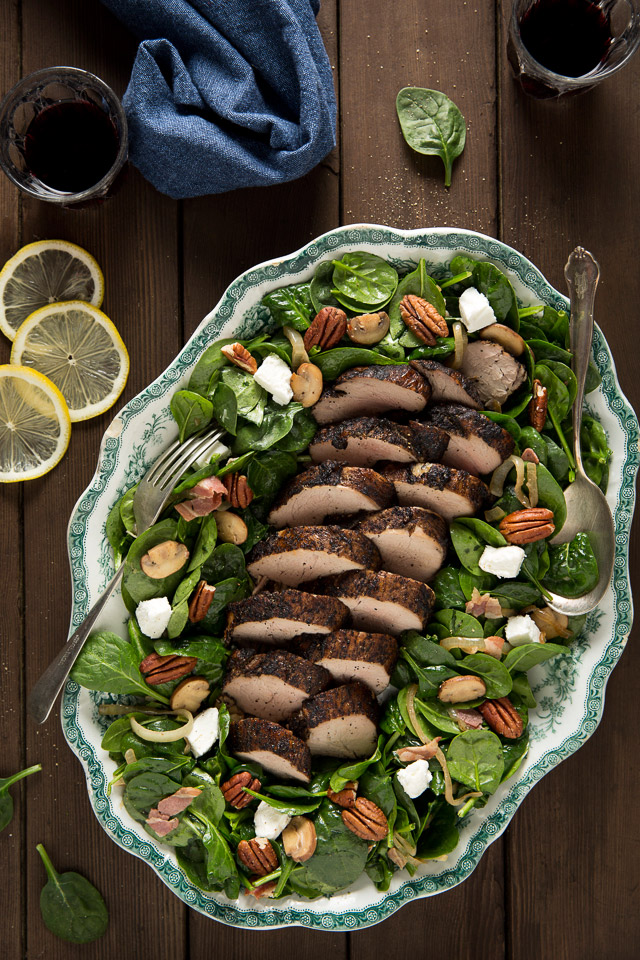
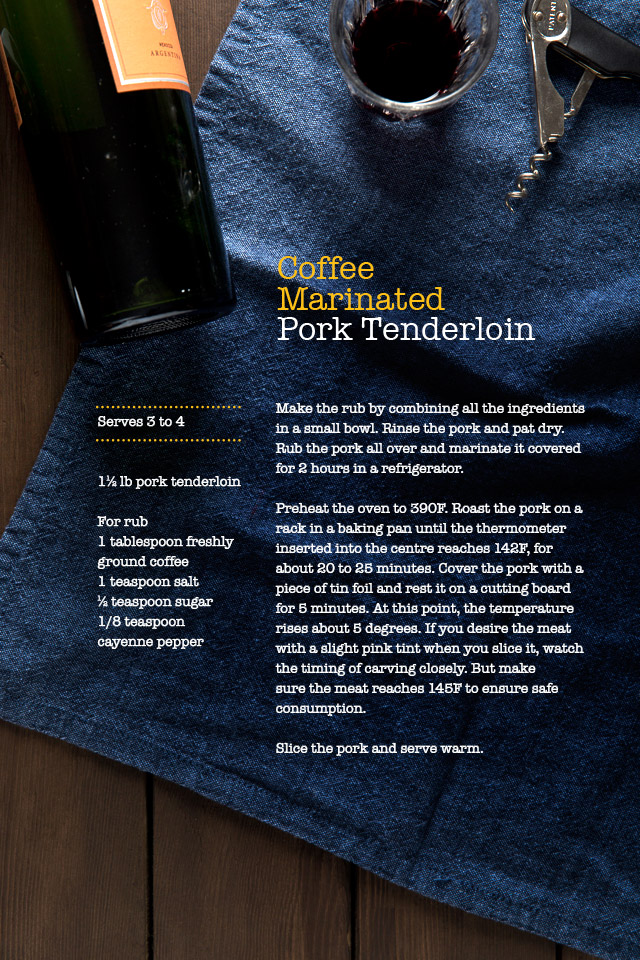
Coffee Marinated Pork Tenderloin

I really liked the pork, marinated for only 2 hours, since the smoky roasted coffee flavour enhanced the taste of the pork. I also experimented with marinating pork overnight, but the coffee tasted a little acidic after many hours of oxidation while being marinated. Nevertheless, it’s important to grind the coffee beans with a spice grinder just before making the rub for the best result. So I’d stick to the 2 hour marinating method, as it gave me plenty of time to do other chores in the kitchen and to prepare the best matching salad (recipe below) to accompany this dish. The grainy texture and saltiness from the rub don’t require any other sauce aside from a citrus note from the following salad to help balance everything out. Oh, you’ll love this combination!

Serves 3 to 4

1.5 lb pork tenderloin

For rub

1 tablespoon freshly ground coffee

1 teaspoon salt

½ teaspoon sugar

1/8 teaspoon cayenne pepper

Make the rub by combining all the ingredients in a small bowl. Rinse the pork and pat dry. Rub the pork all over and marinate it covered for 2 hours in a refrigerator.

Preheat the oven to 390F. Roast the pork on a rack in a baking pan until the thermometer inserted into the centre reaches 142F, for about 20 to 25 minutes. Cover the pork with a piece of tin foil and rest it on a cutting board for 5 minutes. At this point, the temperature rises about 5 degrees. If you desire the meat with a slight pink tint when you slice it, watch the timing of carving closely. But make sure the meat reaches 145F to ensure safe consumption.

Slice the pork and serve warm along with the following spinach salad.


Lemony Spinach Salad

Serves 3 to 4

If you plan to serve this salad with the above pork dish (as I strongly recommend!), you can start preparing it when the pork is 10 minutes away from being done. The key to this salad is to take time to infuse the flavour of the pancetta into the onions and mushrooms over low heat. Also be sure to combine the hot onion mixture into the spinach to lightly wilt the leaves. No salt is added to the dressing due to the amount of saltiness derived from the pancetta.

1 teaspoon butter

1 teaspoon olive oil

100g thinly sliced pancetta, cut into strips

½ onion, thinly sliced

1 cup mushrooms, sliced

A lump of goat cheese

150g baby spinach, washed and drained well

Big handful of pecans

Dressing

3 tablespoons extra virgin olive oil

3 tablespoons fresh lemon juice

½ teaspoon freshly ground pepper

In a large skillet, melt the butter and add the olive oil over low heat. Sauté the pancetta, onion and mushrooms until the onion becomes very tender. In the meantime, make the lemon dressing. Combine the lemon juice, olive oil and black pepper in a small empty glass jar with a lid on, and shake until emulsified.

Roast the pecans until they give off a nice roasted scent, for about 5 minutes. I use the heat that is left after I take the above pork dish from the oven.

Combine the spinach, the hot onion mixture, pecans and lemon dressing in a large bowl. Crumble the goat cheese over the salad and toss well.

Serve with the pork tenderloin.


Coffee Ice Cream

Makes about 1 quart

1 ¾ cups whole milk

2/3 cup sugar

3 egg yolks

2 ½ tablespoons good quality instant coffee

1 ½ cups whipping cream (Avalon for the best flavour if you are local)

¼ cup Kahlua (coffee liqueur)

For serving

½ cup Kahlua

A bar of white chocolate

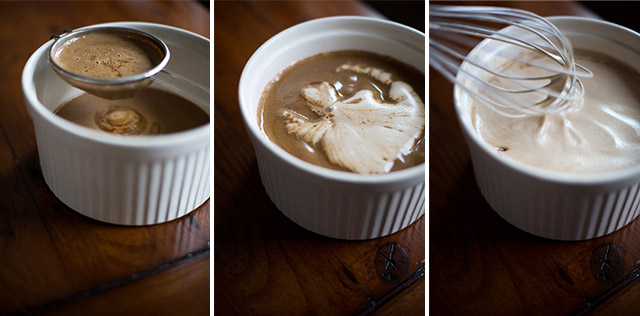
In a saucepan, heat 1 cup of milk over medium heat. In a small bowl, beat the eggs, add the sugar, and mix well.

While stirring the egg mixture, add the hot milk in a few instalments. Return the mixture to the saucepan and add the coffee. Stir well and continue cooking until the mixture thickens, about 12 minutes.

Remove from the heat, strain to another large bowl and let the temperature drop a little bit. Add the remaining milk, cream and the coffee liqueur, and whisk well. Cover the mixture and refrigerate at least 4 hours.

Churn the ice cream mixture according to the manufacturer’s instructions. Freeze in a sealed container overnight.

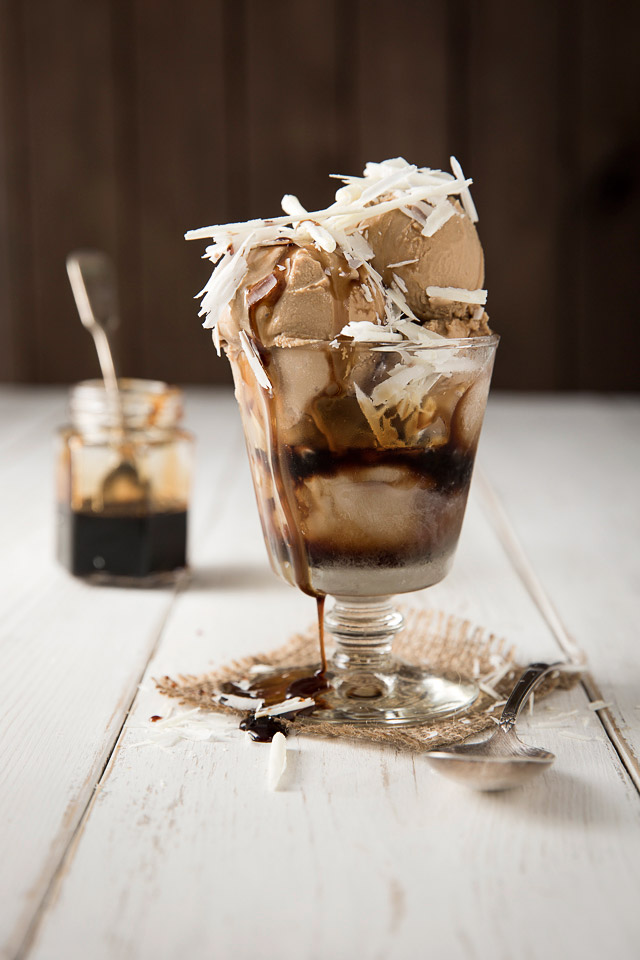
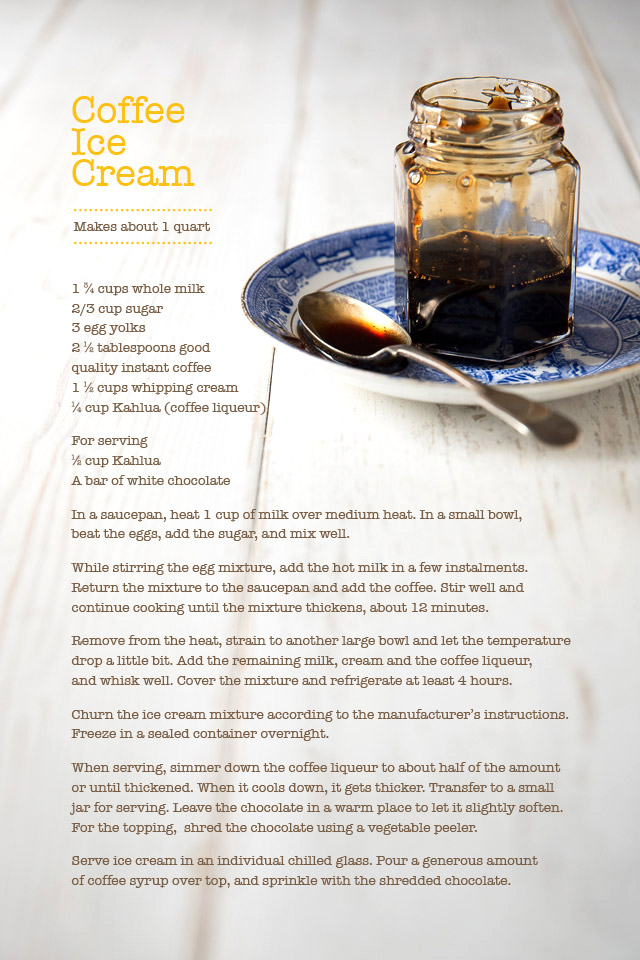
When serving, simmer down the coffee liqueur to about half of the amount or until thickened. When it cools down, it gets thicker. Transfer to a small jar for serving. Leave the chocolate in a warm place to let it slightly soften. For the topping,  shred the chocolate using a vegetable peeler.

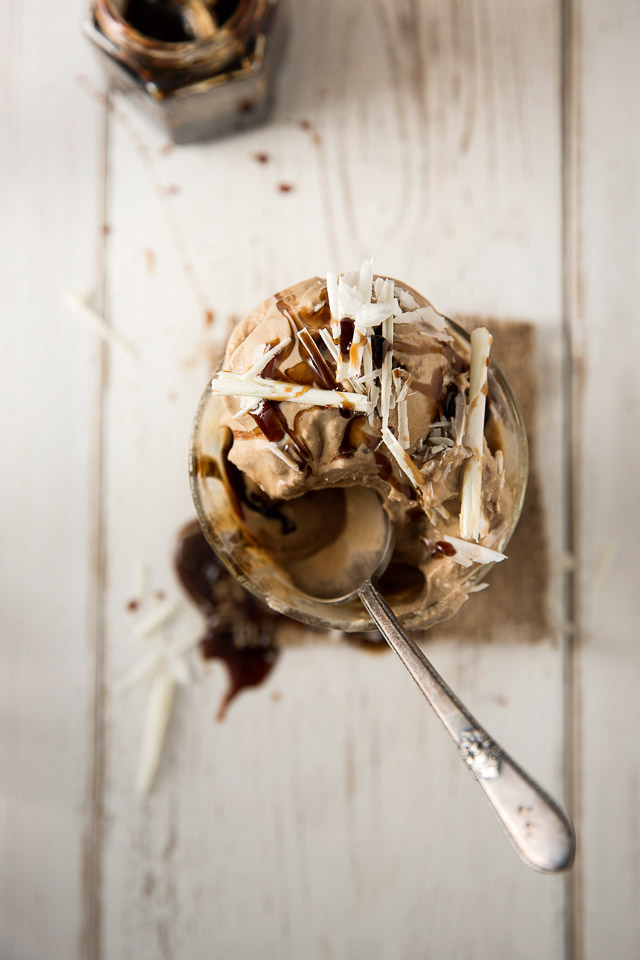
Serve ice cream in an individual chilled glass. Pour a generous amount of coffee syrup over top, and sprinkle with the shredded chocolate.