Rhubarb Bars

rhubarb bars

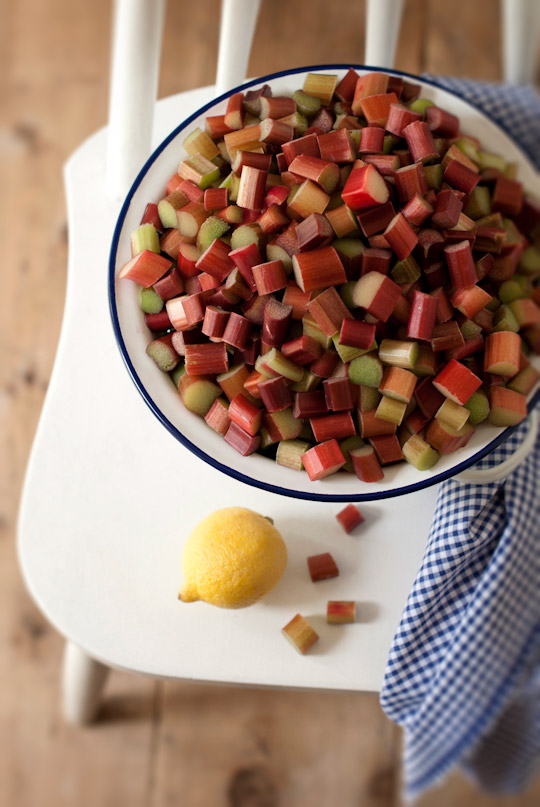
Okay, I promise that this is going to be the last post for rhubarb desserts since I already posted many lately, and I should probably leave my rhubarb plants alone to recuperate for next year so I can bake all these rhubarb goodies all summer long! But who can resist those intense ruby red stalks?

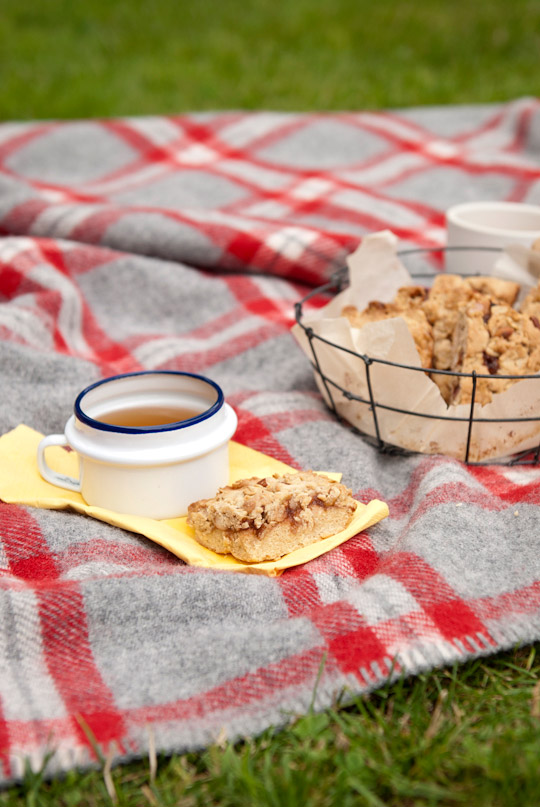
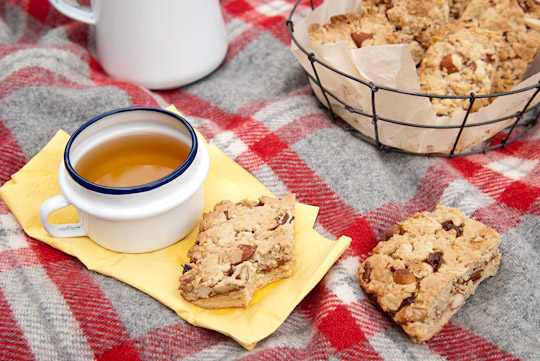
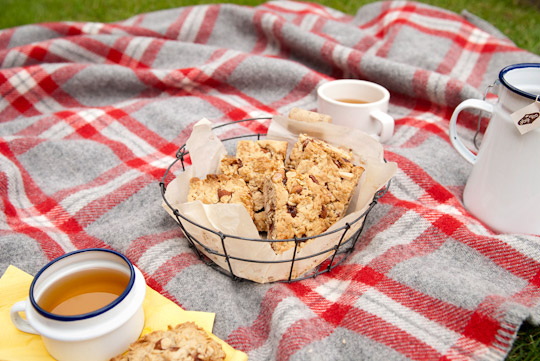
These bars are perfect to take on trips, thanks to their solid texture. We ate them on a ferry and brought them to a picnic too. As Deborah Madison suggests, you can use any kind of jam to add variety.

rhubarb barsrhubarblemonrhubarb jamrhubarb bars

Rhubarb Bars

9 x 9 square pan

110g salted butter

½ cup cane sugar

¼ cup powdered sugar

1 teaspoon vanilla extract

1 egg

½ teaspoon baking powder

½ teaspoon ground cinnamon

11/2 cups unbleached white flour

¼ teaspoon salt

1 cup mixed chopped almonds, pecans, walnuts and rolled oats

¾ to 1 cup rhubarb jam or more (recipe below)

Extra butter and flour for greasing and dusting the pan

Preheat the oven to 350F. Butter a 9 x 9 pan and dust with some flour. Remove excess flour. Alternately, line the pan with a sheet of parchment paper.

Cream the butter, add the sugar gradually, and beat until fluffy. Add the egg and vanilla, and continue stirring until the egg incorporates. Add the dry ingredients except the nuts mixture.

Leaving ¾ of the dough, press the rest evenly in the prepared pan.

Spread the rhubarb jam in a thick layer over the dough.

Mix the nuts into the reserved dough, and spread over the jam layer.

Bake about 40 to 45 minutes.

Let cool and cut into squares.

Adapted from Deborah Madison’s Vegetarian Cooking for Everyone.


Rhubarb Jam

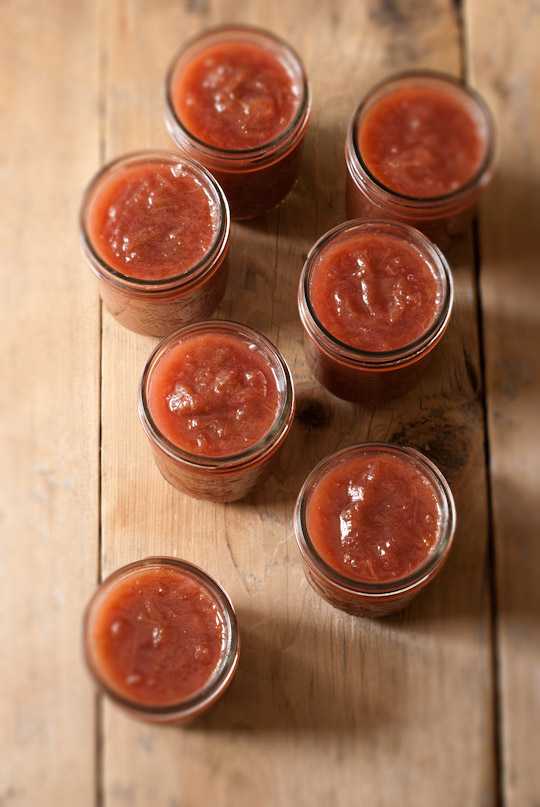
I make this jam thinking of crisp cold winter mornings when I spread it generously over toast smeared with cream cheese, all served with a warm pot of tea or coffee.

Makes 7 x 250 ml jars

2 kg rhubarb, cut into 1 inch pieces

850g cane sugar

2 tablespoons lemon juice (about 1 small lemon)

Place all the ingredients in a heavy bottomed pot and cook until the rhubarb loses its shapes and becomes thick, about 1 hour or so.

Bring plenty of water to boil in a large pot that is taller than the jars. Sterilize the jars, lids and screw bands for a few minutes. Let them dry.

Pour the jam into the sterilized jars, leaving 1/4 inch from the brim. Wipe any spilled jam from the brim. Screw on bands snugly but do not over tighten them. Make sure that lids are not damaged or bent so that they seal properly during the canning process.

Place a heavy tea towel in the pot to keep the jars from having direct contact with the bottom. Submerge the jars. Make sure that there is enough water to cover them by at least 1 inch.

Boil for about 25 minutes.

Remove the jars without tilting, place them on a tea towel and cool undisturbed for 24 hours. In the mean time, remove the screw bands, wipe and dry them and replace on jars.

You can test the jars to find out if they are sealed properly. You can lift the whole jar by grabbing only the lids if they are properly sealed.

The preserves last about one year or longer. Refrigerate once opened.


Green Week

spicy spot prawns with tah tsai

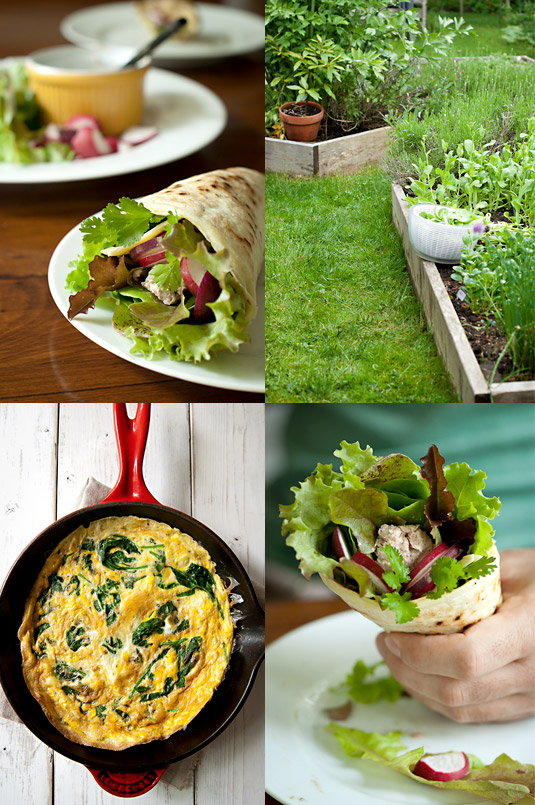
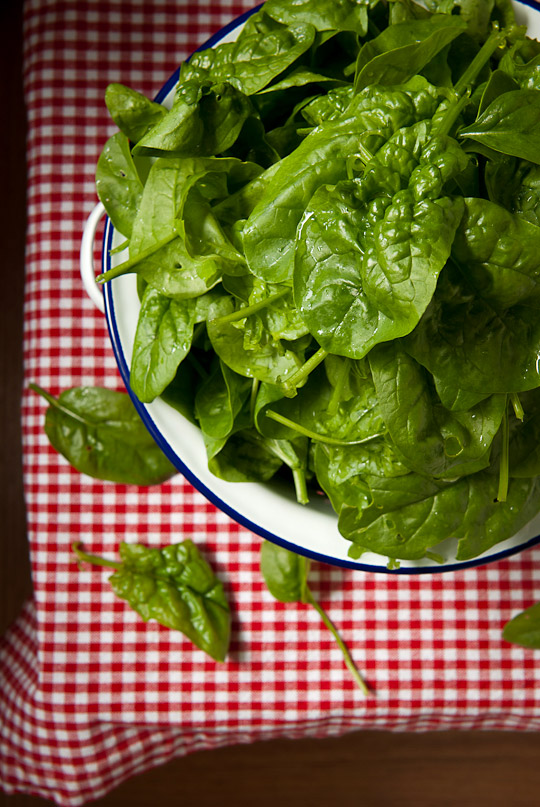
It seems as if we have been making up for the wintertime when the greens were scarce but tons of sprouts and stored vegetable dishes were on the table, because we have been devouring the greens: spinach frittata, spinach goma ae, salad with arugula, mizuna, various forms of lettuces and mustard greens, bok choy, and tah tsai for stir-fries. In other words, this is an opportunity to tuck these tender leaves in any recipes I encounter. After two weeks of hard rain (and the rain continues), these greens from my garden are more abundant than those that line the shelves at a grocery store, the difference being that mine are the freshest, tastiest organically grown produce around and haven’t traveled long distance to feed us.

fish pate crepe, the garden and spinach frittata

This rain also brought us back to the life of a fireplace and warm food inside the house. Simply put, Mother Nature decides for us as to what to cook, and I personally like this seasonal way of eating. As my gardener friend states, “the bright side of having so much rain is that we don’t need to spend time watering vegetables.” It is true that I don’t have to worry if there is enough water in the soil so my greens stay crisp and sweet; a seasoned gardener always knows best. Looking out through the windows, it is obvious what we will eat for lunch today; grilled cheese sandwiches with a kick of mustardy flavour from mizuna leaves in between the bread.

Bloomsdale Savoy and Tyee spinach from the gardengoma ae saucegoma ae

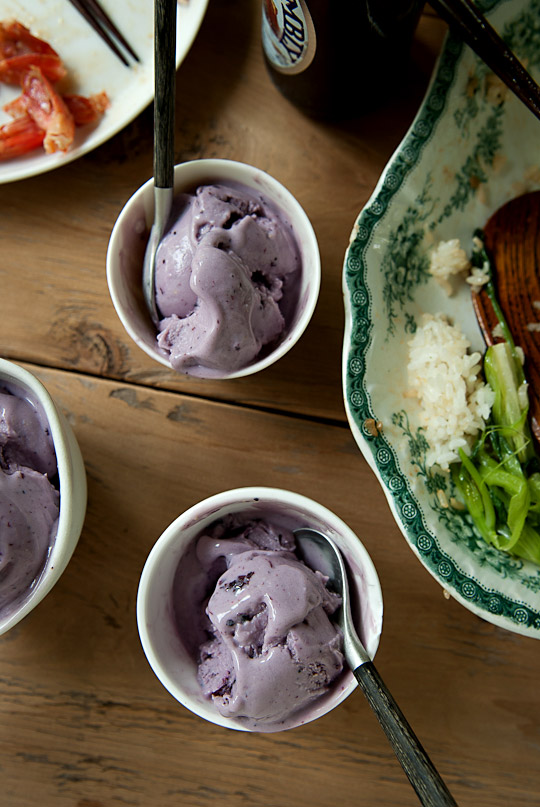
It’s impossible to ignore the army of greens standing up strongly, trying to reach the sky, and frankly it is overwhelming. So I call this week’s post “Green Week.” For some reason, I feel that now is also a good time to go meatless. Of course one cannot skip dessert, so I made a lighter version of a special treat that I feel somehow corresponds with the green theme. It’s French vanilla blueberry frozen yogurt. However, if you are prepared to eat heavier ice cream, here is the recipe.

French vanilla and blueberry frozen yogurt

But first things first. Let’s start with some delicious and nutritious dishes you can make using this wealth of greens before I go on to tempt your sweet tooth with the frozen yogurt recipe!

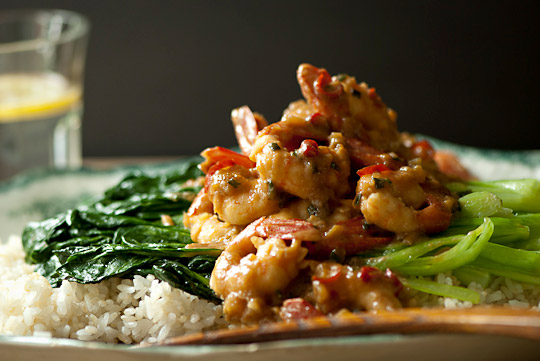
spicy spot prawns with tah tsai

Spicy Spot Prawns with Tah Tsai

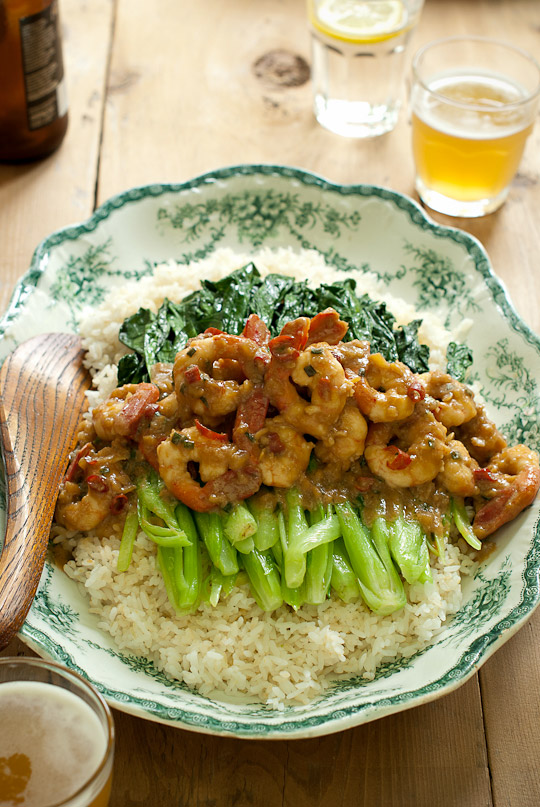
I cook this recipe all year around with tofu and any greens available, say with kale in winter, tah tsai or bok choy in spring and green beans in summer. Of course I used spot prawns to celebrate its season and that allows me to achieve the maximum flavour this recipe can ever get. Make sure you have a lot of greens on hand because they cook down to NOTHING!

Serves 3-4

2 garlic cloves, finely chopped

A knob of ginger, finely chopped

1 tablespoon scallions or green onion, chopped

2-3 red chili peppers, seeds removed, sliced thinly

20 spot prawns, head and shells removed (or 1 lb silken-firm tofu)

3 big bundles of tah tsai (or more), cut in half or ¼ lengthwise

4 tablespoons vegetable oil

1 tablespoon sesame oil

1 tablespoon cane sugar or brown sugar

2 tablespoons Chinese chili bean sauce, or Japanese miso for a non spicy version

3 tablespoons soy sauce

2 tablespoons sake, white wine, beer or water

1 tablespoon cornstarch

1 tablespoon water

Salt and pepper

3 cups cooked rice of your choice

Remove heads and shells of the spot prawns, then rinse and pat dry.

Heat 2 tablespoons of the vegetable oil and the sesame oil in a wok or large cast iron skillet, gradually add the garlic, ginger, scallions and red chili peppers, and cook over medium-high heat until lightly coloured and aromatic. Add the sugar, Chinese chili bean sauce, soy sauce, and the sake, and bring to a boil. Add the prawns and cook until heated. In the meantime, mix the cornstarch and the water in a small bowl. When the prawns turn whitish and are cooked through, add the cornstarch mixture, stir well and simmer for a couple of minutes to achieve the thick sauce consistency. Transfer to a plate and set aside.

Wipe the wok or skillet to remove any sauce left. Heat it with the remaining oil swirling around the side. When the oil is smoking hot, add the tah tsai and stir-fry constantly stirring on high heat. The key is to cook the vegetables on high heat for a very short time so as not to make them watery; they should still have a firm texture and bite to them. Season with salt and pepper.

Serve cooked rice on a big platter and arrange the tah tsai on top, then pour the prawn mixture on top.


Spinach Goma Ae

Serves 2

1 lb spinach, washed

1 tablespoon goma ae sauce (see below recipe)

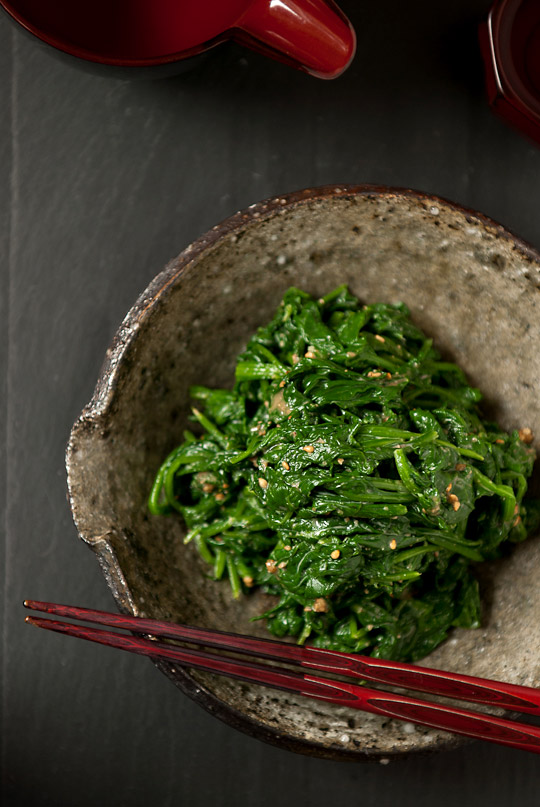
Boil water in a wide pot with enough water to cover the spinach. Cook the spinach (it only takes a matter of a second or so). Turn the leaves upside down to ensure that the leaves on top are also cooked. Drain into a colander and soak in a medium sized bowl with cold running water to stop further colouring. Continue until fully cooled. Give a gentle squeeze to remove the excess moisture. Cut into 1 inch chunks. Discard the water.

Place the goma ae sauce with a little bit of water back in the bowl. Stir well until emulsified and somewhat liquidy. Toss the spinach in the sauce and stir gently to combine well. Serve immediately.


Goma Ae Sauce

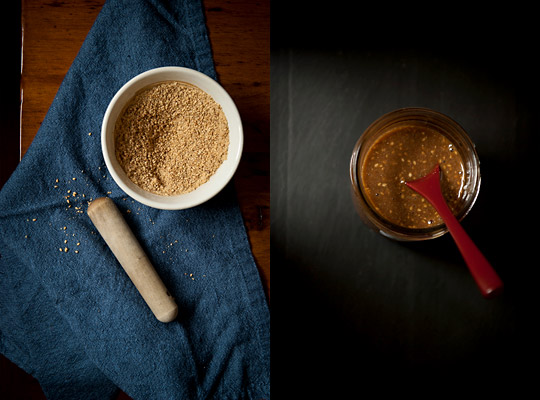
This is a multi-purpose sauce for a variety of foods that I always keep on hand. You can turn any greens into a quick nutritional appetizer. Stir into cooked and chopped asparagus with red chili pepper, pour over julienned cucumber with steamed chicken, mix into cooked noodle salad or make goma ae with cooked nettles. Indeed, this sauce is remarkably versatile, and lasts for a long time in the refrigerator (about 2 months or even longer).

Makes about 250ml jar

3 tablespoons cane sugar or brown sugar

3 tablespoons soy sauce

4 tablespoons toasted sesame seeds

4 tablespoons tahini

Grind the sesame seeds very well until there is no coarse texture, using a suri bachi with suri kogi (Japanese mortar and pestle).

Combine all the ingredients in a large bowl until well mixed. Transfer to a clean airtight container and store in the refrigerator.


French Vanilla Blueberry Frozen Yogurt

I made this dessert right after finishing the delicious spot prawn dish, as I was craving something cold and refreshing to my palate. It was totally on a whim, but having an ice cream maker container in the freezer enabled me to do so. And of course, I used some frozen blueberries saved from last year.

Makes about 3 cups

1 cup fresh or frozen blueberries

½ cup cane sugar

1 cup whole milk

½ cup cane sugar

4 egg yolks

1 cup full fat plain yogurt

1 ½ teaspoons good quality vanilla extract

Place the blueberries and the sugar in a small saucepan over medium high heat and cook until the berries lose their texture and the sugar is well combined. Let cool.

Place the milk and sugar in a small saucepan, then heat just until bubbles appear around the edge of the pan. Gradually whisk into egg yolks, then return the egg yolk mixture to the saucepan. Cook until steaming and thickened enough to coat a spoon. Remove from heat, strain into a bowl and stir consistently until cool. You can speed up the process by placing the bowl of strained egg mixture over a large bowl filled with ice cubes and cold water.

Add the yogurt and the vanilla extract. Stir well and refrigerate for at least 2 to 4 hours.

Churn the yogurt mixture according to manufacturer’s instructions. When the frozen yogurt is just about done, stir in the blueberry mixture and continue churning until your preferred texture is achieved.

Transfer the frozen yogurt to a separate container, cover and freeze for 1 to 2 hours.

Adapted from donvier’s French Vanilla Frozen Yogurt recipe.


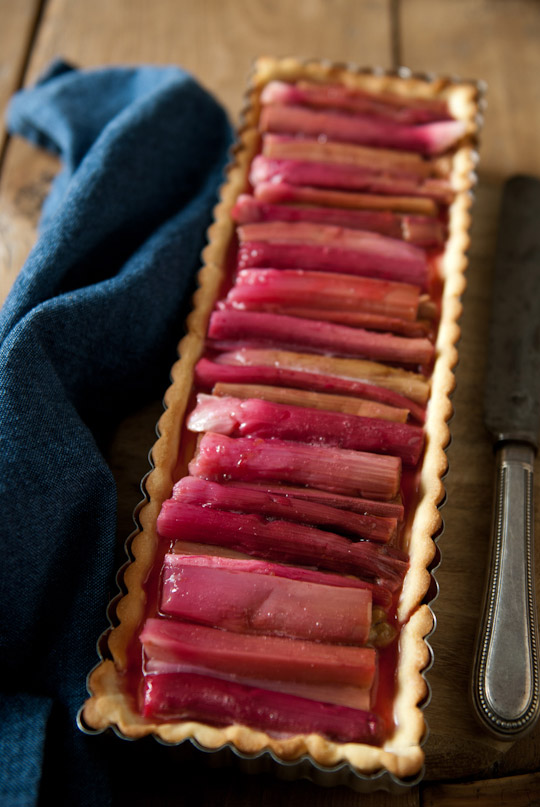
Rhubarb Tart

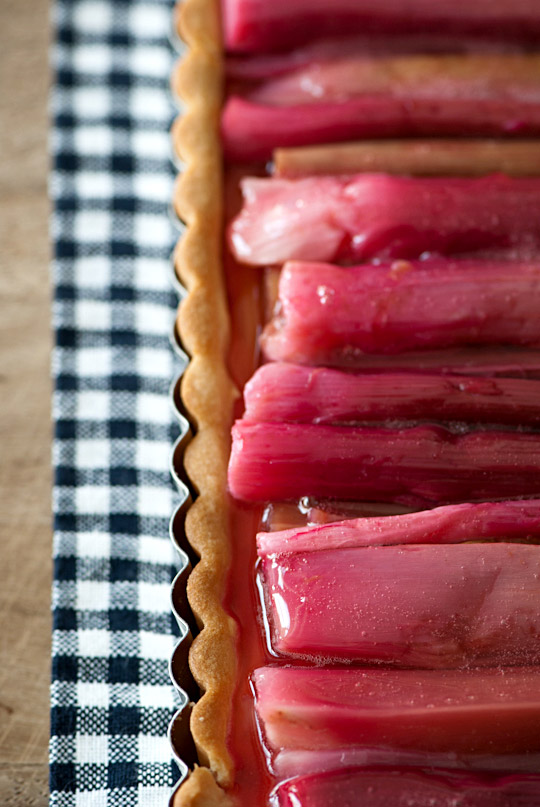
rhubarb tart

When I can harvest just the right amount of stalks from my rhubarb plants for baking, when a peach tree on the south wall of our house starts blooming and the blossoms of our ‘Beauty’ plum tree start giving off their sweet scent, that is when I know that warm weather has truly arrived in my garden.
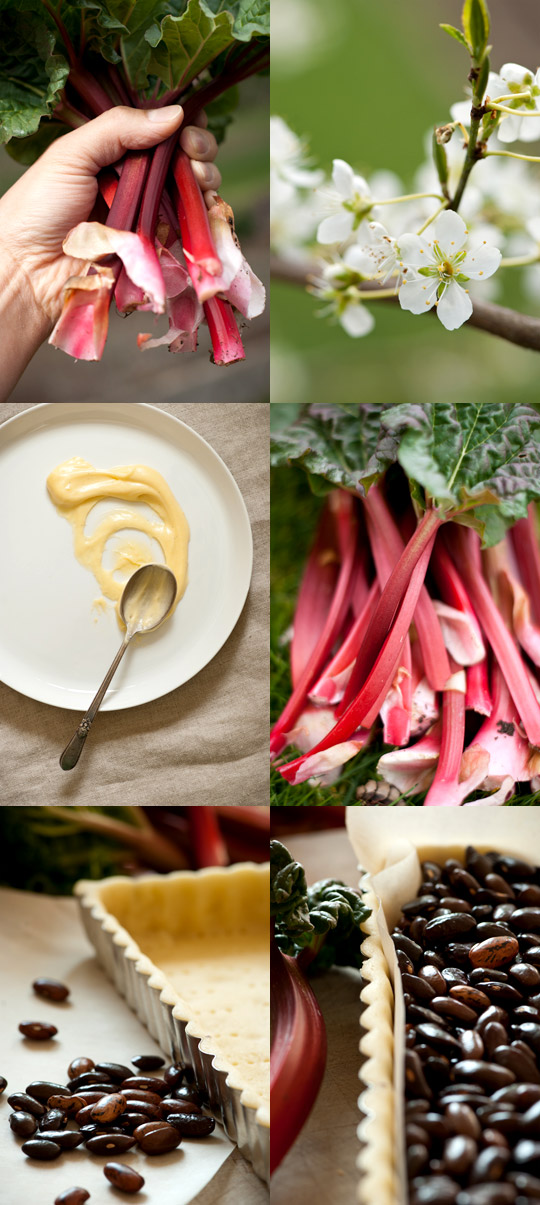
rhubarb, tart dough and pastry cream

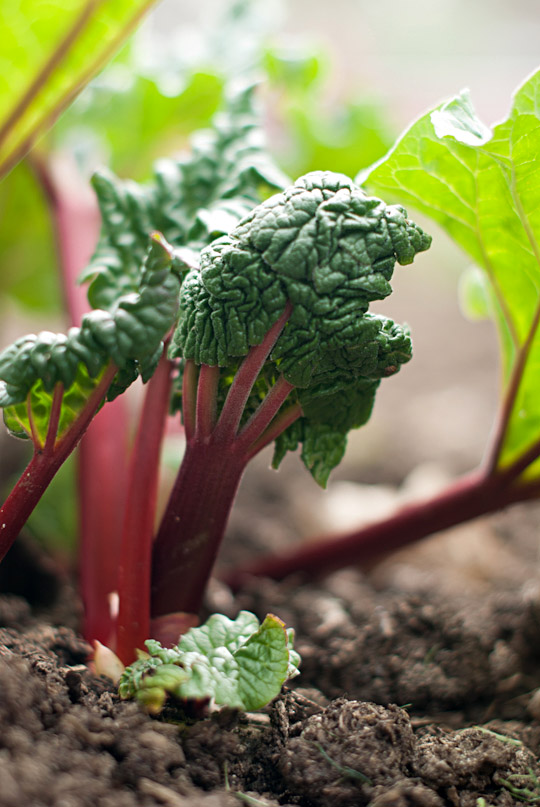
I long for those vibrant red stalks all winter, dreaming of the many desserts I will make with them in the upcoming months. Crisps, cobblers, pies, stews, tarts, jam…the rest is up to your imagination. However, rhubarb is also an urban gardener’s dilemma.
rhubarb tartrhubarb plant

Rhubarb plants grow slowly in the beginning of the season, which can really test your patience, at least mine! I just have to quietly watch them grow until they are tall enough to be harvested. But two years ago, I wasn’t patient enough to wait for harvesting so instead of waiting, I planted five plants! Once the real heat came, there was no way to catch up with the speed of the rhubarb plant’s growth; I was left feeling overwhelmed and even guilty about not being able to utilize all of mother nature’s seasonal treat. In addition, the huge leaves of the rhubarb plants overly shaded the other vegetables in the garden! No wonder we weren’t excited to have a rhubarb dessert by midsummer, since the shelves in our pantry were filled with bottles of rhubarb jam and our freezer was packed with bags of frozen rhubarb slices even after the new growth emerged the following season! Unless you have a strip of unused land, I would suggest planting just one! This experience taught me that being patient is a part of gardening’s delight.

official inspectors in my gardenCherry trees at Kitsilano beach, VancouverCherry blossomsStar magnoliaStar magnoliaStar magnoliarhubarb tartrhubarb tart

Rhubarb Tart

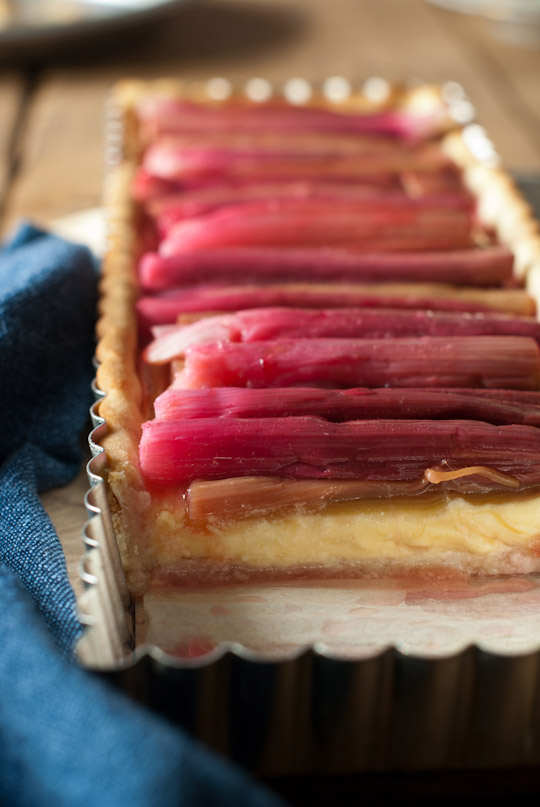
For the dough, I halved the below recipe, taken from my favourite book, Desserts by Pierre Hermé, and used two 13 1/2” x 4” rectangular tart pans. The vanilla pastry cream recipe quantity is just the perfect amount to fill these two tarts pans.

Sweet Tart Dough

Makes enough for three 10 ¼-inch or four 8 3/4 –inch tarts

2 ½ sticks (10 ounces) unsalted butter, softened

1 ½ cups confectioner’s sugar, sifted

½ cup (lightly packed) ground blanched almonds

½ teaspoon salt

½ teaspoon vanilla bean pulp or ¼ teaspoon pure vanilla extract

2 large eggs, at room temperature, lightly beaten

3 ½ cups all-purpose flour

To make the dough in a mixer

Put the butter in the bowl of a mixer fitted with the paddle attachment, and beat on low speed until creamy. Add the sugar, almonds, salt, vanilla, and eggs and, still working on low speed, beat to blend the ingredients, scraping down the paddle and the sides of the bowl as needed. The dough may look curdled- that’s okay. With the machine still on low, add the flour in three or four additions and mix only until the mixture just comes together to form a soft, moist dough-a matter of seconds. Don’t overdo it.

To make the dough in a large-capacity food processor

Place the butter in the working bowl of a food processor fitted with the metal blade and pulse and process, scraping down the sides of the bowl as needed, until creamy. Add the confectioner’s sugar and process to blend well. Add the almonds, salt, and vanilla and continue to process until smooth, scraping the bowl as necessary. Add the eggs and process to blend. Add the flour and pulse until the mixture just starts to come together. When the dough forms moist curds, clumps and then starts to gather into a ball, stop- don’t overwork it. The dough will be very soft, pliable, and Play-Do-ish, more like your favourite butter-cookie dough than traditional pie dough-that’s just the way it should be.

To shape and chill

Gather the dough into a ball and divide it into three or four pieces: three pieces for 10 1/4-inch tars, four for 8 3/4 inch tarts. Gently press each piece into a disk and wrap each disk in plastic. Allow the dough to rest in the refrigerator for at least 4 hours or for up to 2 days before rolling and baking (at this stage, the dough can be wrapped airtight and frozen for up to a month).

To roll

For each tart, place a buttered tart ring on a parchment-lined baking sheet and keep close at hand. If you are using a tart pan, butter the pan and dust with some flour, then remove excess flour. Work with one piece of dough at a time; keep the remaining dough in the refrigerator.

Working on a lightly floured surface (marble is ideal), roll the dough between 1/16 and 1/8 inch thick, lifting the dough often and making certain that the work surface and the dough are amply floured at all times (I found it easier to roll the dough between two pieces of parchment paper, for the richness of the dough can make it difficult to roll). Just make sure that parchment paper doesn’t get rolled into the dough. Roll the dough up and around your rolling pin and unroll it onto the tart ring (or the tart pan). Fit the dough into the bottom and up the sides of the ring, then run your rolling pin across the top of the ring to cut off the excess. If the dough cracks or splits as you work, patch the cracks with scraps (moisten the edges to “glue” them into place) and just make certain not to stretch the dough that’s in the pan (what you stretch now will shrink later).  Prick the dough all over with the tines of a fork, and chill it for at least 30 minutes in the refrigerator or freezer. Repeat with the remaining dough if necessary.

To bake a tart shell

Preheat the oven to 350F. Fit a circle of parchment paper or foil into each crust (cut the paper or foil large enough to extend above the top of the tart) and fill with dried beans or rice. Bake for 18 to 20 minutes, then remove the parchment and beans and bake for another 5 to 8 minutes, or until golden. Transfer the crust(s) to a rack to cool.

Vanilla Pastry Cream

(Another recipe from Pierre Hermé)

Makes about 2 cups

2 cups whole milk

1 plump, moist vanilla bean, split lengthwise and scraped

6 large egg yolks

½ cup (slightly rounded) sugar

1/3 cup cornstarch, sifted

3 ½ tablespoons (1 ¾ ounces) unsalted butter, softened

In a small saucepan, bring the milk and vanilla bean (pulp and pod) to a boil over medium heat (or do this in the microwave oven). Cover the pan, remove from the heat, and allow the mixture to rest for 10 minutes, time enough for the liquids to be infused with the warm flavour of vanilla.

Fill a large bowl with ice cubes and set aside a small bowl that can hold the finished cream and be placed in this ice bath. Set aside a fine-meshed strainer too.

Whisk the yolks, sugar and cornstarch together in a heavy-bottomed medium saucepan. Whisking all the while, very slowly drizzle a quarter of the hot milk into the yolks. Still whisking, add the rest of the liquid to the tempered yolks in a steady stream. Remove and discard the pod (or save it for another use).

Place the saucepan over high heat and, whisking vigorously and without stopping, bring the mixture to a boil. While boiling, whisk energetically for 1 to 2 minutes, then remove the pan from the heat and press the cream through the sieve into the reserved small bowl. Set the bowl in the ice bath (you can add some cold water to the cubes now) and, stirring frequently so that the mixture remains smooth, cool the cream to 140F, as measured on an instant-read thermometer. Stir in the butter in three or four additions. Keep the cream over ice, stirring occasionally, until it is completely cool. The cream can be used now or refrigerated.

Rhubarb Topping

2 lbs of rhubarb stalks, cut into the width of a tart pan (if thick split in half)

½ cup cane sugar

¼ to 1/3 cup water

Preheat the oven to 320F. Place the rhubarb in a baking dish, sprinkle the rhubarb with the sugar and pour in the water. Bake in the oven for 25 to 30 minutes or until the rhubarb is tender but still holds its shape. Transfer gently to another plate, reserving the liquid. Set aside to cool. In the meantime, place the reserved liquid in a small saucepan over medium heat and reduce it by half or until it becomes thick with a syrupy consistency. Cool to room temperature.

Assemble the Tart

Spoon the pastry cream into the crust and smooth the top. Place the rhubarb widthways along the tart on the pastry cream and drizzle the syrup over top. Serve immediately.