Chili and Aged Cheddar Cheese Dill Scones

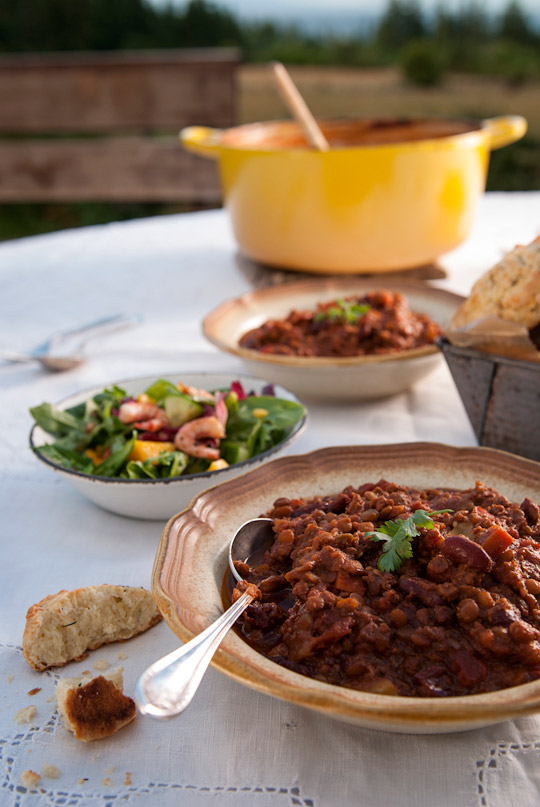
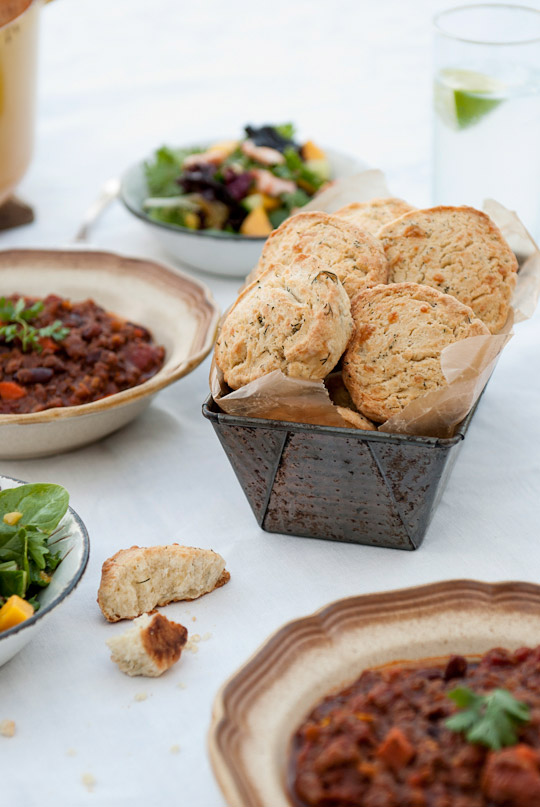
chili served with aged chedder cheese dill scones

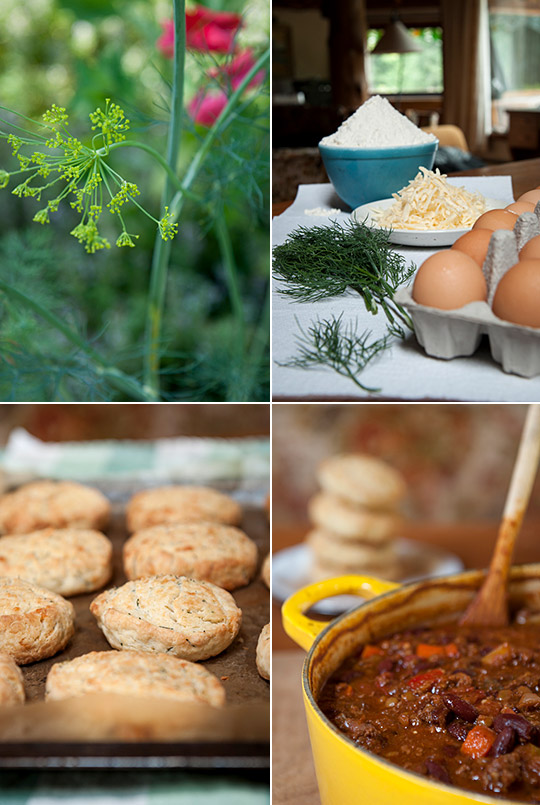
Years ago when I encountered a cheese and dill scone at one of my favourite cafes, Savary Island Pie Co. in West Vancouver, I fell in love with dill. The combination of a hint of buttery sweetness and the sharp edge from the cheese with the fresh distinctive aromatic greenness of the dill, had just created a delightful ménage à trois, the food kind. I picked up the scones on the way to Lighthouse Park, quickly photographed them in a moving car before we ate them and jotted down in a wish list in my journal about growing dill in my future garden. Then, we went off hiking at the park and years passed until I finally brought dill to my own little garden.

chili and aged chedder dill scones

Now, I’m proud that my simple food daydreaming has become true and I can serve the special scones to my dear friends at a summer cabin trip. When I was delegated to be in charge of cooking at the cabin for friends who were arriving late at night, I had only this meal in mind. There is something sentimental about welcoming late arriving guests with a pot of warm chili and just-out-of-the-oven scones.

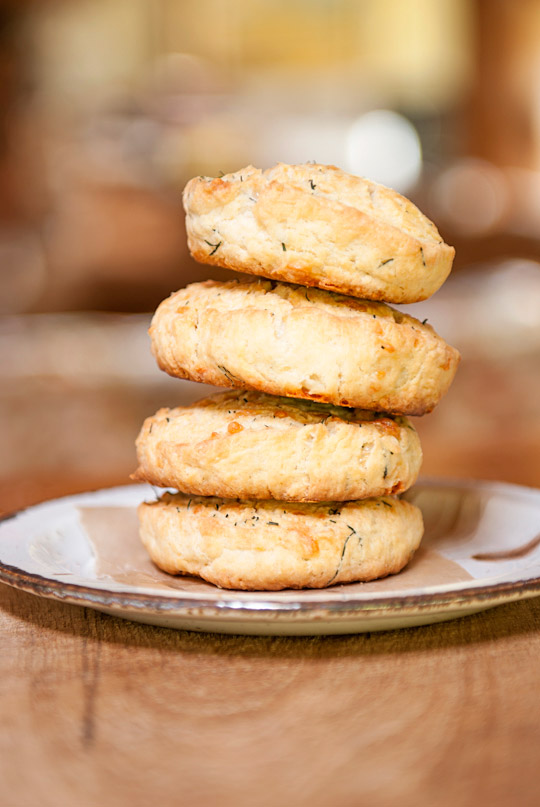
aged chedder dill sconeschili and aged cheddar dill scones

Chili with Ground Beef and Lentils

Serves 5-6

2 tablespoons vegetable oil

1 large onion, chopped

1 green bell pepper, seeded and cut into ½ inch pieces

1 red bell pepper, seeded and cut into ½ inch pieces

2 large carrots, chopped

1 jalapeno pepper, seeded and sliced

2 cloves garlic, chopped

1 ½ pounds ground beef

1 pound dried lentils, rinsed

1/3 cup tomato paste

2 cans (30-ounce) or freshly cooked red kidney beans, drained and rinsed

1 (28-ounce) can stewed tomatoes

1/3 cup chili powder, mild or hot according to your taste

4 teaspoons ground cumin

¼ teaspoon crushed red-pepper flakes

¼ teaspoon salt

¼ teaspoon freshly ground black pepper

In a large heavy bottomed pot, heat the oil over medium high. Add the onions, green and red peppers, carrot, jalapeno, pepper and garlic, and cook until the vegetables are half way cooked.

Add the ground beef and cook with the vegetables until the meat changes colour.

Stir in 7 cups water, the lentils, tomato paste, and kidney beans. Stir to blend, adding the stewed tomatoes, chili powder, cumin and crushed red-pepper flakes. Bring to a boil and skim occasionally.

Reduce heat to medium-low, cover and simmer until lentils are tender, about 45 minutes. Or if time allows, set the oven to bake at 250F, place the pot inside and cook until slightly thickened for about 1.5 to 2 hours. Reserve in the oven until serving time. Just make sure to stir occasionally and add hot water as needed. I like cooking this chili recipe ahead of time in this way to enhance the flavour to its maximum.

Season with salt and pepper and serve immediately.

Adapted from marthastewart.com.


Aged Cheddar Cheese Dill Scones

Makes about 15 pieces

3 cups unbleached white flour

2 tablespoons baking powder

1 tablespoon sugar

1 teaspoon salt

6 tablespoons cold butter, cut into cubes

3 eggs

¾ cup whipping cream

A bunch of fresh dill, stalks removed and torn in pieces

1 cup aged cheddar cheese, grated

Preheat the oven to 400F. In a large bowl, sift together the flour, baking powder, sugar and salt.

Using a pastry cutter, cut in the cold butter until the pieces become the size of small peas.

Beat the eggs in a small bowl and stir in the cream. Add the egg mixture, dill and cheese to the dry ingredients and combine until the mixture forms dough.

Dust a work surface with some flour and roll the dough into a 2-inch diameter log. Using a well sharpened knife, slice into 1 inch thick pieces.

Place them on a baking sheet lined with a piece of parchment paper 2 inch apart. Bake for about 12- 15 minutes or until the tops are golden.

Serve immediately with a bowl of chili.

Adapted from Whitewater Cooks cookbook.


Zucchini Salmon Pasta and Raspberry Parfait

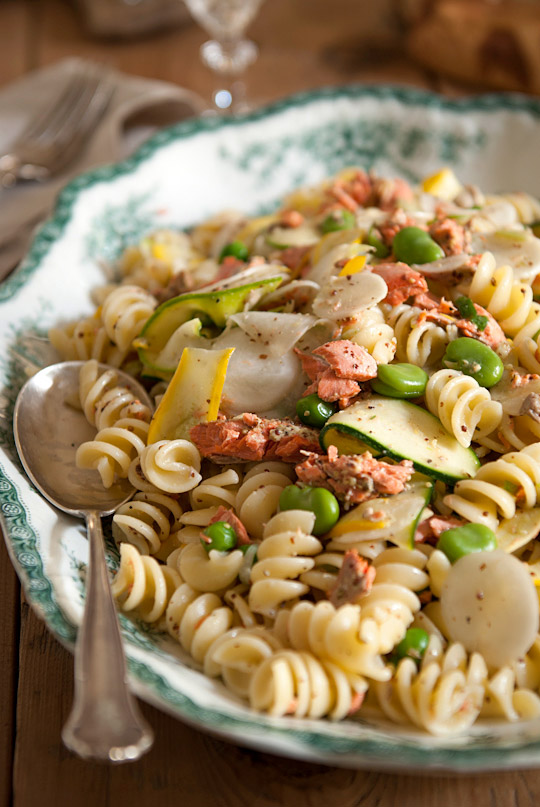
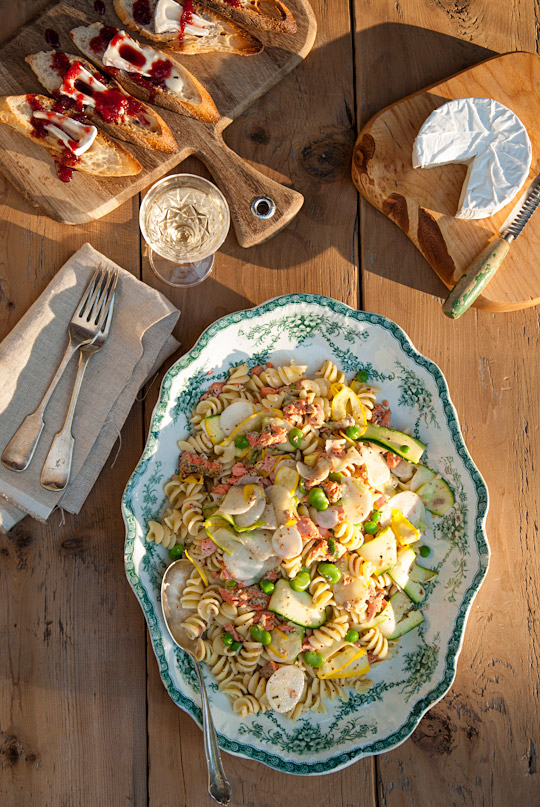
zucchini salmon pasta

How do I decide on what to cook for supper today? The answer for us is straightforward. Just step out the door and see what’s ripened in the front and backyard. As summer rolls in a full swing, this is how we eat. But hey, as much as I love cooking and eating good fresh food, there are times I don’t want to bother (yes, I said it) in the heat. Today’s post is a solution for my dilemma. Keep it simple, fresh, nutritious and yet exciting! You can still entertain your guests with the following easy recipes. This is also the perfect time for us to appreciate the artistry of the local artisans after a weekend farmer’s market visit.

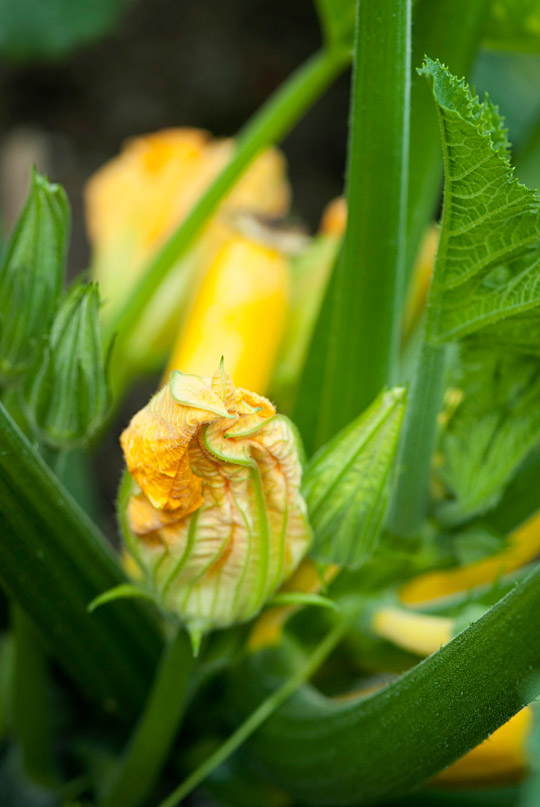
zucchini planttoasted baguette slices with Brie cheese and Strawberry Balsamic Black Pepper JamStrawberry Balsamic Black Pepper Jamzucchini salmon pastaraspberry plantraspberriesraspberry lemon yogurt parfait

Zucchini Salmon Pasta

Serves 3-4

A piece of wild salmon fillet (about 1lb)

2 tablespoons Dijon mustard

2 tablespoons grain mustard

1 tablespoon olive oil

1 tablespoon dry white wine

1 tablespoon fresh rosemary, chopped finely

2 tablespoons garlic cloves, finely chopped

Salt and freshly ground pepper

2 cups fusilli or rotini pasta

2 green onions, finely chopped

4 baby zucchinis, thinly sliced

2 lb fresh broad beans in the pod, shelled

Good handful of shelling peas, shelled

5 turnips, thinly sliced

In a small bowl, combine the mustard, oil, wine, rosemary, garlic, salt and pepper. Stir well, set aside.

Preheat the broiler. Line a baking sheet with a piece of aluminum foil. Place the salmon on the sheet, sprinkle with the salt and pepper, then broil for 2 minutes.

Spoon the mustard mixture over the fillet and continue to broil for about 5 minutes until the fillet becomes flaky when tested and the top golden brown. Let cool and set aside.

Cook the pasta in well-salted boiling water till al dente. In the meantime, prepare the vegetables. Boil water in a small pan and cook shelled broad beans and peas for 2 minutes. Plunge in cold water and remove thin films from the broad beans. Drain well. Chop the green onions, and slice the zucchinis and turnips.

Rinse the pasta in cold water and drain well. In a large bowl combine the salmon, vegetables and pasta. Transfer to a large platter. Serve immediately.


Brie and Strawberry Balsamic Black Pepper Jam with Baguette Slices

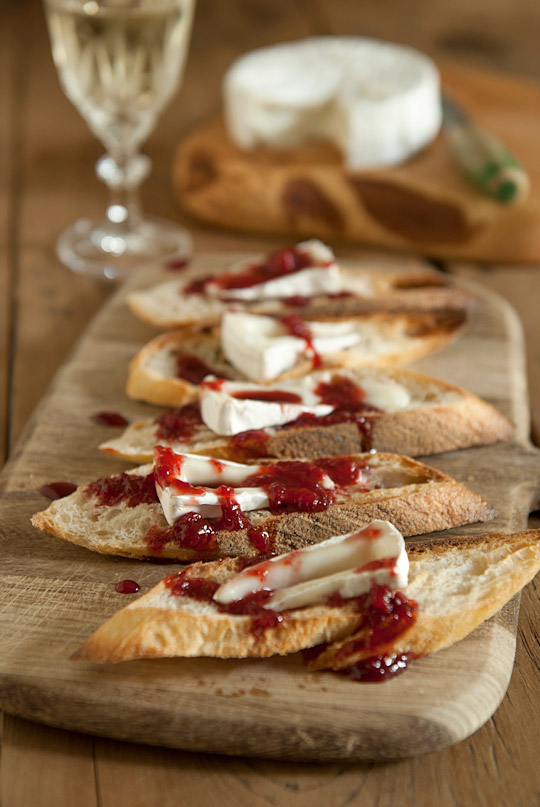
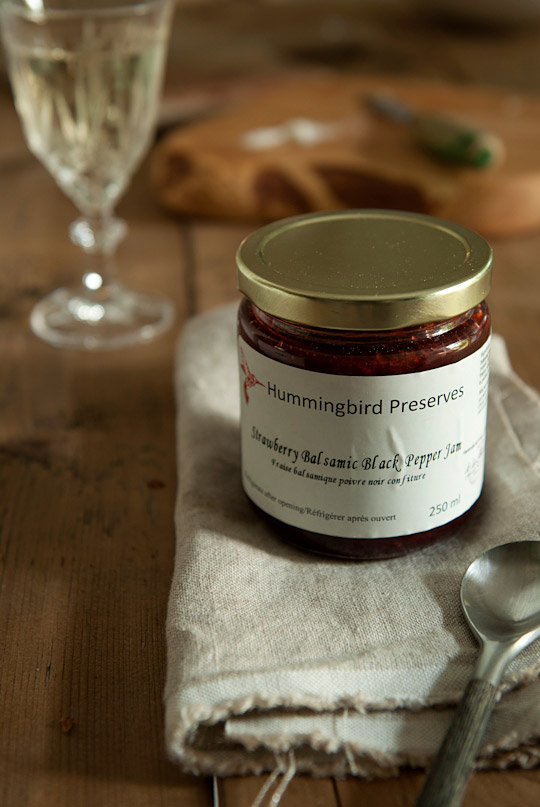
I could not help but serve the Strawberry Balsamic Black Pepper Jam that I picked up last weekend from my farmer’s market friend Kathy of de la Bouche Specialty Foods. So here is what I did with it.

Serves 4

Half of regular baguette, thinly sliced and lightly toasted

A wheel of Brie cheese, wedged

Kathy’s Strawberry Balsamic Black Pepper Jam

Assemble all together, using generous portions. Indulge yourself with a glass of well chilled Chardonnay!


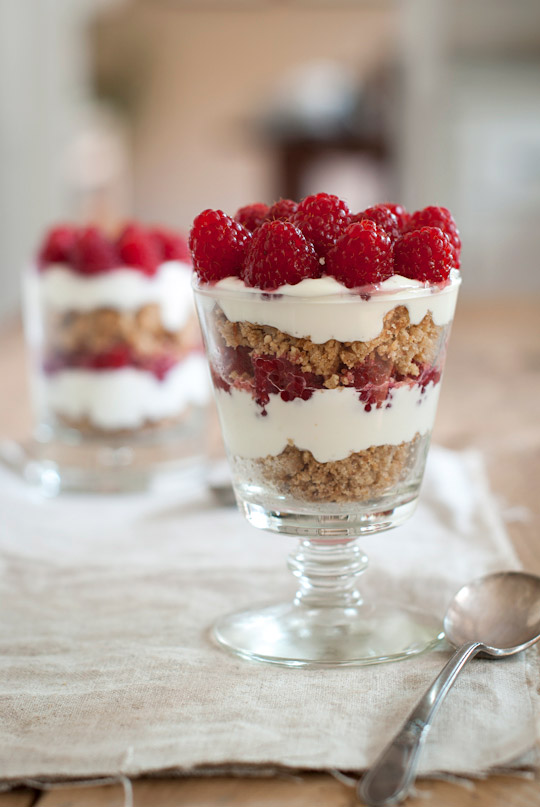
Raspberry Parfait

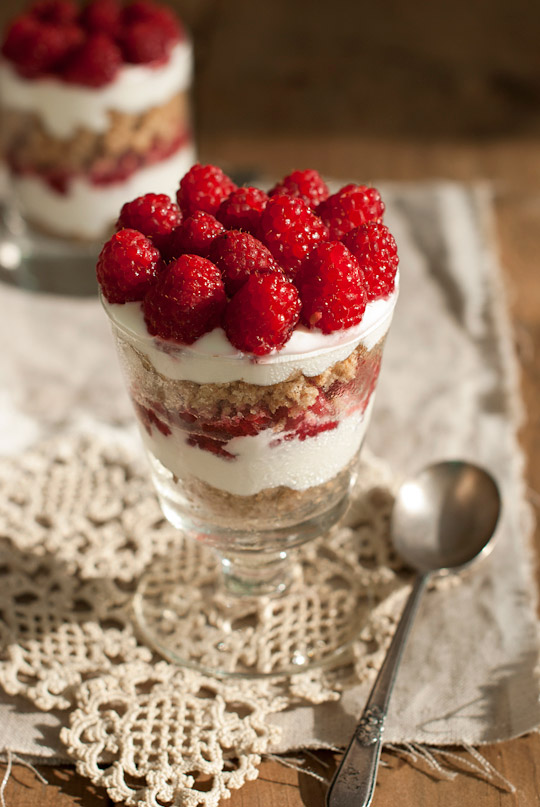
I like taking a stroll in the garden in order to forage for a dessert after eating a main dish. Summer enables me to pick food right off plants and turn it into beautiful dishes in a matter of minutes. Bake the dough ahead of time so you can assemble the parfaits together with your guests (forage if you have a raspberry patch)!

Serves 4

Spelt rhubarb squares dough, broken into fine pieces (recipe here)

A container of Liberté Méditerrantée Lemon Yogurt, well stirred

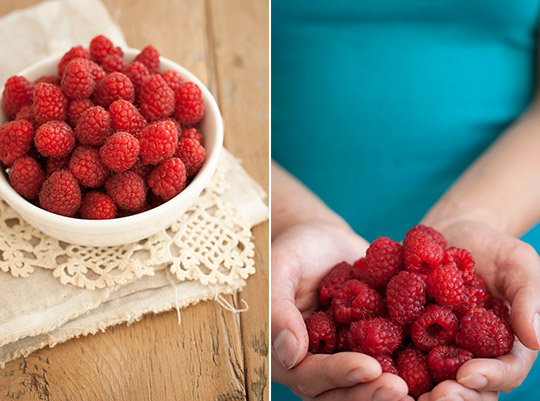
A big bowl of freshly picked raspberries, rinsed and drained well

Chill tall parfait glasses in the freezer for 15 minutes or so. Layer the spelt rhubarb squares dough, yogurt and raspberries in a tall chilled glass. Serve immediately.

raspberry lemon yogurt parfait

Broiled salmon, adapted from giada’s family dinners.


Sushi with Tropical Flair

Spicy avocado sushi with tropical flair

I’m always searching for inspiration. It could be in the garden or, sometimes, in historic parts of Vancouver. New experience always feeds one’s creativity and imagination, which may eventually take form some day. So I love the balance of being in nature and core parts of the city, especially where historic areas meet modern urbanism!

Carrall Street, GastownGastown

If you are looking for inspiration for a night out on Friday, this may be the spot for your next visit to Vancouver! Take a stroll on cobbled alleys in the old Victorian architectural section of the city. The streets are filled with antique stores,  boutiques with fine home furnishings, clothing stores with locally/globally designed items, a store with vintage kitchen products, a contemporary home interior furniture store, and a shoe store with a wide range of heels and boots. This is Gastown! Dine on freshly made Margherita pizza in the wood fired oven accompanied by a refreshing Pomegranate Passion cocktail at Nicli Antica Pizzeria. Oh, and don’t miss the chocolate ganache and banana slices with a caramelized crispy topping for dessert!

pizzeria and its neighbourhoodWater Street, Gastown

For some post meal browsing, navigate the neighbourhood maze to the Fairmont Pacific Rim Hotel along the water where you can enjoy  the live music! It has a beautiful white marble floor and decorative fireplace occupied with tiny tables for you and your company to indulge in a glass of Grand Marnier or Little Bird, the latter of which has a hint of sweet rhubarb aroma. Dance with the band sound in the dimly lit interior or simply appreciate the gorgeous and sophisticated atmosphere. If you are still hungry, try their spicy avocado sushi with a surprisingly refreshing twist plus a pot of green tea to relax you for the rest of the night.

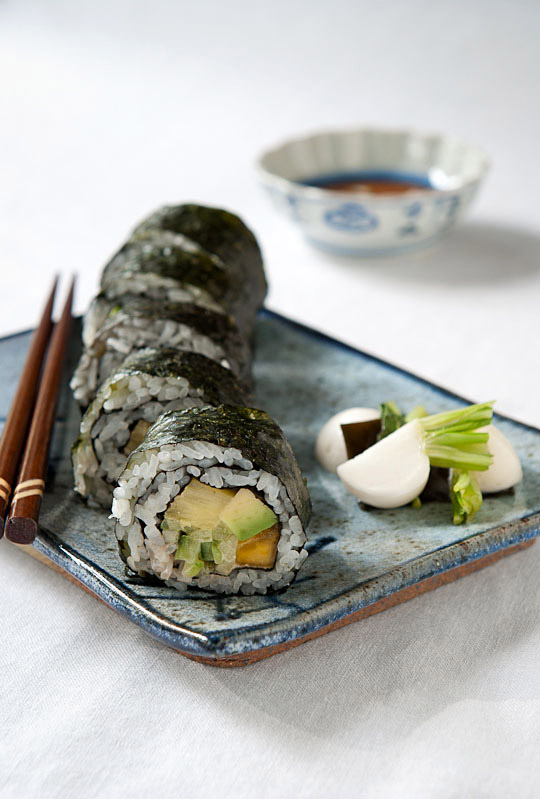
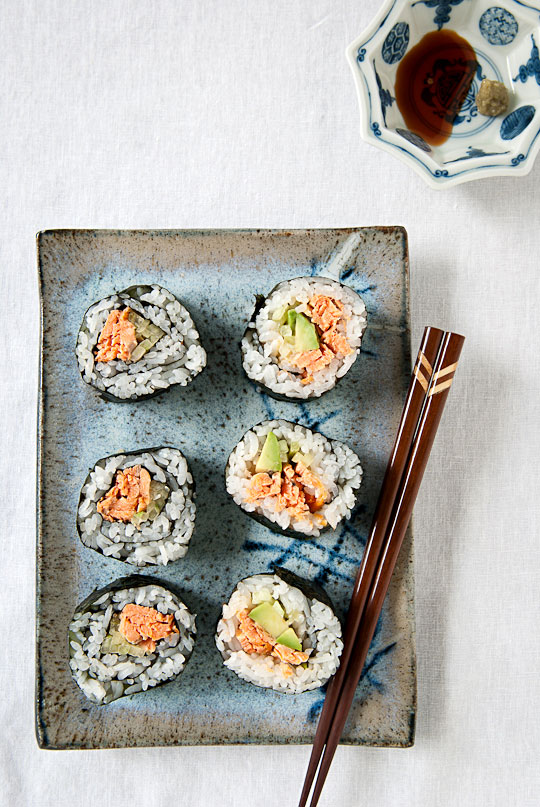
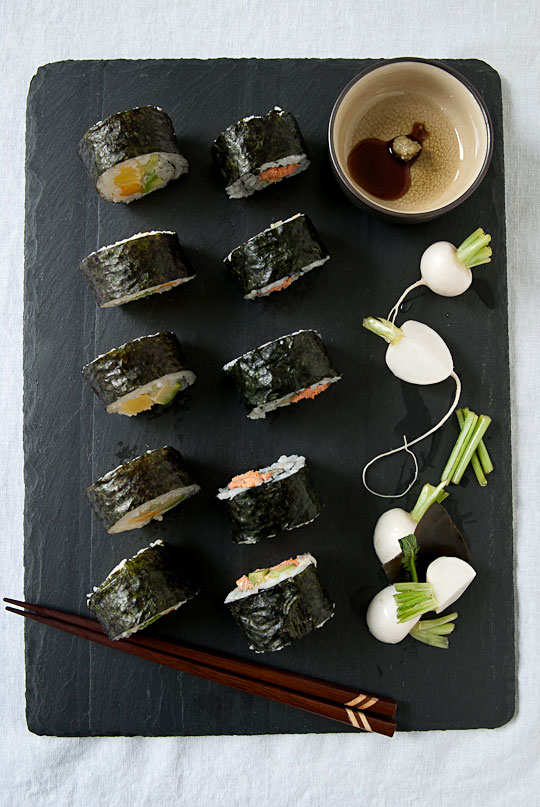
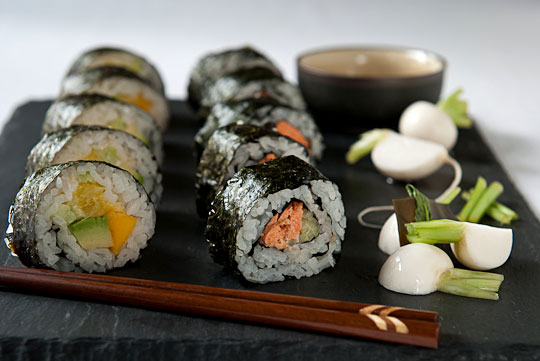
Japanese teapot at Fairmont Pacific Rim broiled salmon sushiturnipsturnip picklessushi plattersushi platter

Sushi with Tropical Flair

You can use short grain brown rice or half and half for this recipe. Sushi with brown rice is a little bit tricky to make due to a lack of starch content (less sticky). If you are making nigiri, it’s not a bad idea to let the cooked brown rice rest in a refrigerator overnight and microwave it when needed (although I’m not a big fan of microwaves), but for this recipe freshly made will suffice. Just make sure to add more water if using only brown rice though.

Enough for 4

2 slightly rounded cups of Japanese white rice

4 cups water

A piece of kombu, cleaned with a wet towel

4-5 tablespoons Japanese vinegar

4-5 tablespoons cane sugar

2 teaspoons sea salt

1 pack nori (one sushi roll uses 2 sheets of nori so have about 10 sheets)

Soy sauce

Wasabi paste

Ginger pickles or homemade turnip pickles (recipe follows below)

Toppings

½ pineapple, peeled, core removed, and cut into ½ inch strips

½ papaya, peeled, seeded and cut into ½ inch strips

1 avocado, peeled, seed removed and cut into ½ inch strips

1 cup cucumber, peeled and julienned

1 small piece broiled salmon

½ cup mayonnaise

1 tablespoon hot sauce or chilli sauce, or more to your taste

Wash and rinse the rice until water becomes transparent. Place the rice, water and kombu on top in the bowl of a rice cooker or a large pot and cook. Rice will be on the harder side, but this is the way it should be.

Meanwhile, make a vinegar mixture by combining all the ingredients in a small saucepan over medium heat until sugar dissolves and bubbles are visible on the edge of the pan. Let cool.

Prepare the toppings. Make spicy mayonnaise by combining the mayonnaise and the hot sauce. I used Cholula hot sauce, and didn’t mind the taste but Sriracha seems commonly used. Use a small piece of saran wrap with a tiny hole for piping the mayo. Set aside a bowl of cold water to wet your hands, a makisu to form sushi rolls, a wet towel, and of course, a well sharpened knife to cut the sushi.

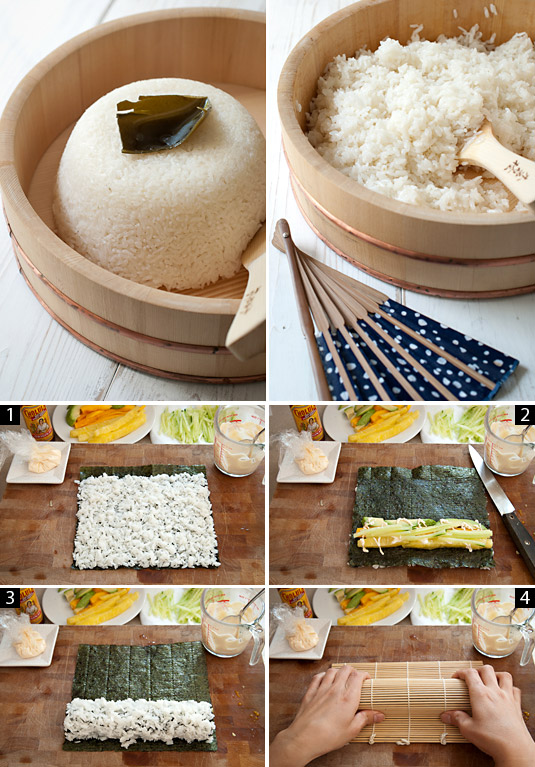
sushi making process

Flip the rice in a handai (flat-bottomed wooden tub), or large bowl. Here, you need to be multi-tasking. Drizzle the vinegar mixture on the rice and, using a wooden spatula, quickly but gently mix the rice by making cutting motions with your right hand and fanning with the other hand. I’m ambidextrous, so this works for me. If this seems too complicated, you can use an electric fan like my grandma does . The key is to let the rice soak the vinegar and cool before it becomes sticky so that you can achieve the desired shiny texture. Because no matter what filling you have inside, sushi is all about the rice texture!

Now the show begins! Place everything close to you; the rice, nori, toppings, the mayo, the bowl of cold water, the wet towel and the makisu. Wash your hands and place one of the nori sheets on a clean work surface. Wet your hands with the bowl of water and remove excess moisture by tapping both hands against each other to prevent the rice from sticking to your fingers.

1) Grab about 3 extra large egg size portions of rice and spread on the nori using your fingertips. Fill the empty space, especially the edges, leaving a half an inch strip at the top. Be sure that it’s not too thick, but just covers the surface of the nori.

2) Flip the nori from the side (now the rice is facing down). Make sure the working surface is moistened with the wet towel so that the flipped rice doesn’t stick to the surface.

Place the toppings on the nori: the pineapples, papaya, cucumber and plenty of the mayo mixture. PLENTY! Roll from your side on foreword by tucking and tightening the toppings as you roll. This is a critical step towards making beautiful and easy-to-eat sushi that doesn’t fall apart. Once rolled, there is no turning back to make the roll tight!

3) Place another sheet of nori on the work surface shiny side down, and place the rolled sushi on top closer to you. Then roll the whole thing.

4) Lay the makisu on the rolled sushi and gently press to form into a square shape. This is optional, but I feel that this forms and tightens the sushi nicely. Repeat with the rest with your choice of combinations; broiled salmon with cucumber etc.

Cut the sushi rolls into ¾ inch pieces or your preferred thickness by moving the knife back and forth gingerly. It is easy if you wipe the knife with the wet towel each time you cut.

Serve immediately with the soy sauce, wasabi and the pickles. Follow with a pot of green tea.

*An inspiration from Fairmont Pacific Rim


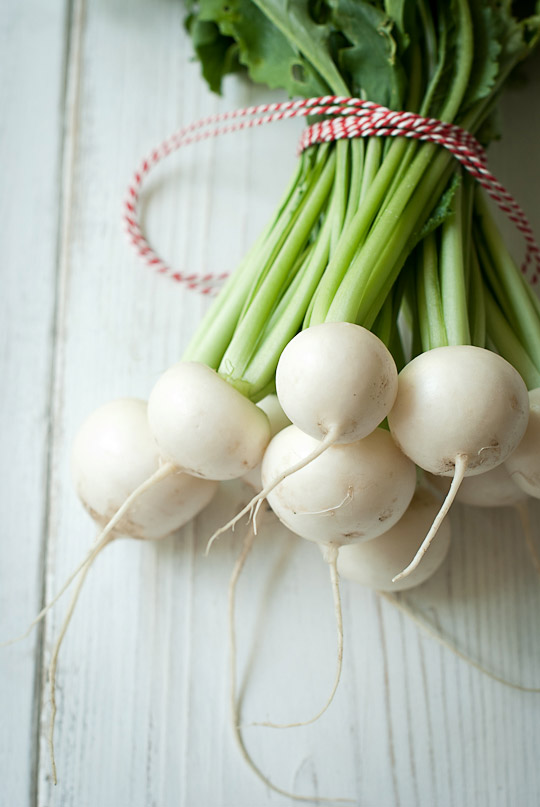
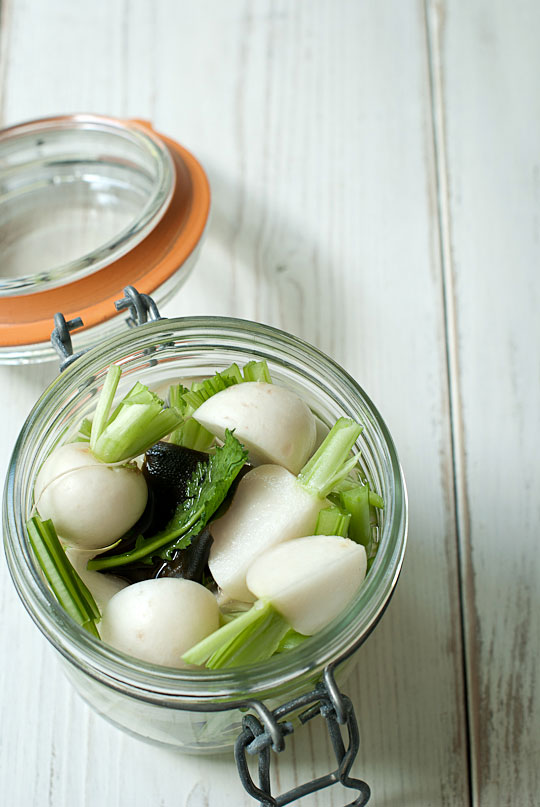
Homemade Turnip Pickles

I can almost say that I grow turnips just for this single recipe. You want to use the freshest turnips you have on hand for these pickles, as the tender and sweet flesh makes them divine. Grow your own or go to the farmer’s market!

Makes 1 small jar

A bunch of turnips (about 10 pieces)

A piece of kombu, cleaned with a wet towel

200 ml Japanese vinegar or white vinegar

3 tablespoons cane sugar

1 ½ teaspoons salt

Wash the turnips, remove any diseased parts, and cut off the tops leaving little stubs. Cut stems into 1 inch pieces. If the turnips are large, cut in half or quarter lengthwise.

Place the vinegar, sugar and salt in a small saucepan and boil over medium heat until the sugar dissolves.

Fill a sterilized airtight container with the turnips, some stems, kombu and the vinegar mixture. Let cool and store in the refrigerator for at least 3 to 4 hours or over night. Keeps in the refrigerator for a while (not for us!).