Udon Noodles: Going Back To the Basics

udon_noodle

Lately, I have been enjoying doing old things. It seems like I’m against the current of modern technology of this day and age, but it just feels right in my own skin. Having started shooting using film is one of them. I truly enjoy the process of taking a photograph. Everything slows down. Unwrap a roll film. Load it and wind it on a spool, wind again to finally be able to shoot. It’s peaceful. Carefully choose a subject and think about a composition, so as not to waste one precious shot out of 10. Now decide on the aperture, take light metering and settle on the shutter speed. Concentrate. Focus. Duh, take off the darkslide, which I often forget to remove! Wait for the right moment. Press the shutter, hoping that neither my subject, nor I, have moved a mere inch. “Dung,” the heavy sound of mirror movement and shutter action completes all that it takes to photograph one scene, and that excites me very much. And yet, I won’t know if I managed to come away with the shot until the film is developed. I have become patient. Cock the shutter, advance the film and start all over again. I get indescribably giddy.

udon flour

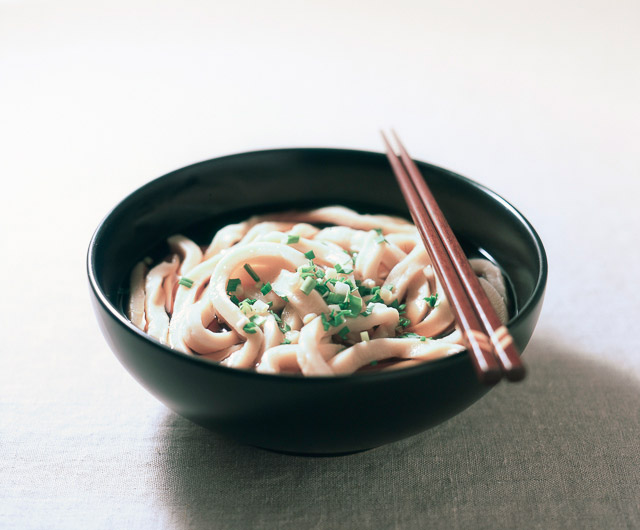
So going back to the old things, for this post, I made udon noodles for you in the traditional way that some Japanese people still do. It is a time consuming process, but if you are looking for something to clear your mind or are trying to settle your anxiety, or if you are like me, just like to use your hands to make food, it is like a type of meditation. At least, the result is certainly worthy: a warm, utterly satisfying bowl of noodle soup.

flour

mixing

kneading

udon dough

rolling the dough

udon noodle

Udon Noodles and Soothing Soup

Feeds 8 – 10 people

1 kg all purpose flour

Salted water (50g salt and 450 g water)

Cornstarch for rolling the dough

Topping

Green onions, scallions or chives, finely sliced

Soup (serves 3-4)

2 x Kombu (about 4 x 4 inch pieces), make some slits in it with kitchen scissors

2 cups bonito flakes

5 tablespoons mirin

5 tablespoons light coloured soy sauce (usukuchi soy sauce)

or Soba sauce (see the recipe)

Sea salt

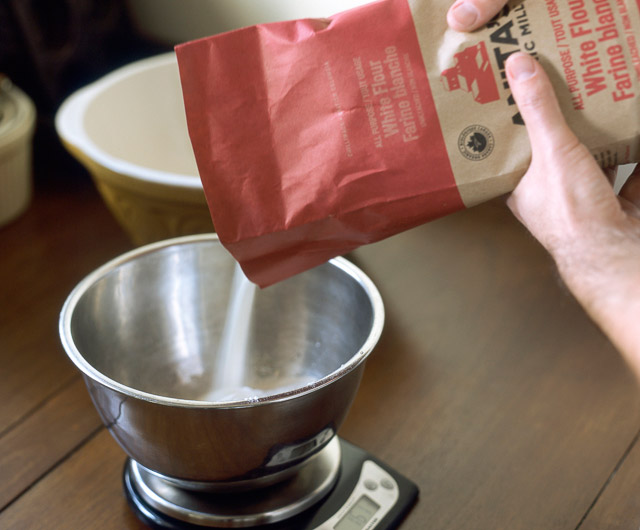
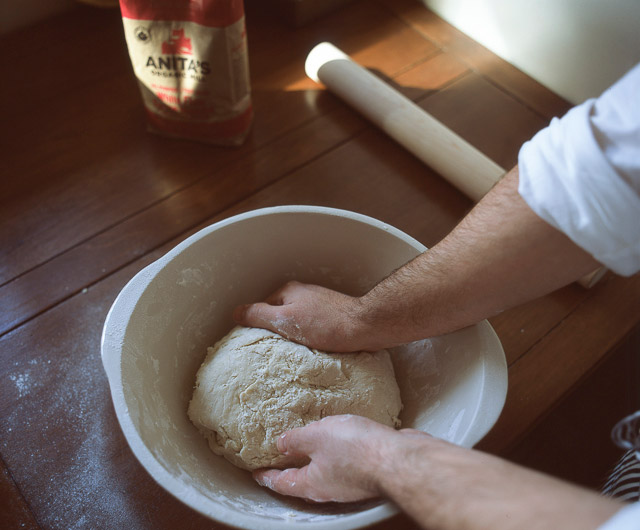
Dissolve salt well in 450g of water. Place the flour in a large bowl and add the salted water. Combine until there is no dry flour left. Form into a ball.

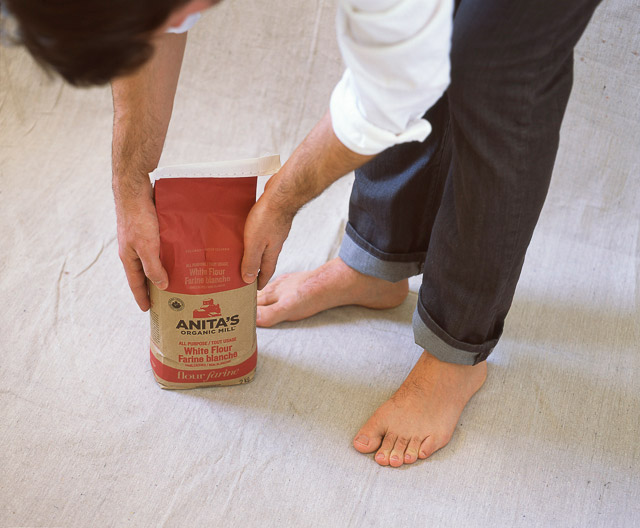
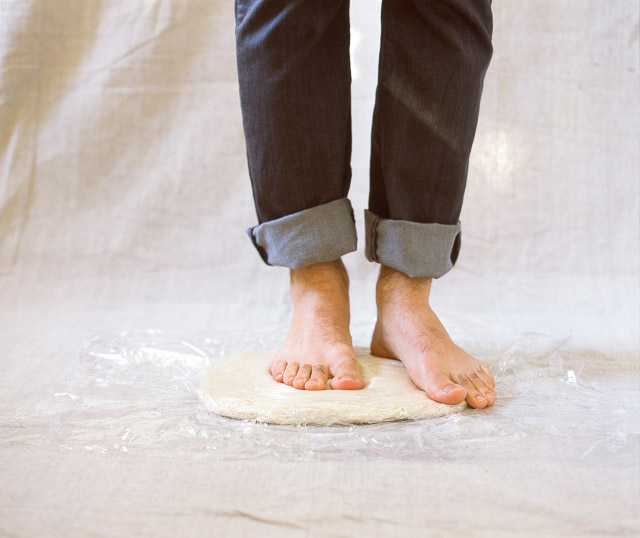
Place the dough in between two sheets of clean plastic sheets or Saranwrap on a sheet of clean cloth on the floor (yes, the floor!). Step on the dough with your clean feet. Fold it, step on it to stretch it and fold again. Repeat until the dough becomes smooth. Try not to let the air get inside the dough when you are folding. Match the corners neatly while folding so that it becomes a tidy small mass. Form into a ball.

Rest the dough in an airtight bag (or wrap tightly) at room temperature, 1 hour in summer time or 2 to 3 hours in winter.

In the meantime, make dashi stock. Wipe and clean the piece of kombu with a wrung wet cloth. Do not wash, as flavour leaches away.  Fill a large pot with 1.5 L of water and place the kombu inside. Let sit for 20 minutes to let umami leach into the water.

Warm up the pot over medium heat and, just before water starts boiling, remove the kombu from the pot. Don’t cook the kombu, as it gives off an unpleasant odor and taste.

Add the bonito flakes and bring to a boil very briefly: remove from heat. Do not boil the bonito, as it also makes the dashi unpleasant to taste. Leave the dashi until the bonito has sunk to the bottom of the pot and infused the stock. Strain the dashi stock into another pot. Warm up, and add mirin and soy sauce. Adjust with salt. Or, if you already have the soba sauce made, you can add 8 to 10 tablespoons of it. Just gradually add and taste to achieve your liking, and then adjust with salt. If you have extra, keep it refrigerated for up to a few days.

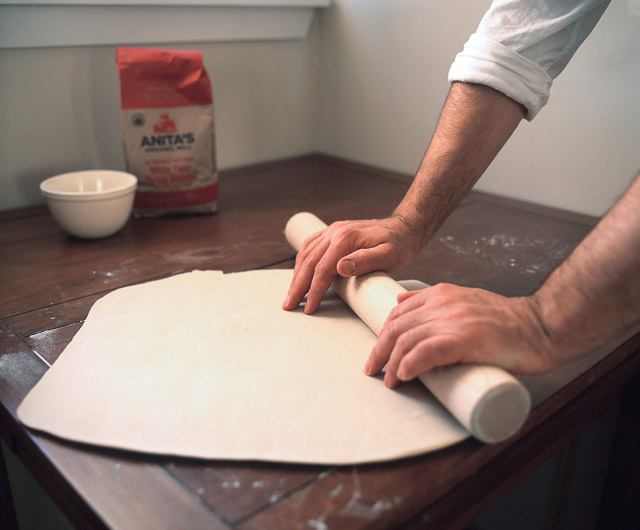
Step on the dough once again in between the two sheets of plastic, and form into a circle. Use your weight to stretch the dough as wide as possible, making it easier to stretch farther later. Flour the cornstarch on the working table and transfer the dough. Using a rolling pin, stretch the dough to about a 27-inch circle. Try to make the dough evenly thick. You can either form it into a circle or square. If you make the dough into a square shape, all the noodles become the same length when you cut them. Alternatively, if you find the dough too tough to stretch with a rolling pin, you can use a pasta attachment on a stand mixer to stretch it. Make the dough into about ¼ inch thickness.

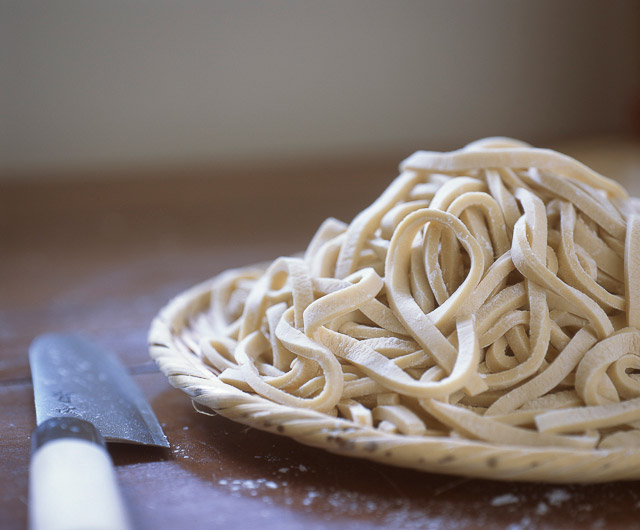
Scatter the cornstarch on the dough surface and fold in thirds; just like you fold a letter to fit in an envelope, pull an edge from one side to the centre and another from the other edge to the centre, overlapping. Cut into ¼ inch thickness with a sharp knife. The key is to match the width of the noodle with the thickness of the dough to make nice shapes. As you cut, fluff the noodles to prevent them from sticking to each other. If you don’t want to cook all the noodles, you can divide them into smaller portions and freeze in airtight bags (remove the air as much as possible so as to avoid freezer burn). Consume within 2 months for the best flavour.

Boil water in a large pot. You need about 5 L of water to cook 400g of noodles per 3 people. Cook the noodles until done, for 12 to 13 minutes. The thicker the longer it takes to cook, so if you are not sure about the doneness, cut a piece of cooked noodle and see if the centre part became translucent. Adjust the heat accordingly to avoid spilling the hot water.

Drain the noodles and rinse with cold water. Drain completely and serve a portion in each bowl. Pour the hot soup over the noodles and top with green onions.

“Itadakimasu.”


Summer Weekends Meal Ideas

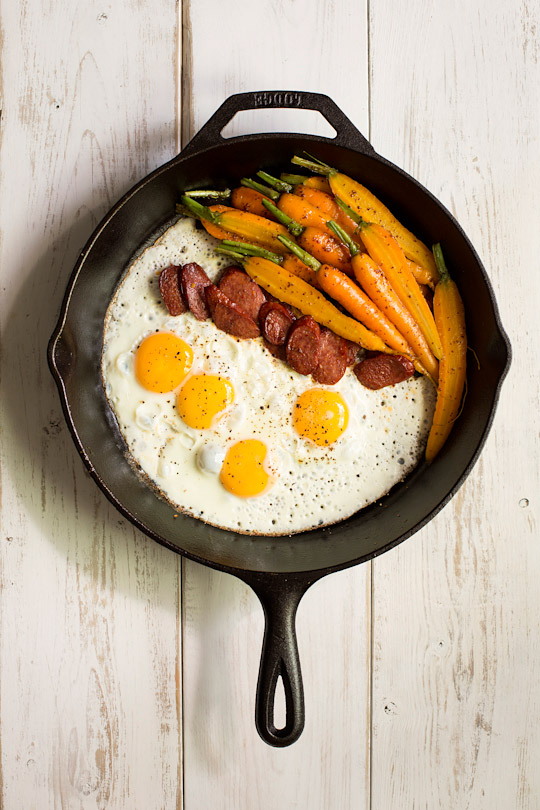
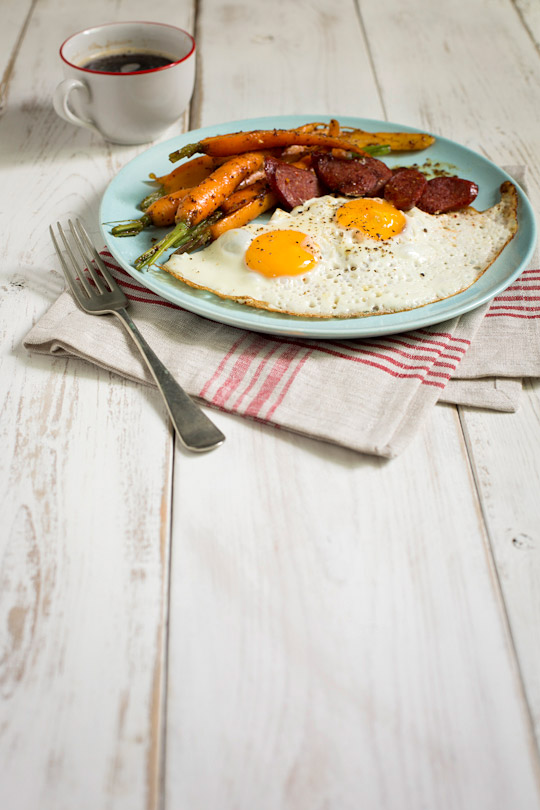
fried eggs with chorizo and glazed carrots

Sunny days are back and so is my watering routine. My plants are growing at an overwhelmingly fast pace, and it is hard to capture everything unfolding in the garden, kitchen and on the table. Literally, we have too many vegetables to cook up, consume (never mind digesting) and store.

fried eggs with chorizo and glazed carrots

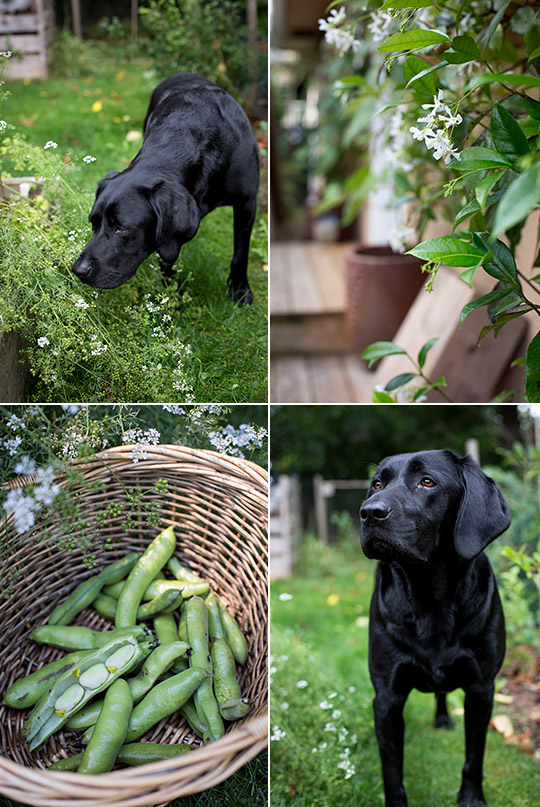
Stalks of broad beans were drooping with their swelling weight (need to be harvested), carrots became the perfect size to be eaten as a finger food (need to be eaten), Swiss chard plants are wilting under the persistent sunbeams (need water)… then I got stung by a wasp as I was dead-heading marigolds (needed nothing but to keep moving to overcome the prickly sensation). When I tried to rest in the fragrant area of dahlia and sweet peas, my eyes became fixed on the weeds among the onions. Before I knew it, I was crouching down to pluck them and continue working … this is indeed a gardener’s life. Therefore, we try to take time to slow down a bit on weekends by enjoying hearty meals. Here’s what we’ve been enjoying…

carrotfried eggs with chorizo and glazed carrotsquinoa salad with broad beans broad beans, jasmine, a LabradorLimoncello drinkudon salad with summer vegetablescherriescherry and chocolate almond tartcherry and chocolate almond tart

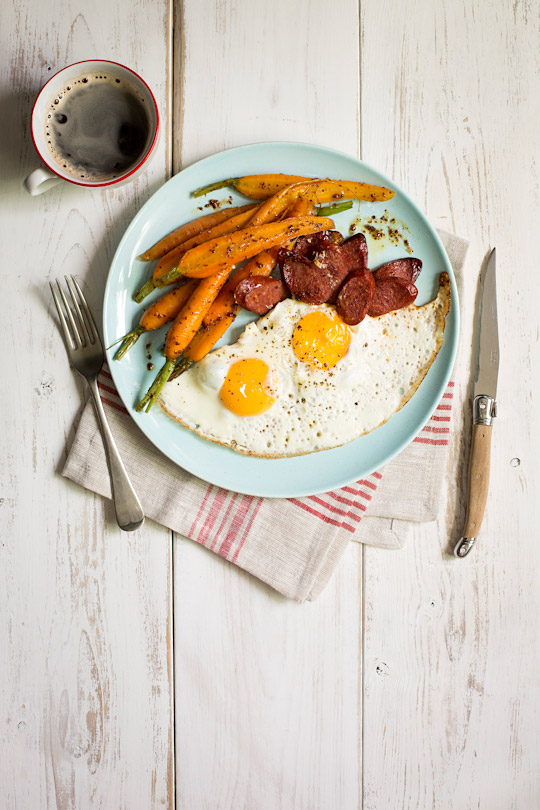
Breakfast with Fried Eggs, Chorizo and Glazed Carrots

In this recipe, young thin carrots work best. If you are skipping chorizo, add salt to balance the flavour of the carrots.

Serves 2

2 tablespoons olive oil

A bunch of carrots, cut in half lengthwise if thick

½ cup water

2 tablespoons honey

2 teaspoons grain mustard

4 eggs, cooked to your preference

1 medium sized spicy chorizo, sliced

Freshly ground pepper

Heat a cast iron pan over medium high heat with the olive oil. Sautee the carrots until lightly browned. Add the water, honey, and mustard and turn the heat down. Stir well to cover the carrots evenly and cook until carrots are softened and the liquid bubbles.

Rinse the pan quickly with hot water and heat over medium high heat. Fry the chorizo, then add eggs and cook until eggs are done. Adjust with the pepper and serve immediately with the carrots.

More recipes for carrots here.


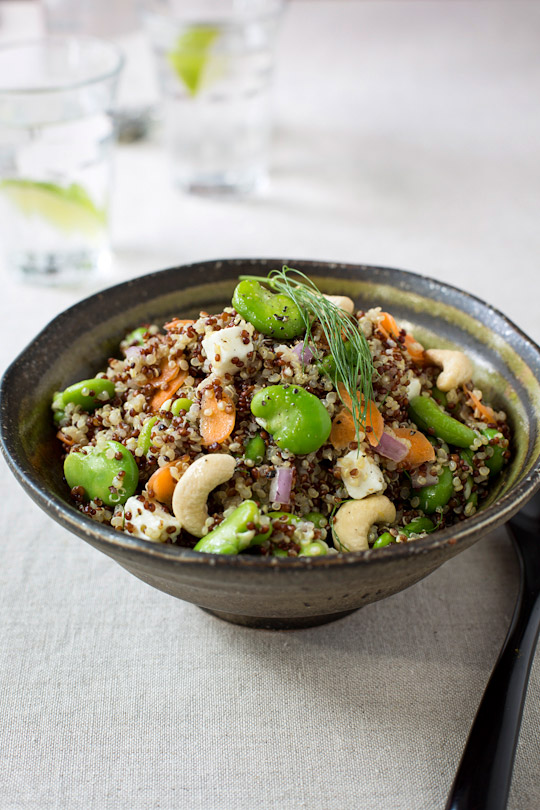
Broad Bean and Fresh Lime Juice Quinoa Salad

There is no need to be precise in this recipe. Simply add any amount of vegetables and cheese you like, and adjust the flavour with the lime juice to your taste. This is one of the easiest and quickest meals in my kitchen, full of nutritious goodness.

Serves 3-4

½ cup red quinoa

½ cup white quinoa

2 cups chicken stock, vegetable stock or water

Broad beans, shell removed

Carrot, thinly sliced

Red onion, chopped finely

Feta cheese, cut into ½ inch pieces

A handful of raw cashews

Fennel leaves

Salt and pepper

¼ cup or more extra virgin olive oil

Fresh juice of 2 limes

Salt and pepper

Rinse the quinoa in a fine mesh strainer to remove the saponin, and drain well. Bring the stock to a boil in a medium saucepan. If you are using water instead of the stock, add some salt to the boiling water. Add the quinoa. Lower the heat, cover with a lid and simmer for about 12 minutes or until the liquid is absorbed. Remove from heat and let stand for a few minutes. Remove the lid and let cool.

In a small pan, boil water and cook the broad beans for about 3 minutes. Discard the cooking water, dunk the beans in cold water and remove the thin skin from each bean.

In a large bowl, combine the oil, lime juice, broad beans, carrot, onion and cheese. Stir in the quinoa and adjust with salt and pepper.

Serve on a platter or in individual bowls, and scatter with the cashews and fennel leaves. Serve immediately or refrigerate until serving time.

More recipes for quinoa here.


Limoncello and Lime Drink

Ice cubes

A little bit of Limoncello

A slice of lime

A dash of fresh lime juice

Carbonated water

Combine all the ingredients in a chilled glass. Sit back, tootsies up and enjoy the moment.


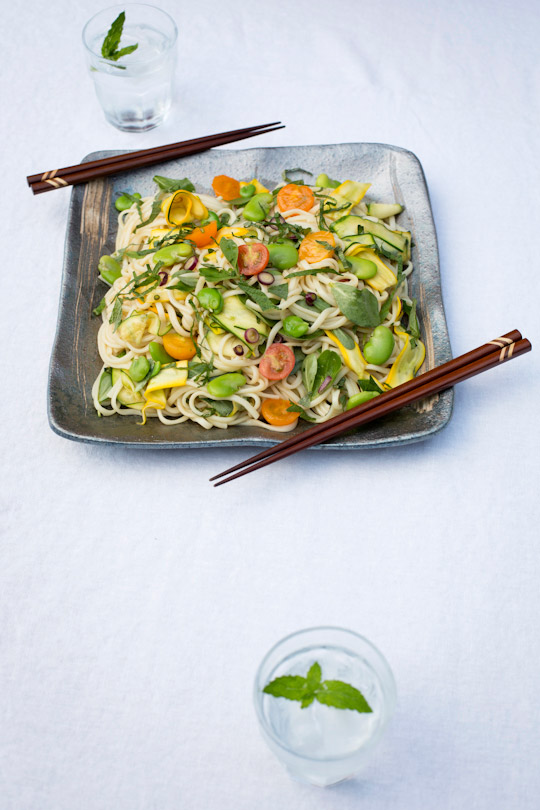
Shiso Udon Noodle Salad

Serves 3-4

Broad beans, shell removed

2 scallions, thinly sliced

2 carrots, thinly sliced

1 each of yellow and small green zucchini, thinly sliced

1 cup cherry tomatoes, cut in half

1 cup purslane, washed, pat dried and cut into small pieces

A few shiso leaves, cut into thin strips with cooking scissors

2 bundles dry udon noodles, one bundle size of a dollar

2 tablespoons soba sauce (recipe here)

2 tablespoons roasted sesame oil or flax oil

Place water in a large pot and bring to a boil. In the meantime, in a small pan, boil water and cook the broad beans for about 3 minutes. Discard the cooking water, dunk the beans in cold water and remove the thin skin from each bean.

Cook the udon noodles according to the instructions on the packaging. In the meantime, prepare the vegetables.

Using a colander, drain the noodles well. Rinse with cold water and drain completely. In a large bowl, toss the noodles with the broad beans, scallions, carrots, zucchini, tomatoes, purslane, soba sauce and the oil. Transfer the noodles to a large platter and sprinkle with shiso leaves over top. Serve immediately.


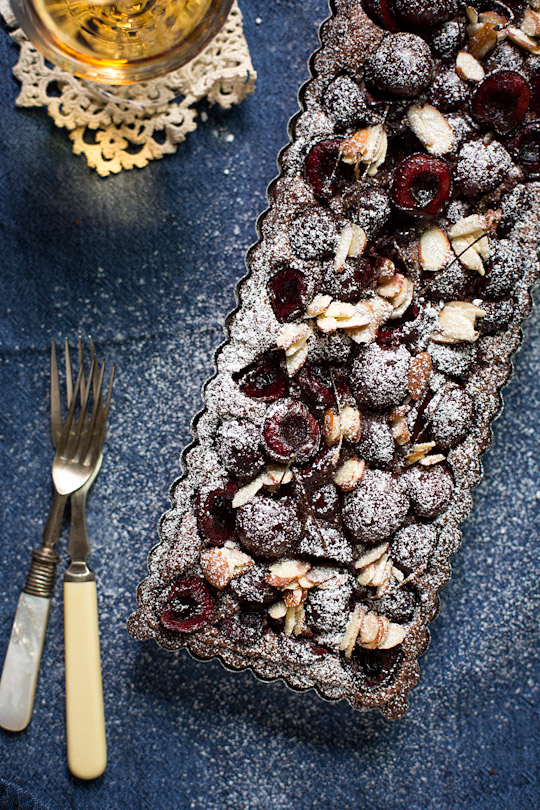
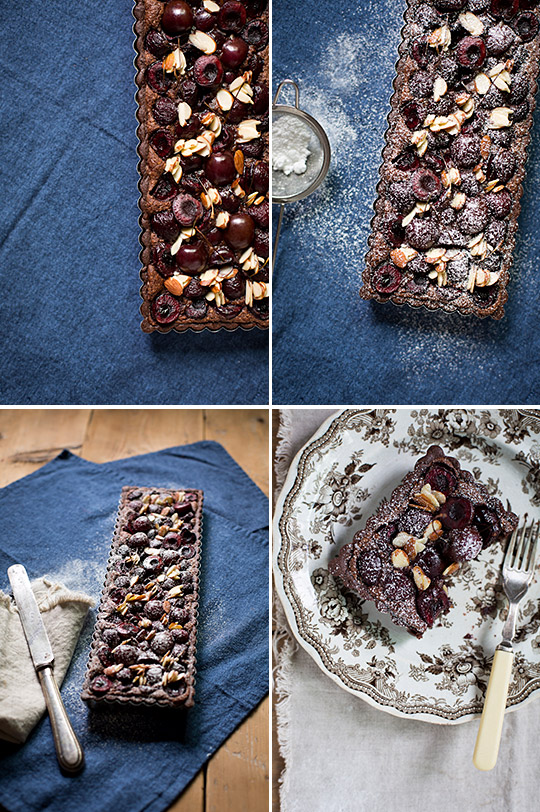
Cherry and Chocolate Almond Tart

Makes one 13 1/2” x 4” rectangular tart pan

Tart dough

60g butter, room temperature

60g sugar

½ egg, lightly beaten

110g white flour

20g cocoa powder

Extra butter and flour for the pan

Almond chocolate cream

100g butter

70g sugar

1½ eggs, lightly beaten

1 tablespoon vanilla extract

100g ground almond

100g dark chocolate, cut into small pieces

250g cherries, pitted and halved

A handful of sliced almonds

Caster sugar for dusting

Butter the pan and dust with some flour, then remove excess flour. Keep it refrigerated.

Make the tart dough. Sift together the flour and cocoa powder then set aside. Place the butter in a food processor and pulse until creamy, scraping down the sides of the bowl as necessary. Add the sugar and continue to pulse until fluffy. Add the egg and pulse to blend. Add the flour mixture a little at a time, and pulse until the mixture just starts to come together into a ball. Gently press the ball into a disk, wrap with a piece of plastic and refrigerate for at least 1 hour.

Flour the working surface and roll the dough with a rolling pin to a size large enough to cover the pan. It could be as thin as 1/8 to 1/16 and that is okay. If it is difficult to manage, roll the dough in between two sheets of parchment paper. Transfer the dough by rolling it around the pin and unrolling onto the pan. Gently fit the dough into the bottom and up the sides with your fingers. Run the pin across the top of the pan to remove the excess dough. If there are tears or a part is too thin, just patch with the excess dough. Keep refrigerated.

Melt the chocolate in a medium sized bowl placed over a small pan with simmering water. Make sure the bottom of the bowl does not touch the water.

Preheat the oven to 350F (320F with the convection). Make the almond chocolate cream. In a large bowl, cream the butter until fluffy, then add the sugar. Continue until fluffy, then add the eggs and combine well. Add the vanilla, ground almond and chocolate, and stir well.

Pour the almond chocolate cream in the tart evenly. Place the cherries evenly across the tart. Bake for about 40 minutes or until done.

Let cool on a rack. Scatter with the sliced almonds over top and dust with the caster sugar.

More tart recipes here.

coffee