Beet & Chocolate Muffins

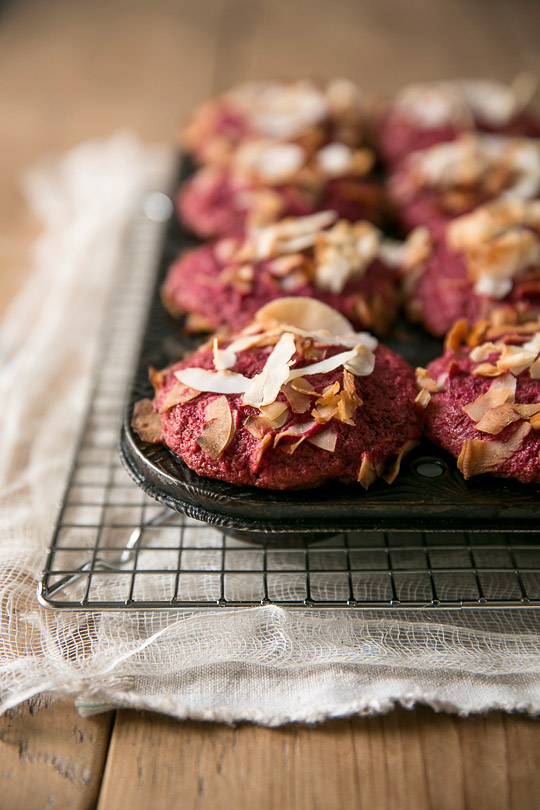
beet & chocolate muffins

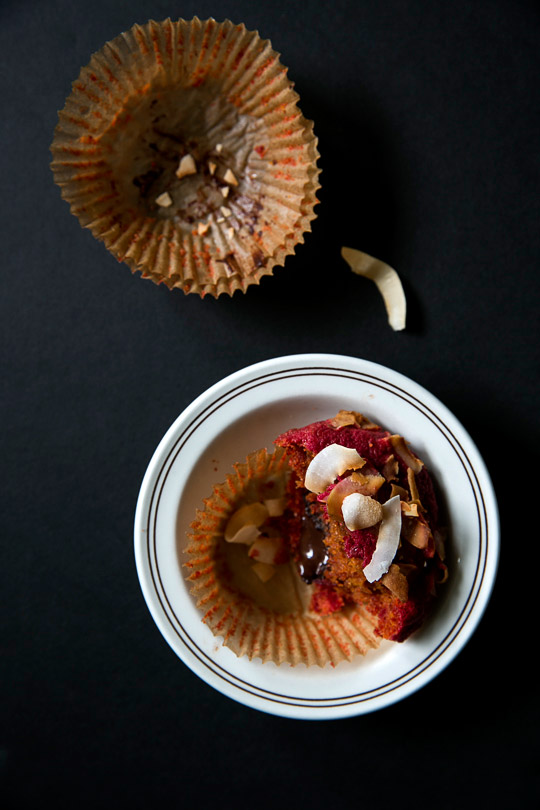
Whether or not you are a beet lover, if you are looking for the way to someone’s heart, try these red muffins. They are fun to make, and even better the naturally intense colour of these muffins makes them an attractive as well as nutritious treat!

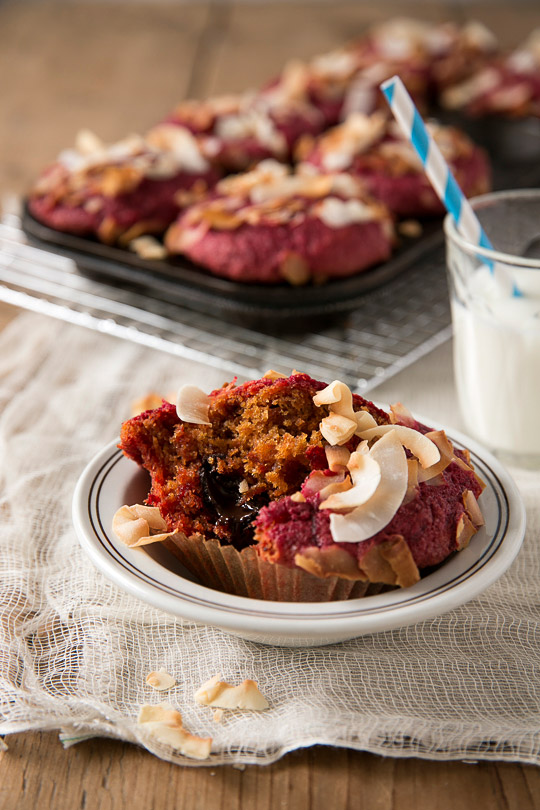
beet & chocolate muffins

The idea of perfecting this recipe came after I gently nagged a local chocolatier, my farmer’s market friend, demanding that he create beet flavoured chocolate to accompany their unique kale, tomato and other vegetable flavours. He explained that any additional flavouring added to chocolate making has to be strong and distinctive enough to overcome the taste of chocolate.

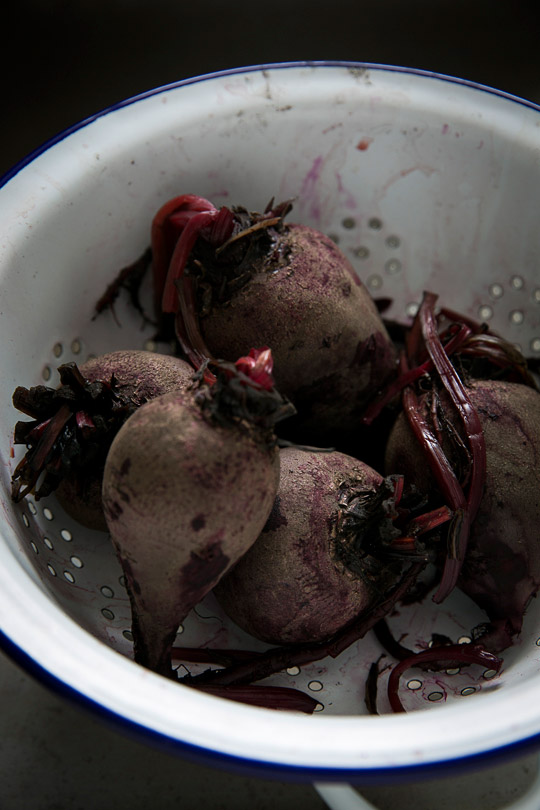
cooked beets

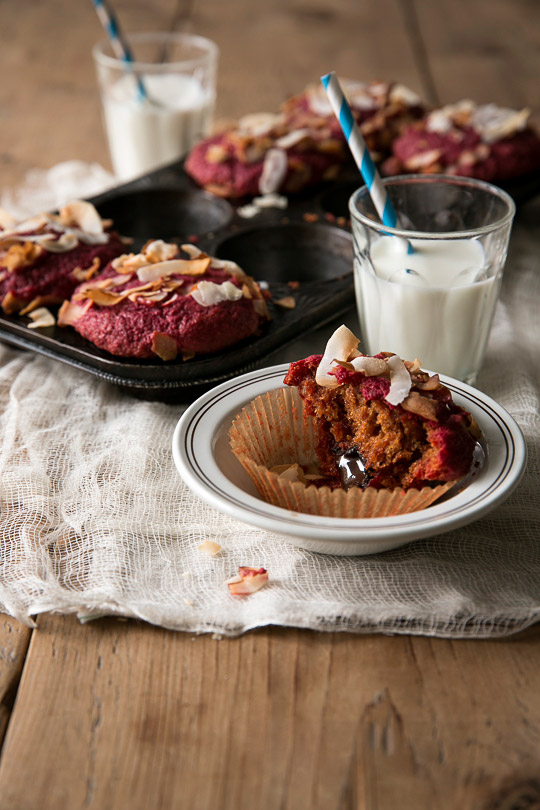
Since it didn’t seem like the chocolatier was inclined to try this experiment, I decided to create my own concoction. Since beet has an earthy, subtle taste, after a couple of trials with grape seed oil and/or brown sugar and/or whole wheat, I have settled on a mixture of butter, cane sugar and white flour that gingerly brings out the earthy flavour of the beet. A chocolate piece is then inserted inside the muffins, and the slightly roasted coconut flakes placed over top helps create the perfect match in your watering mouth. The dream team of my imagination finally came true!

beet & chocolate muffins

beet & chocolate muffins

Beet & Chocolate Muffins

Makes 8 muffins

1 cup cooked beets (about 3 large beets), cooled and finely shredded

100g butter, room temperature

140g cane sugar (fine texture)

2 eggs, room temperature, slightly beaten

200g unbleached white flour

¼ teaspoon salt

3 teaspoons baking powder

2 tablespoons milk, room temperature

8 pieces of dark chocolate

Shredded coconut flakes

Preheat the oven to 350F. Sift together the flour, salt and baking powder.

Cream the butter in a large bowl and add the sugar in a couple of instalments. Continue to stir until pale and fluffy.

Add the eggs 1 at a time and continue to stir until combined. Add the beets and mix well.

Add half the amount of flour mixture and stir until mixed, then add the rest and gently fold with a spatula in a circular motion. Do not stir too much.

Divide the batter into prepared muffin cups in a tin. Insert one piece of chocolate inside each muffin. Sprinkle with coconut flakes on top. Bake until done, about 25 minutes.

Transfer the muffins to a rack and let cool.


Plum Upside-Down Cakes + Grand Marnier Ice Cream

plum upside-down cake

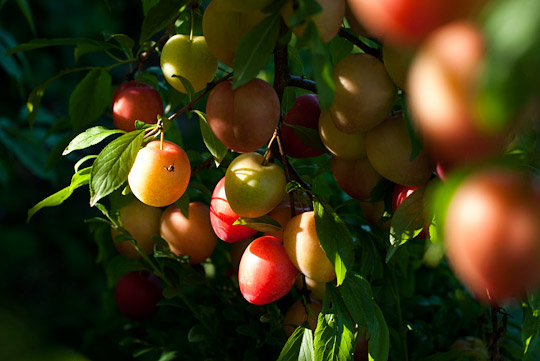
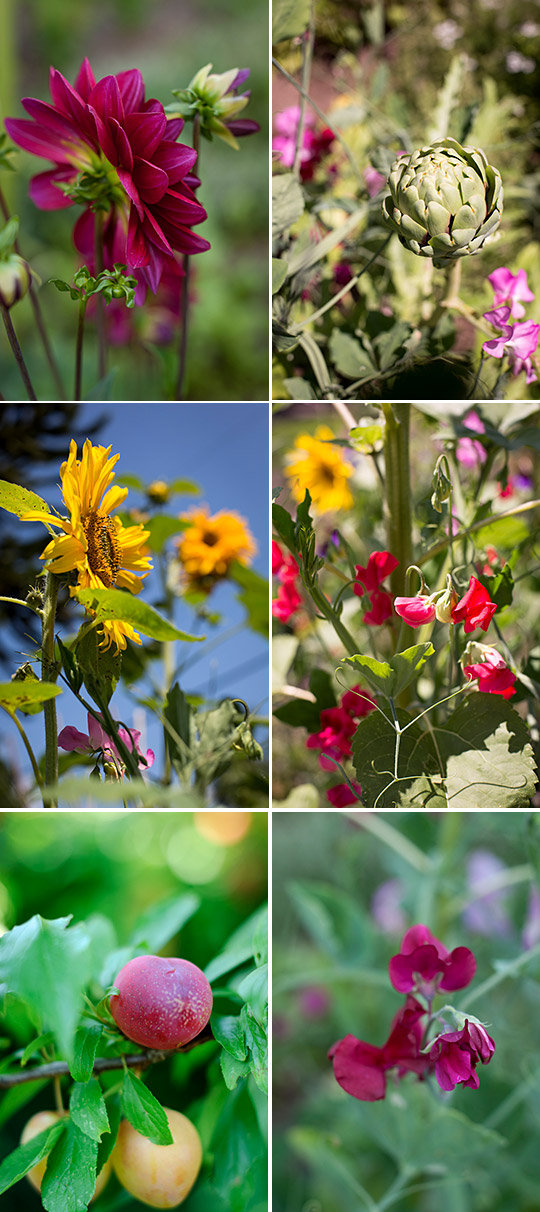
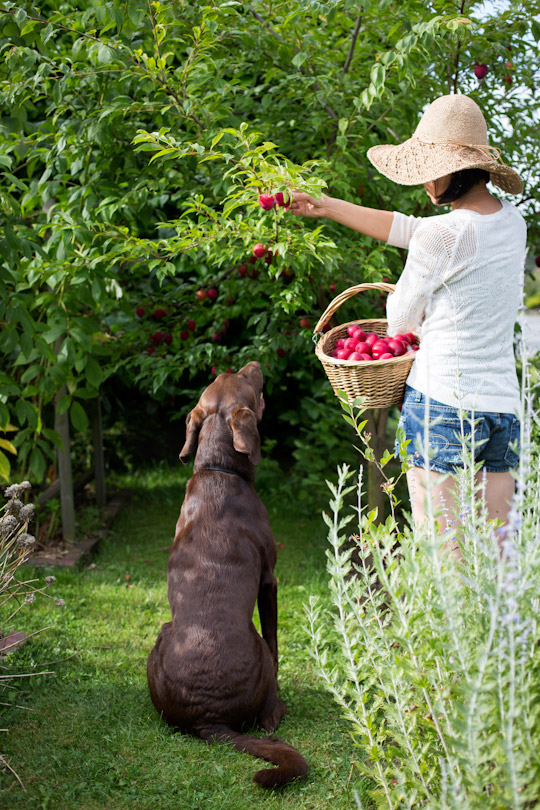
Has your long awaited dream come true recently? One of mine just did with the sweet and juicy fragrance of Japanese plums wafting all over our house and garden. The name of the plum tree “Beauty” somehow coincides as if celebrating a realization of my will. I have kept a twelve-year-old fine COOKING magazine, the September issue to be exact, that features two pastry chefs in a challenge to improvise a plum dessert using a limited number of ingredients. From there, one recipe particularly grabbed my heart so much that I was determined to plant my own plum tree(s) in a future garden and bake this recipe with the very fruits from the tree. I have baked this recipe a number of times but now that I can finally harvest my own hard-earned fruits, I can report that it was a splendor well worth waiting for! You undoubtedly have your own dreams. Let them come true by maintaining a strong will, desire and a little patience.

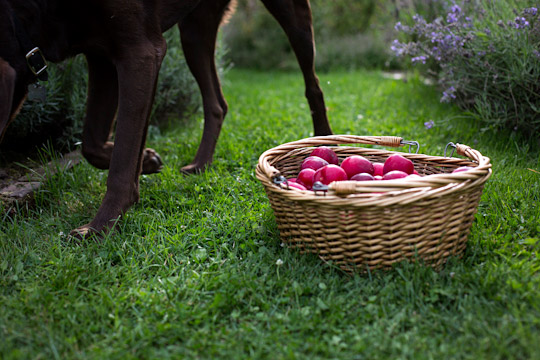
Japanese plums "Beauty"plums and flowers in the gardenplum pickingplums and a dog

Plum Upside-Down Cakes

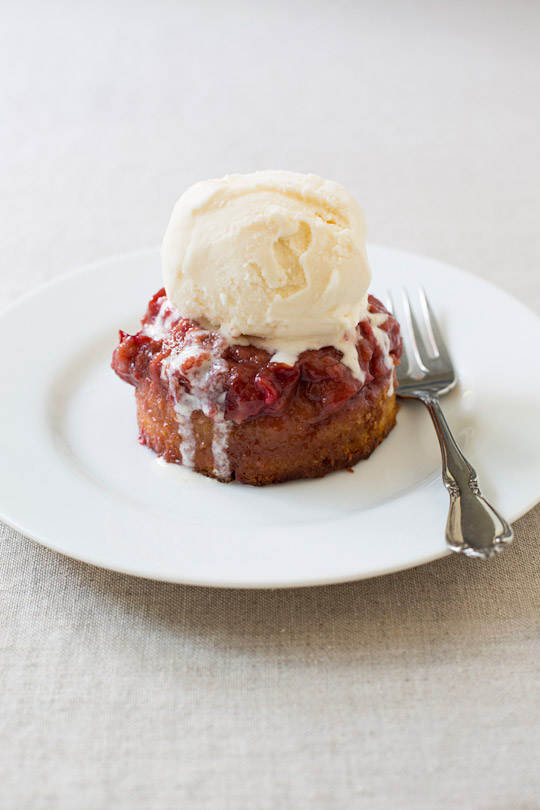
The recipe calls for smallish plums that are ripe but firm. I used my Japanese “Beauty” plums, and they worked wonderfully with their nice balance of sweetness and acidity to accompany a big dab of Grand Marnier ice cream.

Makes eight 8-oz ramekins

10 oz. (2½ sticks) unsalted butter, softened at room temperature

Extra butter for greasing the ramekins

¾ cup firmly packed brown sugar

6 medium-size red plums, pitted and sliced 1/8 inch thick

½ cup plus 1 tablespoon milk

1 tablespoon fresh lemon juice

6 oz. (1½ cups) cake flour

1 teaspoon baking powder

¼ teaspoon baking soda

½ teaspoon ground cinnamon

¼  teaspoon salt

1 cup sugar

Grated zest of 1 orange

2 large eggs

2 teaspoons vanilla extract

Butter the ramekins. Heat the oven to 350F.

In a medium saucepan over medium heat, combine 6 oz. (1½ sticks) of butter with the brown sugar, whisking until smooth and combined. It’s okay if you still have sugar granules.

Immediately pour into the bottoms of the buttered ramekins, dividing evenly. Arrange a layer of plum slices in each ramekin, overlapping them slightly, using smaller slices to fill any gaps.

In a small bowl, combine the milk and lemon juice. The mixture will curdle and that is okay.

In another bowl sift together the cake flour, baking powder, baking soda, cinnamon and salt.

Cream the remaining 4 oz. (1 stick) of butter with the sugar and orange zest in a mixer. Add the eggs and vanilla, and mix to combine.

Alternately add the dry ingredients and the milk mixture, mixing just to combine.

Divide the batter among the ramekins. Arrange the ramekins on a rimmed baking sheet and bake until the cakes are firm to the touch and the juices are bubbling, 35 to 40 minutes, rotating the sheet midway through baking to ensure even cooking.

Let cool on a rack until warm. Run a paring knife around the inside edge of each ramekin, invert onto a plate, and gently lift it off the cake. Top each cake with a scoop of Grand Marnier ice cream (recipe below).

*If you’ve baked the cakes ahead, heat the oven to 350F, set the ramekins on a rimmed baking sheet and heat until just warmed, about 2 to 3 minutes.

Adapted from Karen Barker’s recipe from fine COOKING.


Grand Marnier Ice Cream

This dessert is a perfect way to chill out during hot summer afternoons. It also happens to be a perfect match for the Plum Upside-Down Cakes.

Makes about 1L

3 eggs

1 cup sugar

2 cups whipping cream

2 cups whole milk

¼ cup to ½ cup Grand Marnier

Beat the eggs and milk together in a large saucepan. Add sugar and cook over low heat, whisking constantly until thickened, about 15 to 20 minutes. This is the time to dream about your future. Instead of yesterday’s thoughts, let’s imagine and dream, not necessarily about a plum tree but whatever suits your fancy; and of course, don’t forget to keep whisking! The mixture should smoothly coat the back of a spoon.

Strain into a large bowl and cool. Then, add the cream and Grand Marnier starting from a small portion. Taste it and adjust the amount of liquor.

Refrigerate at least 4 hours or overnight. Churn the mixture according to the manufacturer’s instructions. You can transfer the ice cream to an airtight container and store in a freezer to encourage further solidification.

See more ice cream recipe here.


Rhubarb Bars

rhubarb bars

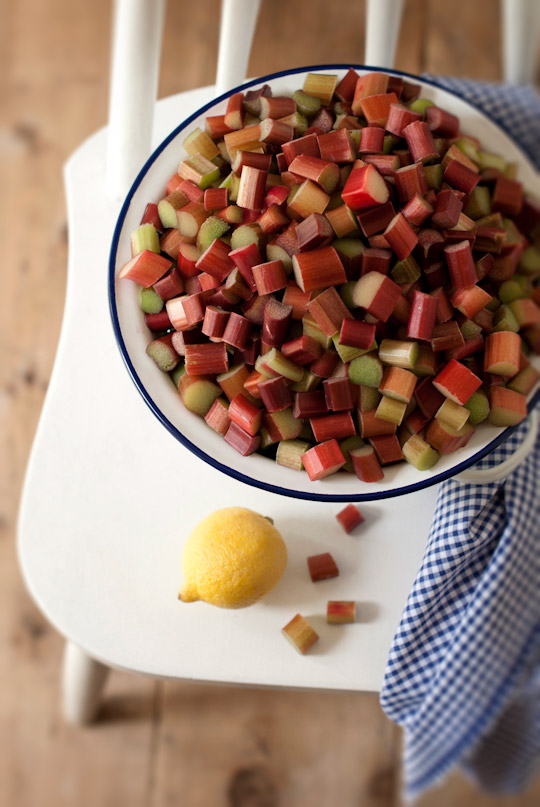
Okay, I promise that this is going to be the last post for rhubarb desserts since I already posted many lately, and I should probably leave my rhubarb plants alone to recuperate for next year so I can bake all these rhubarb goodies all summer long! But who can resist those intense ruby red stalks?

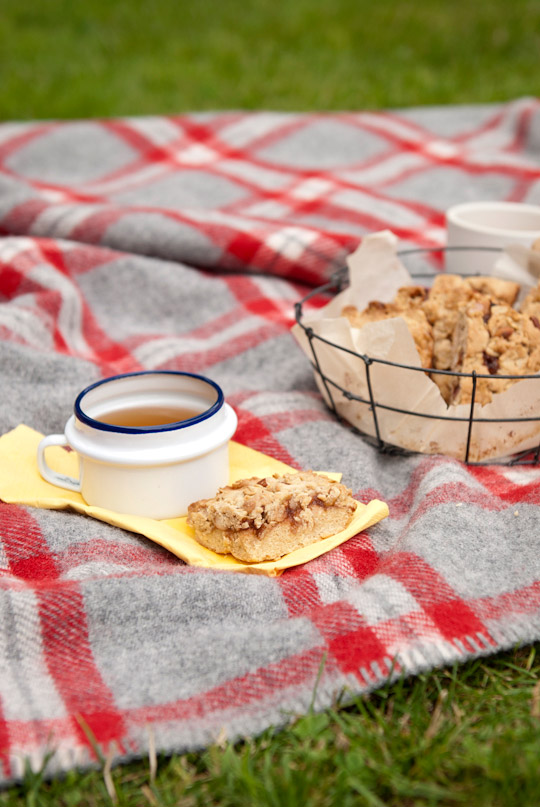
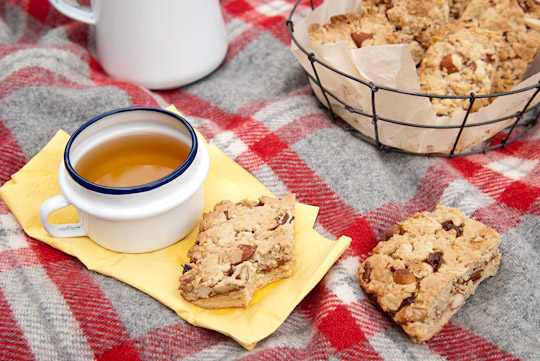
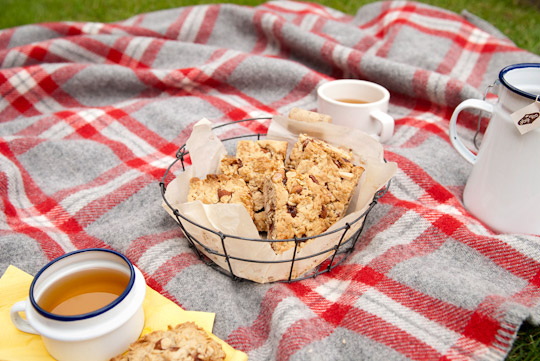
These bars are perfect to take on trips, thanks to their solid texture. We ate them on a ferry and brought them to a picnic too. As Deborah Madison suggests, you can use any kind of jam to add variety.

rhubarb barsrhubarblemonrhubarb jamrhubarb bars

Rhubarb Bars

9 x 9 square pan

110g salted butter

½ cup cane sugar

¼ cup powdered sugar

1 teaspoon vanilla extract

1 egg

½ teaspoon baking powder

½ teaspoon ground cinnamon

11/2 cups unbleached white flour

¼ teaspoon salt

1 cup mixed chopped almonds, pecans, walnuts and rolled oats

¾ to 1 cup rhubarb jam or more (recipe below)

Extra butter and flour for greasing and dusting the pan

Preheat the oven to 350F. Butter a 9 x 9 pan and dust with some flour. Remove excess flour. Alternately, line the pan with a sheet of parchment paper.

Cream the butter, add the sugar gradually, and beat until fluffy. Add the egg and vanilla, and continue stirring until the egg incorporates. Add the dry ingredients except the nuts mixture.

Leaving ¾ of the dough, press the rest evenly in the prepared pan.

Spread the rhubarb jam in a thick layer over the dough.

Mix the nuts into the reserved dough, and spread over the jam layer.

Bake about 40 to 45 minutes.

Let cool and cut into squares.

Adapted from Deborah Madison’s Vegetarian Cooking for Everyone.


Rhubarb Jam

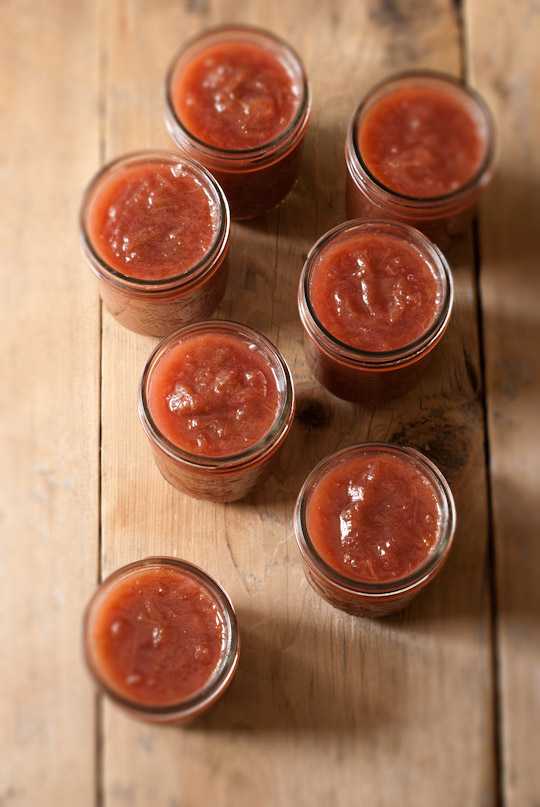
I make this jam thinking of crisp cold winter mornings when I spread it generously over toast smeared with cream cheese, all served with a warm pot of tea or coffee.

Makes 7 x 250 ml jars

2 kg rhubarb, cut into 1 inch pieces

850g cane sugar

2 tablespoons lemon juice (about 1 small lemon)

Place all the ingredients in a heavy bottomed pot and cook until the rhubarb loses its shapes and becomes thick, about 1 hour or so.

Bring plenty of water to boil in a large pot that is taller than the jars. Sterilize the jars, lids and screw bands for a few minutes. Let them dry.

Pour the jam into the sterilized jars, leaving 1/4 inch from the brim. Wipe any spilled jam from the brim. Screw on bands snugly but do not over tighten them. Make sure that lids are not damaged or bent so that they seal properly during the canning process.

Place a heavy tea towel in the pot to keep the jars from having direct contact with the bottom. Submerge the jars. Make sure that there is enough water to cover them by at least 1 inch.

Boil for about 25 minutes.

Remove the jars without tilting, place them on a tea towel and cool undisturbed for 24 hours. In the mean time, remove the screw bands, wipe and dry them and replace on jars.

You can test the jars to find out if they are sealed properly. You can lift the whole jar by grabbing only the lids if they are properly sealed.

The preserves last about one year or longer. Refrigerate once opened.