Carrot 3 Ways

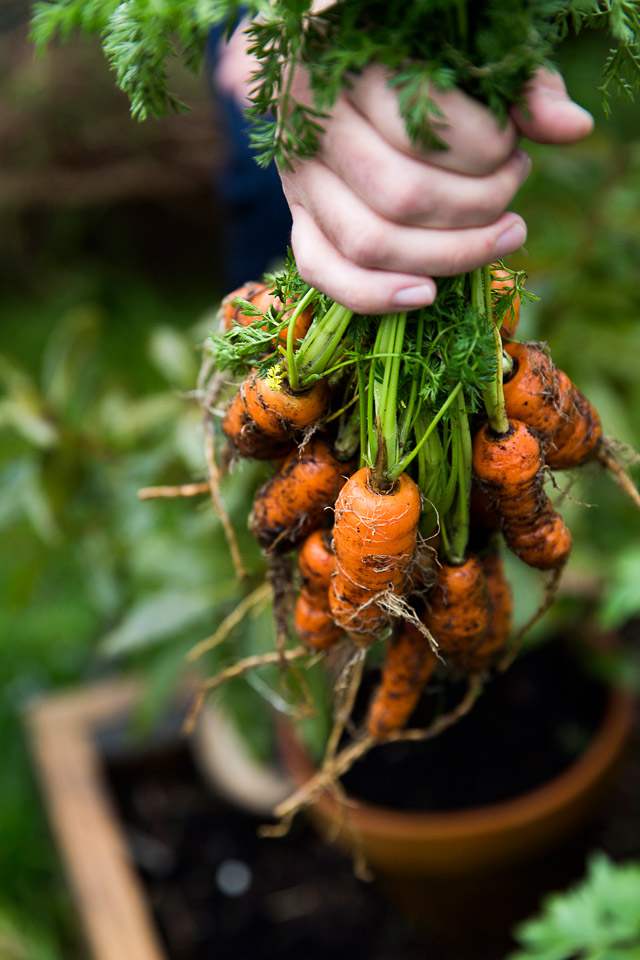
carrot_bunch

If you are like me you may tend to fall into a routine and continue for a long time without a clear purpose: in this case, I’m talking about the drinking coffee routine. When mindlessly following a routine, you may lose sight of the fact that what you’re doing isn’t at all healthy. Examples of this phenomena are shown in the movie “Food Matters,” which sends a strong message that what you eat is what you are. In the last few years since I started my garden, my partner and I have totally changed the way we live and eat, mostly for the better. However, if we are not paying attention, our best efforts to live more healthfully and consciously could be subverted.

For the longest time, I’ve woken up in the mornings and immediately begun looking forward to a cup of coffee. That is, until my friend suggested that I cut back on my morning intake to improve my health. For sure, I love coffee’s aroma and richly sweet taste, but mostly I love the idea of enjoying a cozy morning routine, which for so long has featured a cup of coffee.

After discussing “Food Matters” with yet another friend, we both decided to majorly cut back on coffee. We still haven’t finished watching the whole movie yet, but definitely got the message in the first 20 minutes. My routine shifted from a cup of coffee to a cup of matcha latte and then to freshly made raw juice, thanks to our friends’ influences. However, I still allow myself a cup of coffee now and then when I have the chance to visit BEAUCOUP BAKERY & CAFÉ, Le Marché St. George, or a few other neat places in Vancouver whose artistry and cozy atmospheres are just too hard to resist! So try this juice, slaw and if you need the coziness, I also baked for you a decadent cake made with another harvest from the spring cleanup.

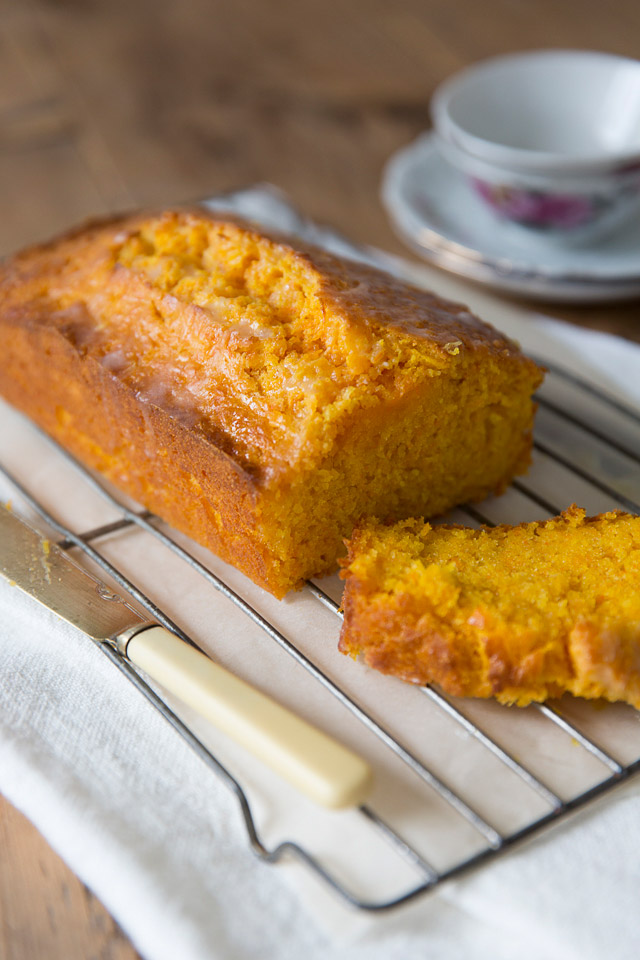
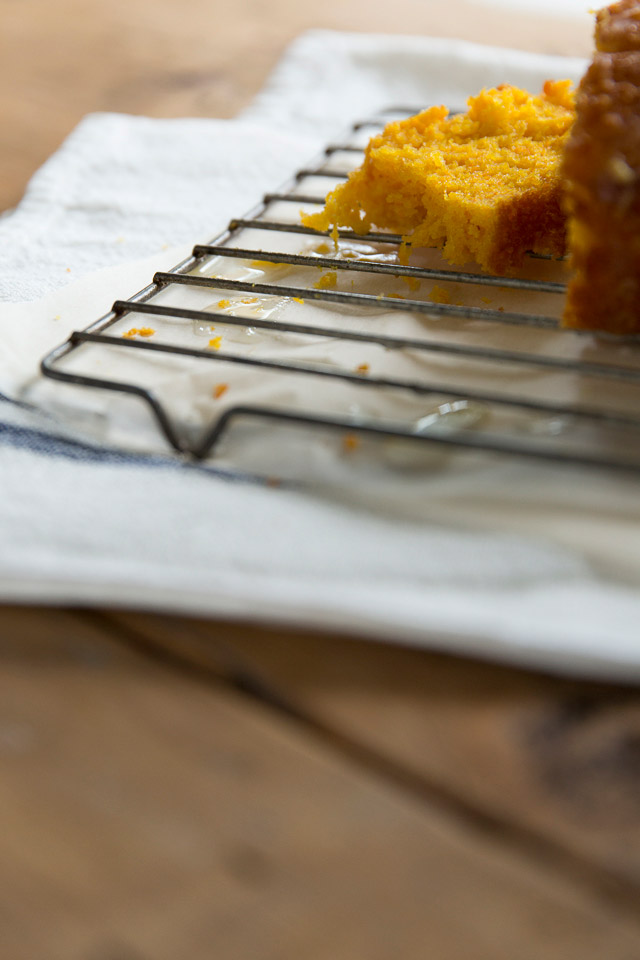
carrot_juicecarrotscarrot_slaw gratingcarrot_cakecarrot cake

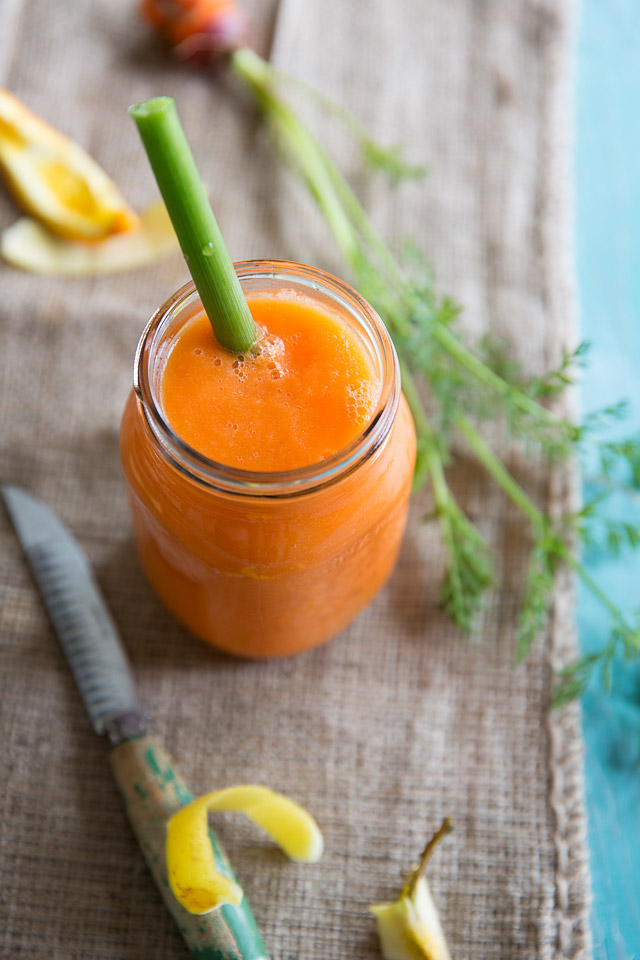
Carrot Juice

Serves 2

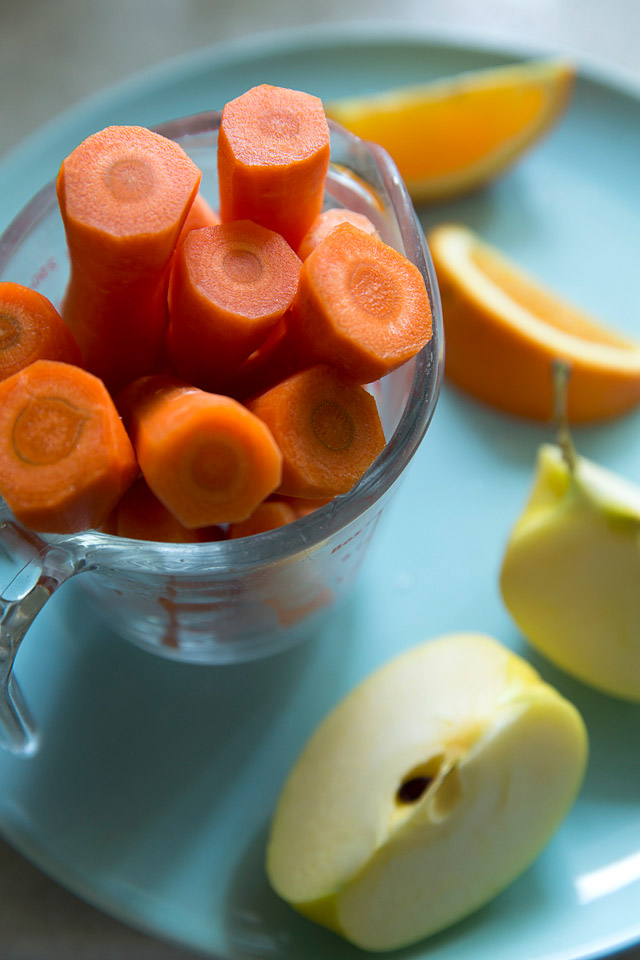
1cup carrot, washed, peeled and roughly chopped

1 small apple, peeled and cored

2 large oranges, peeled

¼ of whole pineapple, rind removed, cored and roughly chopped

2 ice cubes

Place all the ingredients in a blender (we adore our Vitamix for this), and blend until smooth. Add water to achieve your preferred consistency and serve.


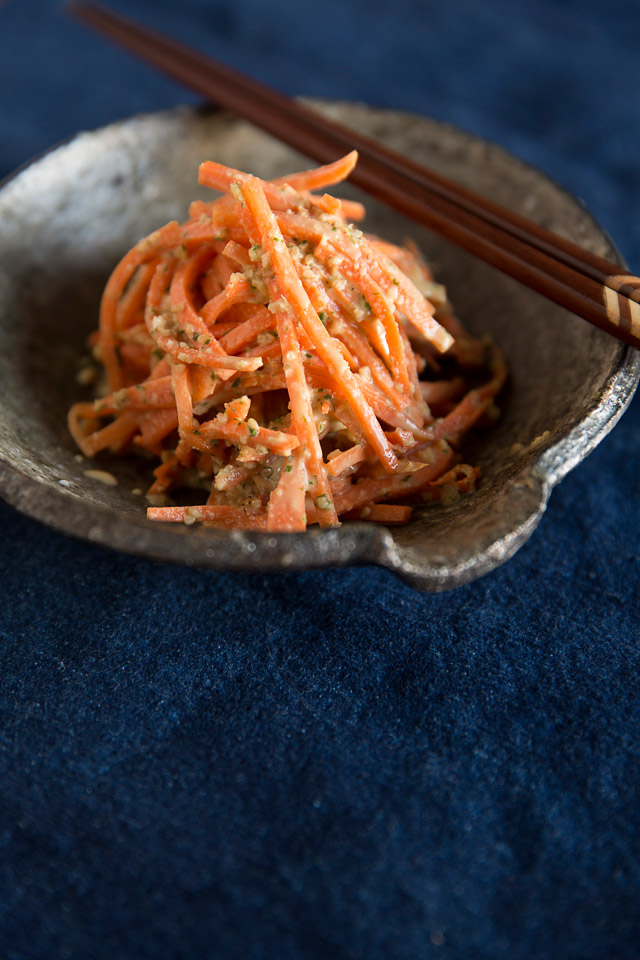
Carrot Slaw

Serves 4

4 large carrots, peeled and julienned

2 garlic cloves, roughly chopped

1 small knob ginger, chopped

A handful of chives, roughly chopped

¼ cup rice vinegar

½ teaspoon cane sugar

1 tablespoon plus 1 teaspoon soy sauce

1 tablespoon toasted sesame oil

2 tablespoons white sesame seeds, roasted in a skillet

2 tablespoons tahini

Combine garlic, ginger, chives, vinegar, sugar, soy sauce, sesame oil and tahini in the bowl of a food processor and proceed to blend well. If you don’t have a food processor, don’t worry, but just chop everything fine, place in a jar and shake well to blend.

In a large bowl, mix the carrots and the dressing well and chill. You can serve in a couple of hours. If you have leftovers, the dish is indeed very tasty the next day. I would sneak this slaw into a sandwich made with leftover cold pork tenderloin sliced along with lots of cilantro leaves or whatever is on hand (or in the fridge) the next day.


Carrot Lemon Cake

Makes 9 x 5 x 3 inch loaf pan

1 cup butter plus extra for greasing, room temperature

1/3 cup plus 1 tablespoon sugar

3 large eggs, room temperature, beaten

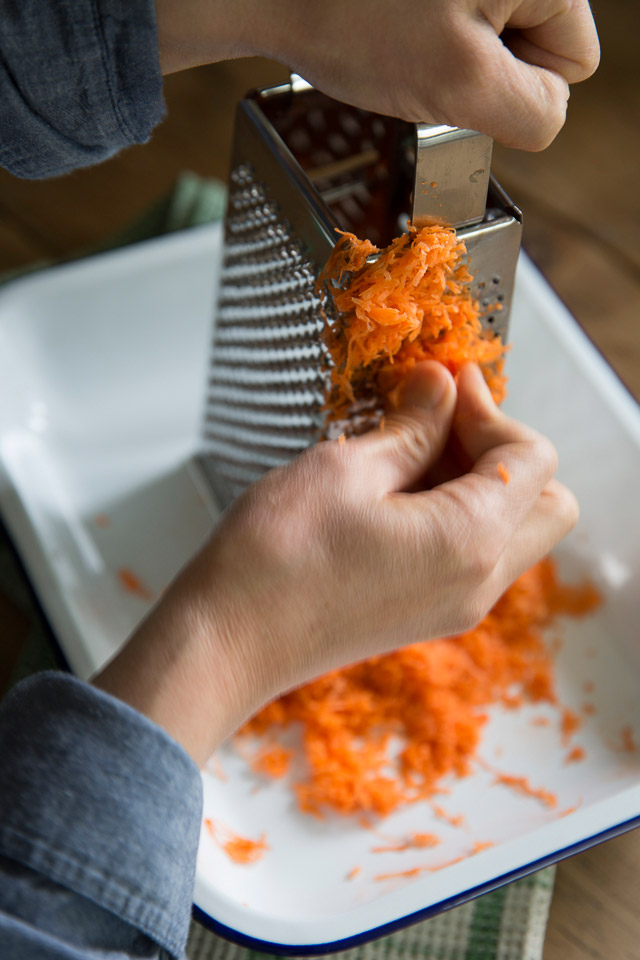
1 cup grated carrot

2 tablespoons sour cream

Lemon zest from 1 lemon

1 tablespoon fresh orange juice

1 ½ cups cake flour plus extra for dusting

2 teaspoons baking powder

¼ teaspoon salt

Icing

2 to 3 tablespoons lemon juice

¾ cup icing sugar

Combine the flour, baking powder and salt, mix well and set aside. Grease the pan with extra butter, dust flour removing the excess and keep refrigerated until the batter is ready. Preheat the oven to 350F.

Cream the butter with an electric beater in a large bowl until fluffy. While continuously beating, add the sugar in a few installments and beat until well combined. Add eggs gradually and beat to blend. Switch to a whisk, add the carrot, sour cream, ½ lemon zest and orange juice, and stir to combine. Proceed rhythmically by beating the batter each time you add an ingredient.

Add 1/3 of the flour mixture into the batter and incorporate. Switch to a spatula, add the rest of the flour mixture and gently combine until no flour is visible.

Bake until tested skewer comes out clean, for about 50 minutes. In the meantime, make icing. Place the sugar in a small bowl and add the lemon juice and the rest of the lemon zest a small amount at a time. Stir well, making a smooth consistency.

Let the cake stand for 10 minutes, and then remove from the pan to cool. Drizzle the icing over top. Slice and serve at room temperature.

 

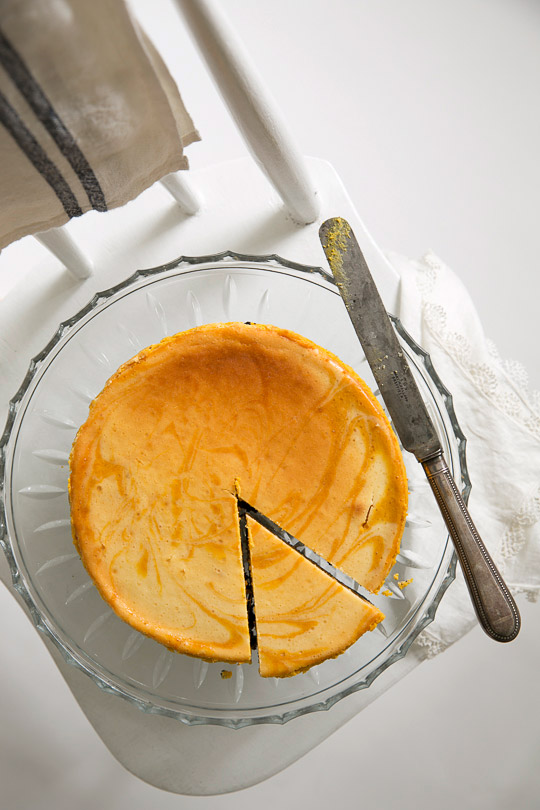
Pumpkin Cheesecake with Caramel Sauce

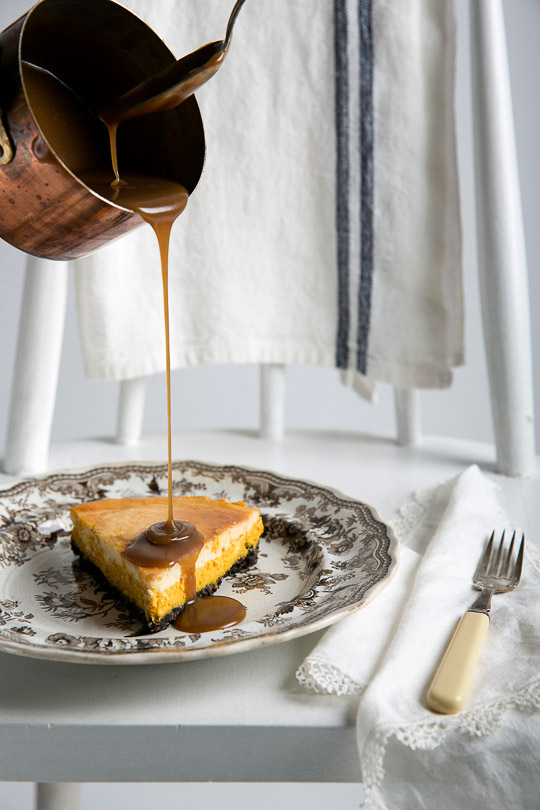
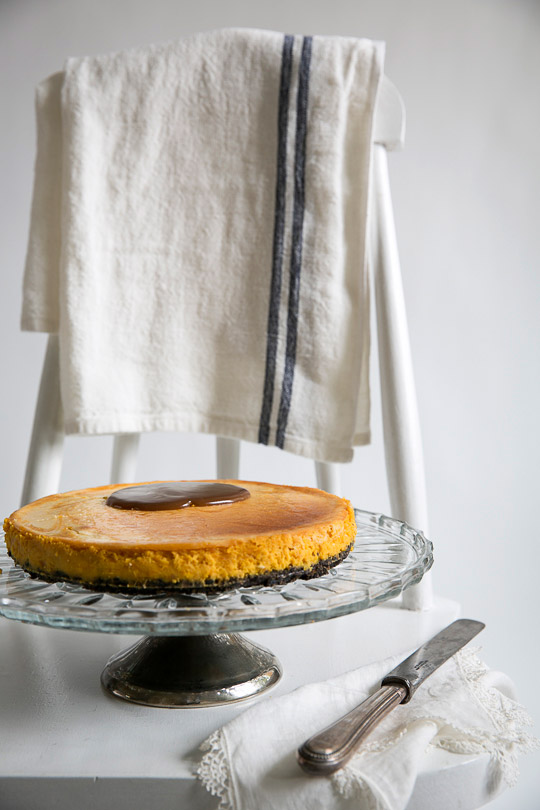
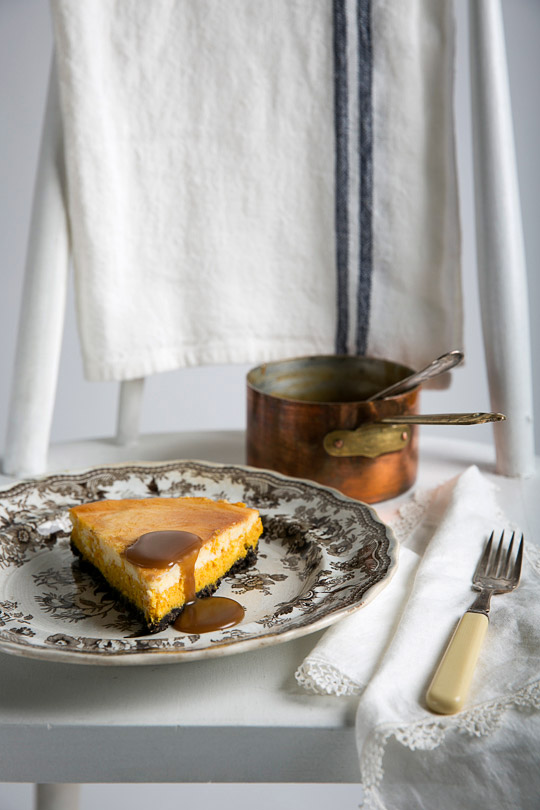
pumpkin cheesecake with caramel sauce

Here in Vancouver, when the sun finally peeks through heavy clouds, I run outside, stand up straight with my arms outstretched, eyes closed, feeling the warmth of the sun.  This experience is rare, and lasts only for a few minutes during winter, however, I’m always in awe of how this simple act can help recharge me. “Just Feel the Warmth of the Sun Act.” In my kitchen, I tend to recreate the bright sunshine when actual sunlight isn’t an option.

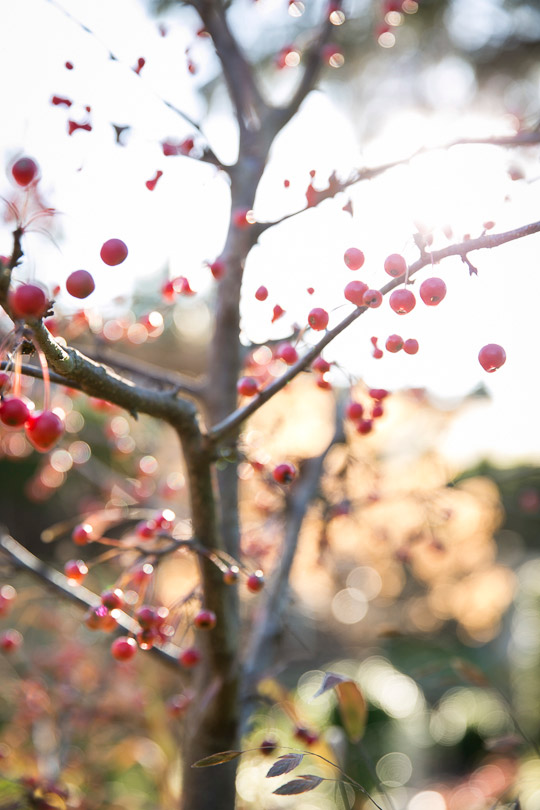
crab apple tree in the garden

Pumpkin cheesecake

When it comes to baking, my twin sister is the go-to person. She bakes everything, from heavy, dense Scandinavian style bread with her own homemade yeast to traditional Japanese buns filled with red bean paste, to biscotti, bagels, gluten-free kids’ birthday cakes and so much more. Since she gladly shared this cheesecake recipe with me a long time ago, it has remained on my mind every time I roast Marina Di Chioggia winter squashes. As it turns out, the cake was absolutely loved by everyone at dinner parties even after a full season of feasts.

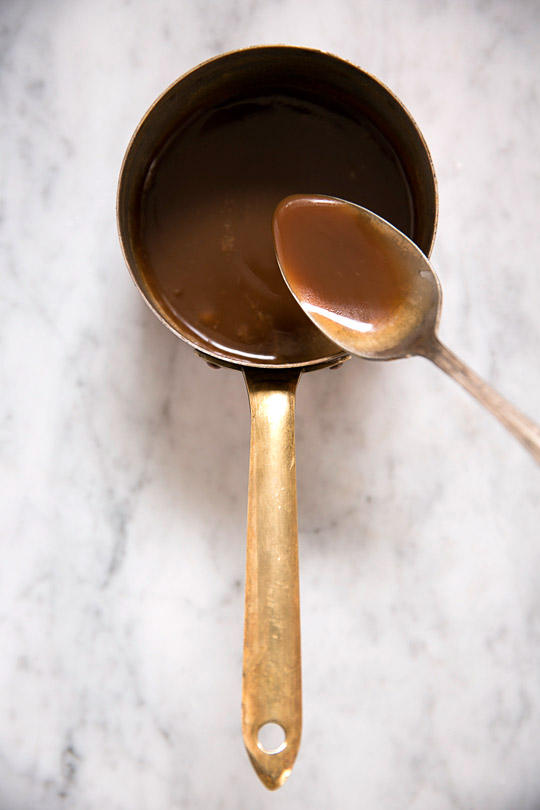
caramel sauce

Chasmanthium latifolium

Pumpkin cheesecake

Pumpkin cheesecake with caramel sauce

Pumpkin Cheesecake with Caramel Sauce

Makes 9 inch springform pan

Crust

30g whole wheat digestive cookies

40g chocolate cookies

30g butter, melted

Filling

250g cream cheese, room temperature

50ml whipping cream

100g sugar

2 eggs

10g cornstarch

200g pumpkin puree

30g sugar

1 egg yolk

1/8 teaspoon cinnamon

Caramel sauce

½ cup whipping cream

30g butter, cut into small pieces

½ cup brown sugar

Make crust by smashing cookies in a plastic bag with a rolling pin until fine texture is achieved. Combine well with butter, press into the bottom of the pan and keep refrigerated.

Preheat the oven to 390F. Set a kettle of water on the stove. You are going to use this later for steaming the cake in the oven. Not quite tea time yet!

In a large bowl, beat the cream cheese until smooth, and add the whipping cream, sugar, eggs and starch. Combine well.

In another bowl, thoroughly mix the pumpkin, sugar, egg yolk and cinnamon. Then, pour in ½ of cream cheese mixture and stir well.

Pour the rest of the cream cheese mixture into the prepared crust. Next, gently add the pumpkin mixture to the crust, and then swirl the top to create the marble effect.

Wrap the bottom of the springform pan with a piece of tin foil. Next, place the pan in a rimmed baking sheet on the centre rack in the oven. Pour the boiling water up to the rim of the baking sheet.

Lower the oven to 320F and bake for 1 hour. If the top becomes too dark after 40 minutes, cover the top with a piece of tin foil. Leave the cake in the oven to cool. When the cake is completely cooled, refrigerate at least 6 hours, but preferably overnight.

Make the caramel sauce ahead of time before serving. Place the cream, butter and brown sugar in a saucepan over medium heat and stir until sugar is dissolved. Bring to a boil and keep stirring until thickened, for about 8 minutes.

When serving the cake, run a knife around the edge inside the springform, then release and lift the pan gently. Serve with caramel sauce.

Caramel sauce recipe adapted from Donna Hay Magazine.


Plum Upside-Down Cakes + Grand Marnier Ice Cream

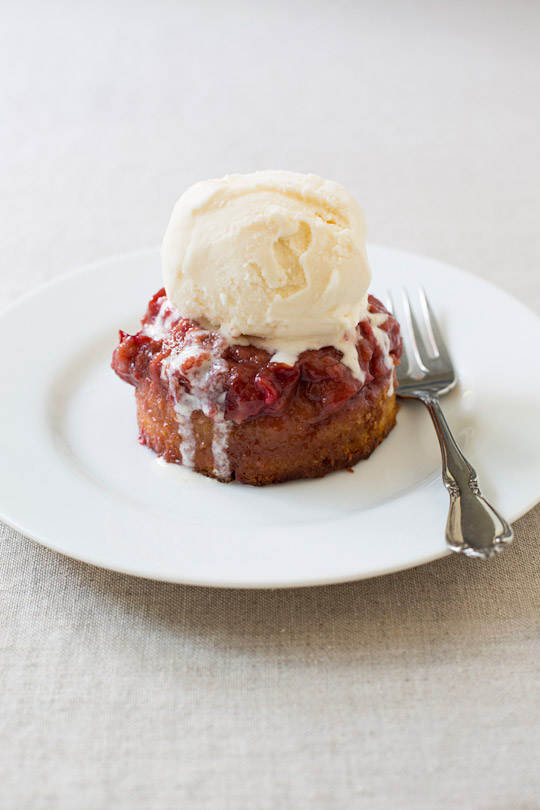
plum upside-down cake

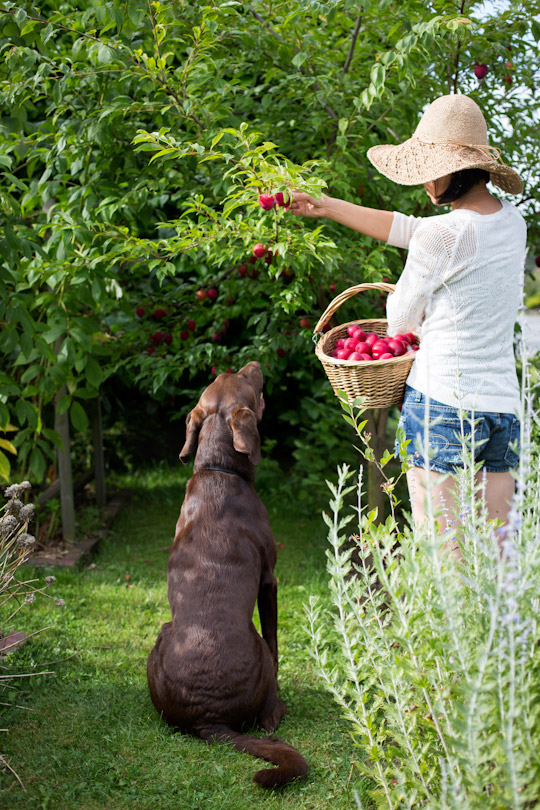
Has your long awaited dream come true recently? One of mine just did with the sweet and juicy fragrance of Japanese plums wafting all over our house and garden. The name of the plum tree “Beauty” somehow coincides as if celebrating a realization of my will. I have kept a twelve-year-old fine COOKING magazine, the September issue to be exact, that features two pastry chefs in a challenge to improvise a plum dessert using a limited number of ingredients. From there, one recipe particularly grabbed my heart so much that I was determined to plant my own plum tree(s) in a future garden and bake this recipe with the very fruits from the tree. I have baked this recipe a number of times but now that I can finally harvest my own hard-earned fruits, I can report that it was a splendor well worth waiting for! You undoubtedly have your own dreams. Let them come true by maintaining a strong will, desire and a little patience.

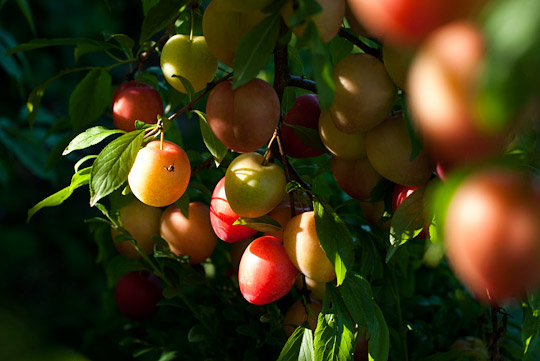
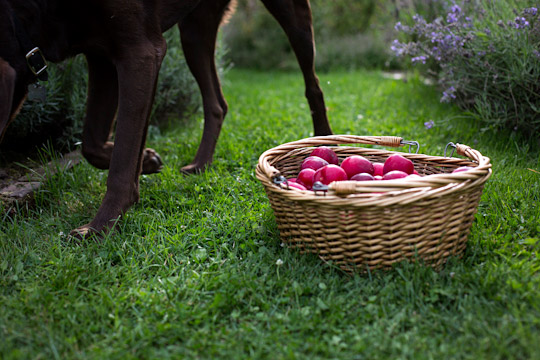
Japanese plums "Beauty"plums and flowers in the gardenplum pickingplums and a dog

Plum Upside-Down Cakes

The recipe calls for smallish plums that are ripe but firm. I used my Japanese “Beauty” plums, and they worked wonderfully with their nice balance of sweetness and acidity to accompany a big dab of Grand Marnier ice cream.

Makes eight 8-oz ramekins

10 oz. (2½ sticks) unsalted butter, softened at room temperature

Extra butter for greasing the ramekins

¾ cup firmly packed brown sugar

6 medium-size red plums, pitted and sliced 1/8 inch thick

½ cup plus 1 tablespoon milk

1 tablespoon fresh lemon juice

6 oz. (1½ cups) cake flour

1 teaspoon baking powder

¼ teaspoon baking soda

½ teaspoon ground cinnamon

¼  teaspoon salt

1 cup sugar

Grated zest of 1 orange

2 large eggs

2 teaspoons vanilla extract

Butter the ramekins. Heat the oven to 350F.

In a medium saucepan over medium heat, combine 6 oz. (1½ sticks) of butter with the brown sugar, whisking until smooth and combined. It’s okay if you still have sugar granules.

Immediately pour into the bottoms of the buttered ramekins, dividing evenly. Arrange a layer of plum slices in each ramekin, overlapping them slightly, using smaller slices to fill any gaps.

In a small bowl, combine the milk and lemon juice. The mixture will curdle and that is okay.

In another bowl sift together the cake flour, baking powder, baking soda, cinnamon and salt.

Cream the remaining 4 oz. (1 stick) of butter with the sugar and orange zest in a mixer. Add the eggs and vanilla, and mix to combine.

Alternately add the dry ingredients and the milk mixture, mixing just to combine.

Divide the batter among the ramekins. Arrange the ramekins on a rimmed baking sheet and bake until the cakes are firm to the touch and the juices are bubbling, 35 to 40 minutes, rotating the sheet midway through baking to ensure even cooking.

Let cool on a rack until warm. Run a paring knife around the inside edge of each ramekin, invert onto a plate, and gently lift it off the cake. Top each cake with a scoop of Grand Marnier ice cream (recipe below).

*If you’ve baked the cakes ahead, heat the oven to 350F, set the ramekins on a rimmed baking sheet and heat until just warmed, about 2 to 3 minutes.

Adapted from Karen Barker’s recipe from fine COOKING.


Grand Marnier Ice Cream

This dessert is a perfect way to chill out during hot summer afternoons. It also happens to be a perfect match for the Plum Upside-Down Cakes.

Makes about 1L

3 eggs

1 cup sugar

2 cups whipping cream

2 cups whole milk

¼ cup to ½ cup Grand Marnier

Beat the eggs and milk together in a large saucepan. Add sugar and cook over low heat, whisking constantly until thickened, about 15 to 20 minutes. This is the time to dream about your future. Instead of yesterday’s thoughts, let’s imagine and dream, not necessarily about a plum tree but whatever suits your fancy; and of course, don’t forget to keep whisking! The mixture should smoothly coat the back of a spoon.

Strain into a large bowl and cool. Then, add the cream and Grand Marnier starting from a small portion. Taste it and adjust the amount of liquor.

Refrigerate at least 4 hours or overnight. Churn the mixture according to the manufacturer’s instructions. You can transfer the ice cream to an airtight container and store in a freezer to encourage further solidification.

See more ice cream recipe here.