Carrot 3 Ways

carrot_bunch

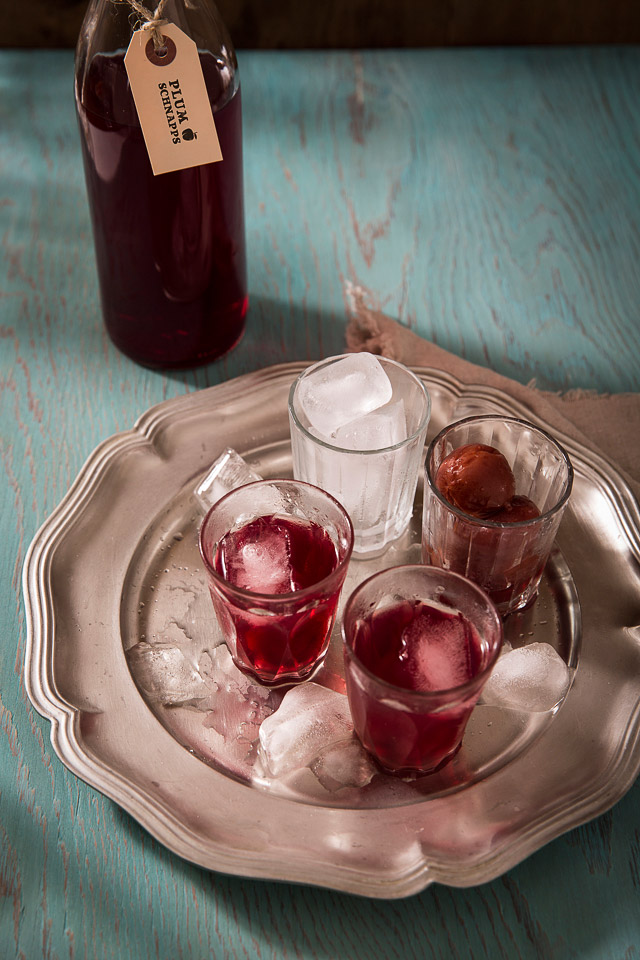
If you are like me you may tend to fall into a routine and continue for a long time without a clear purpose: in this case, I’m talking about the drinking coffee routine. When mindlessly following a routine, you may lose sight of the fact that what you’re doing isn’t at all healthy. Examples of this phenomena are shown in the movie “Food Matters,” which sends a strong message that what you eat is what you are. In the last few years since I started my garden, my partner and I have totally changed the way we live and eat, mostly for the better. However, if we are not paying attention, our best efforts to live more healthfully and consciously could be subverted.

For the longest time, I’ve woken up in the mornings and immediately begun looking forward to a cup of coffee. That is, until my friend suggested that I cut back on my morning intake to improve my health. For sure, I love coffee’s aroma and richly sweet taste, but mostly I love the idea of enjoying a cozy morning routine, which for so long has featured a cup of coffee.

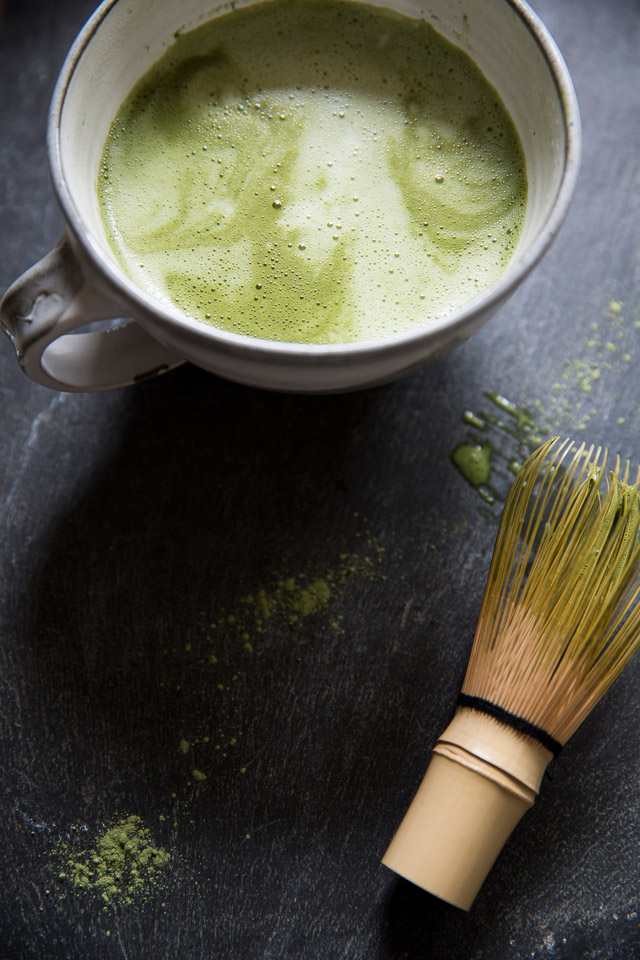
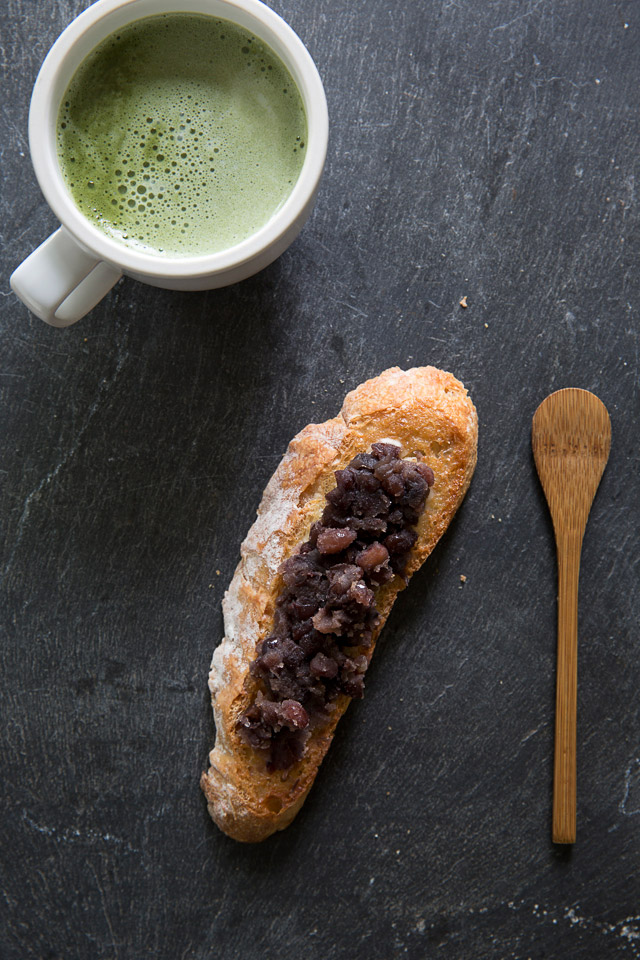
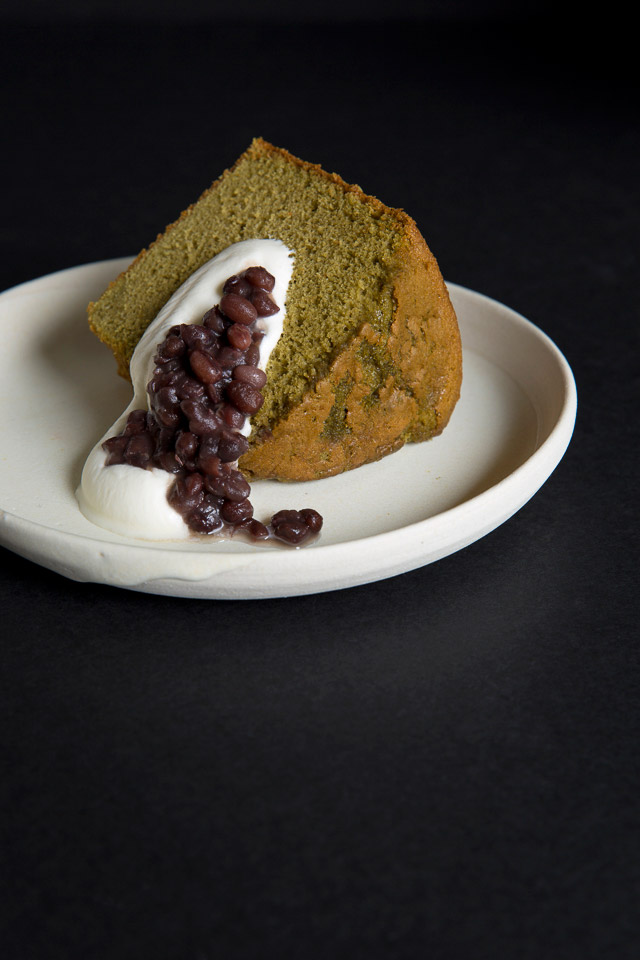
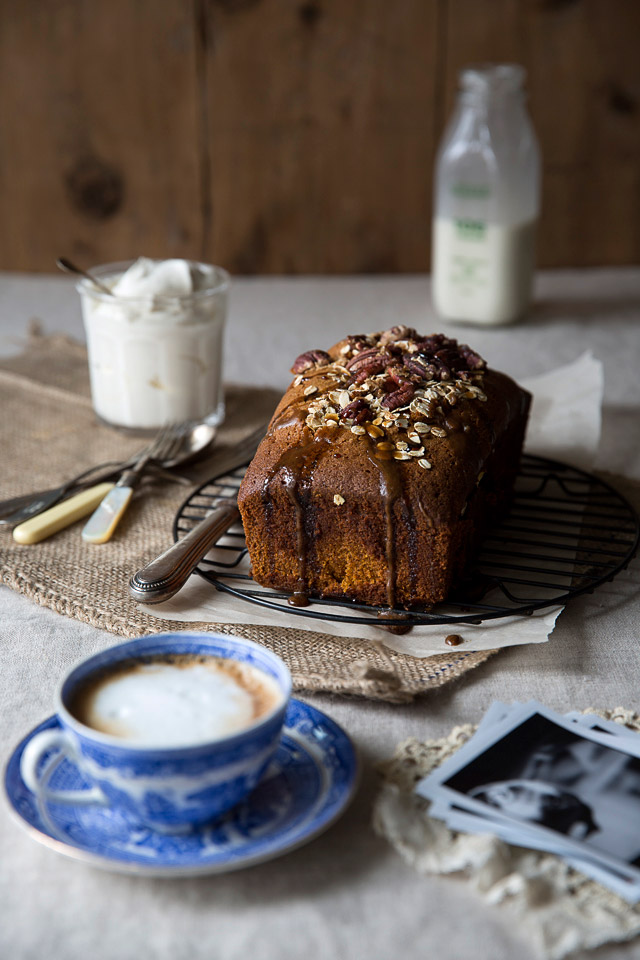
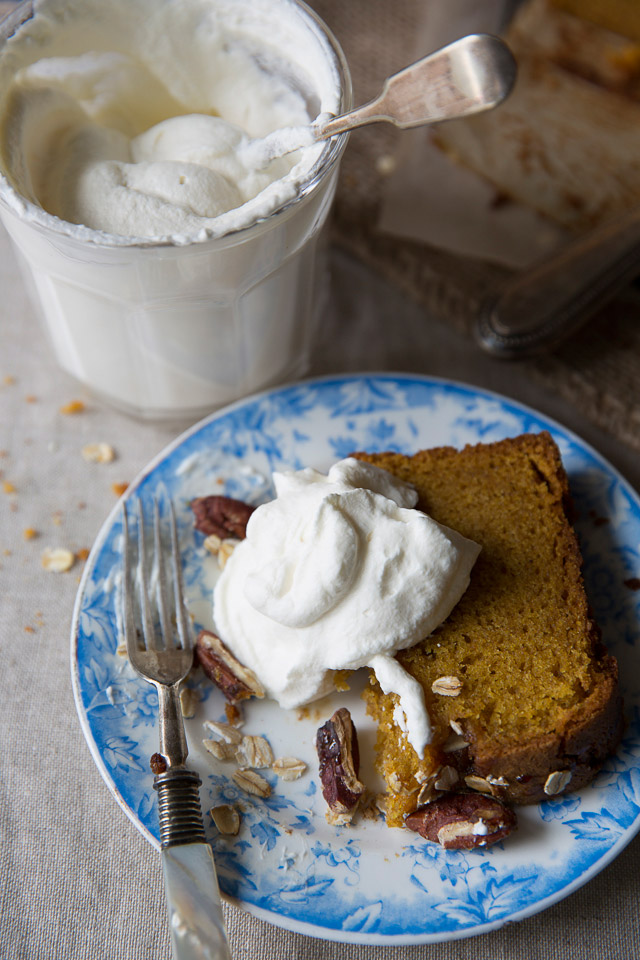
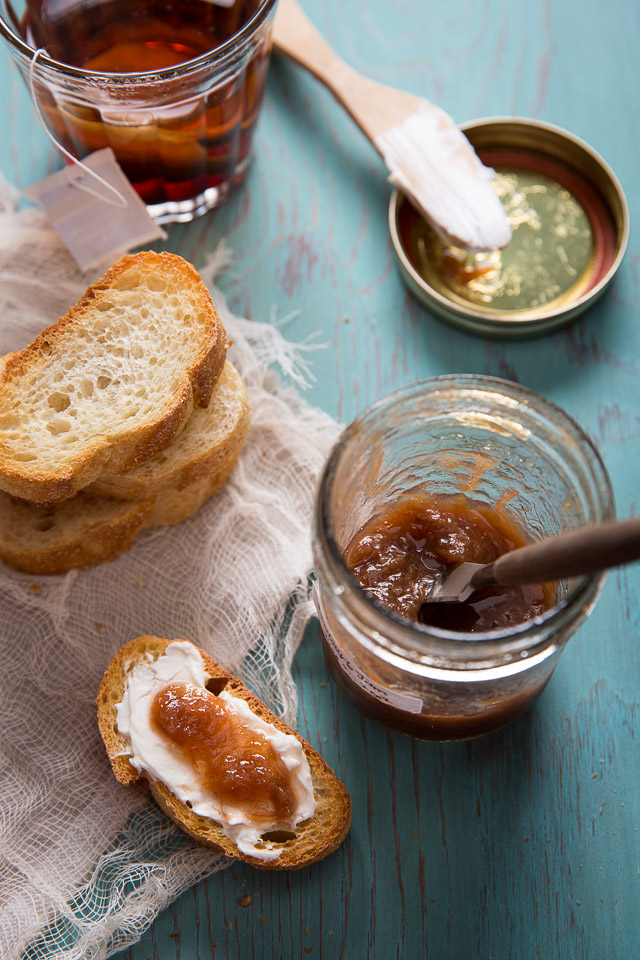
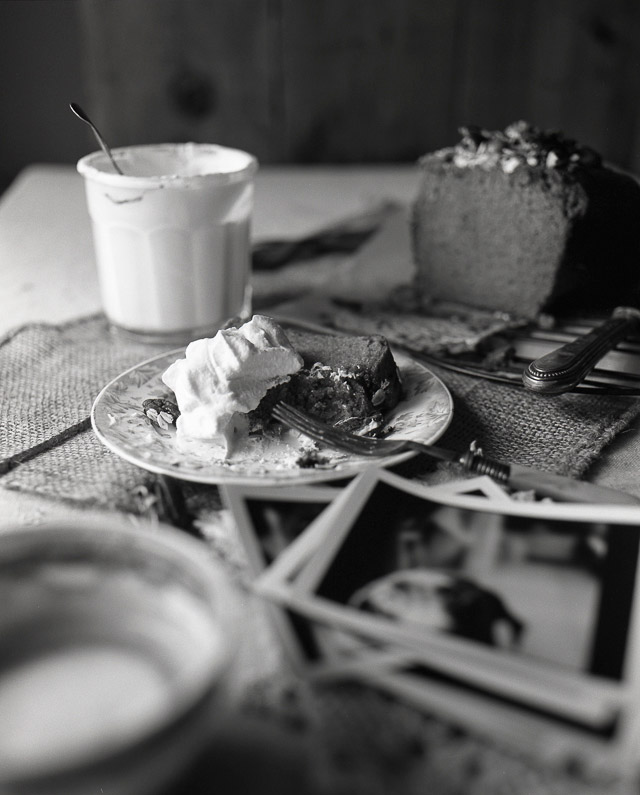
After discussing “Food Matters” with yet another friend, we both decided to majorly cut back on coffee. We still haven’t finished watching the whole movie yet, but definitely got the message in the first 20 minutes. My routine shifted from a cup of coffee to a cup of matcha latte and then to freshly made raw juice, thanks to our friends’ influences. However, I still allow myself a cup of coffee now and then when I have the chance to visit BEAUCOUP BAKERY & CAFÉ, Le Marché St. George, or a few other neat places in Vancouver whose artistry and cozy atmospheres are just too hard to resist! So try this juice, slaw and if you need the coziness, I also baked for you a decadent cake made with another harvest from the spring cleanup.

carrot_juicecarrotscarrot_slaw gratingcarrot_cakecarrot cake

Carrot Juice

Serves 2

1cup carrot, washed, peeled and roughly chopped

1 small apple, peeled and cored

2 large oranges, peeled

¼ of whole pineapple, rind removed, cored and roughly chopped

2 ice cubes

Place all the ingredients in a blender (we adore our Vitamix for this), and blend until smooth. Add water to achieve your preferred consistency and serve.


Carrot Slaw

Serves 4

4 large carrots, peeled and julienned

2 garlic cloves, roughly chopped

1 small knob ginger, chopped

A handful of chives, roughly chopped

¼ cup rice vinegar

½ teaspoon cane sugar

1 tablespoon plus 1 teaspoon soy sauce

1 tablespoon toasted sesame oil

2 tablespoons white sesame seeds, roasted in a skillet

2 tablespoons tahini

Combine garlic, ginger, chives, vinegar, sugar, soy sauce, sesame oil and tahini in the bowl of a food processor and proceed to blend well. If you don’t have a food processor, don’t worry, but just chop everything fine, place in a jar and shake well to blend.

In a large bowl, mix the carrots and the dressing well and chill. You can serve in a couple of hours. If you have leftovers, the dish is indeed very tasty the next day. I would sneak this slaw into a sandwich made with leftover cold pork tenderloin sliced along with lots of cilantro leaves or whatever is on hand (or in the fridge) the next day.


Carrot Lemon Cake

Makes 9 x 5 x 3 inch loaf pan

1 cup butter plus extra for greasing, room temperature

1/3 cup plus 1 tablespoon sugar

3 large eggs, room temperature, beaten

1 cup grated carrot

2 tablespoons sour cream

Lemon zest from 1 lemon

1 tablespoon fresh orange juice

1 ½ cups cake flour plus extra for dusting

2 teaspoons baking powder

¼ teaspoon salt

Icing

2 to 3 tablespoons lemon juice

¾ cup icing sugar

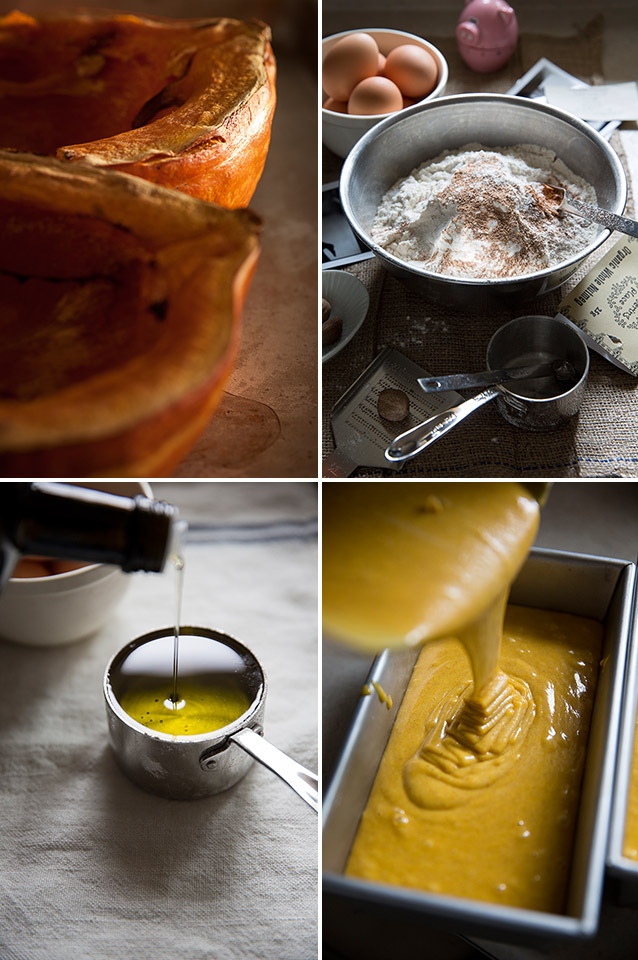
Combine the flour, baking powder and salt, mix well and set aside. Grease the pan with extra butter, dust flour removing the excess and keep refrigerated until the batter is ready. Preheat the oven to 350F.

Cream the butter with an electric beater in a large bowl until fluffy. While continuously beating, add the sugar in a few installments and beat until well combined. Add eggs gradually and beat to blend. Switch to a whisk, add the carrot, sour cream, ½ lemon zest and orange juice, and stir to combine. Proceed rhythmically by beating the batter each time you add an ingredient.

Add 1/3 of the flour mixture into the batter and incorporate. Switch to a spatula, add the rest of the flour mixture and gently combine until no flour is visible.

Bake until tested skewer comes out clean, for about 50 minutes. In the meantime, make icing. Place the sugar in a small bowl and add the lemon juice and the rest of the lemon zest a small amount at a time. Stir well, making a smooth consistency.

Let the cake stand for 10 minutes, and then remove from the pan to cool. Drizzle the icing over top. Slice and serve at room temperature.


Matcha, spring’s lushness

matcha_latte

After the Pineapple Express had drenched its way along the Pacific coast last week, my yellow and purple crocuses along with irises and snowdrops woke up to the intense sun in the balmy air of (almost) spring. To some extent, matcha has the same effect on me. The lush, bright green colour and its intrinsic greenish taste awaken all my senses. As I promised last week, I sorted through a few matcha influenced recipes as a counterpoint to the coffee features that I posted previously. I’m also introducing complimentary ingredients/ nibbles that will greatly enhance these matcha delights. On that note, it may be a good idea to purchase a packet of good quality matcha and a bamboo whisk for your kitchen this spring.

For those who are as mesmerized as I am by the beautiful pottery from the last four photos here, I’m happy to share that they are created by Janaki Larsen, a ceramic artist in Vancouver. I picked them up at Le Marché St. George, which she also co-owns. A great artistic café/ grocery containing specialty foods and other goodies!

matcha latte and toast with Azuki bean paste

Matcha Latte

Just for you

1 cup almond milk, soy milk, rice milk or cow’s milk

1 to 1 ¼ teaspoons matcha powder

Hot water

Sugar *optional

Pour hot water in a wide-mouth cup to keep warm. In a small saucepan, heat the milk over medium heat until small bubbles appear along the edge of the pan, for about 5 minutes. Do not boil!

Discard the hot water from the cup, and add the matcha powder. Add about 1 to 2 tablespoons hot water and whisk intensely until foamy, making sure there are no beads of powder left. Add the warmed milk and serve. Taste it first and adjust with sugar. I like it without sugar when I make the latte with cow’s whole milk, which renders enough sweetness so I can taste the lushness of the matcha flavours.


Sweet Azuki Bean Paste with Toast

As I grew up, I came to learn that my father’s all time favourite breakfast was buttered toast with smeared sweet Azuki bean paste. I wasn’t fond of the coarse texture of Azuki as a child; however, as my palate has matured, I have slowly grown into it and now it’s also my favourite thing to wake up to in the morning.

Makes about 2 cups

200g Azuki beans

160g sugar

½ teaspoon salt

You do not need to soak the Azuki beans prior to cooking. Rinse the beans and discard any deficient or diseased ones. Place the beans in a large pot with plenty of water and bring to a boil.

Drain the beans and discard the cooking water. Repeat this process one more time.

Next, place the beans in a pot with a plenty of water and bring to a boil, then continue to cook until the beans become soft, about 40 to 50 minutes. Add water as necessary to keep the beans covered.

Drain the beans and discard the cooking water. Add the sugar, salt and 1 cup water and cook over medium low heat until all the ingredients are well combined. For serving with toast, I cook for about 20 to 25 minutes until the paste becomes a thick mass. For serving as sauce, I cook for about 10 to 15 minutes, keeping it runny. Keep in mind that as the beans cool down, the sugar solidifies and the mixture becomes hard. So, don’t cook down too much if you intend to pour over the below chiffon cake.

Serve at room temperature. If you have extras, keep refrigerated up to 1 week. The paste also freezes well for about 1 month.


matcha powder

chasen

matcha_jelly

Matcha Jelly and Shiratama with Kuromitsu

Years ago, when I visited the Byodoin temple in Uji, Kyoto, I came across a 150 year old tea company where they also serve a variety of matcha products. I did not visit the area in the recent trip to Japan since the Byodoin was under construction, but I was able to purchase their famous matcha jelly at a souvenir kiosk in Kyoto station. Later I learned that they actually have a café in a department store right next to the station, so if you are near, it would be a nice place to take a break while waiting for a bullet train. All of their products seem wonderful but I particularly fell in love with their matcha jelly so I created this recipe according to my palate’s memory. Until you and I can get our hands on their version of jelly, this recipe may satisfy our desire.

Serves 2

300 ml freshly steeped green tea (from loose tea leaves)

1 g agar powder (I like the Japanese brand called Kanten Papa, sourced from a local Japanese grocery store)

2 ½ tablespoons sugar

2 teaspoons matcha

4 tablespoons hot water

Place the matcha and 4 tablespoons of hot water in a wide-mouth cup, and whisk intensely with a bamboo whisk until foamy, making sure there are no beads left.

In a large bowl, strain the freshly steeped green tea (making sure it’s over 80C) and agar powder, and stir well to combine.

Add the sugar and matcha paste, and mix well. Transfer to a medium bowl and refrigerate until solidified.

Scoop into serving bowls, and serve cold with shiratama and kuromitsu (recipe follows).


Shiratama and Kuromitsu

(It literally means white balls and black syrup)

Shiratama is typically served in Azuki bean soup as a warm dessert dish, and with the Azuki bean paste and vanilla ice cream together as a cold confectionary. Here, I introduced a refreshing take on the original, served with the above jelly drizzled with kuromitsu.

Serves 2

100g shiratama-ko (glutinous rice flour, available at a Japanese grocery store)

90ml to 100ml lukewarm water

3 tablespoons Okinawa black sugar (or Muscovado sugar or dark brown sugar)

3 tablespoons water

Bring plenty of water to a boil in a medium saucepan.

Combine the shiratama-ko and water in a medium bowl until the texture of an earlobe is achieved. Tear and form into 2/3 inch balls.

Place the balls into the boiling water. When the balls start rising to the surface, continue to cook for 3 more minutes. Dunk into ice water, let cool and drain well.

Make kuromitsu. Combine the sugar and water in a saucepan over medium heat, and stir consistently until the sugar is dissolved and becomes thick and syrupy in consistency.

Serve shiratama with the above matcha jelly and drizzle with kuromitsu.


matcha_salt

Prawn Tempura and Matcha Salt

I also included this savoury appetizer dish to help highlight matcha’s unique flavour. Instead of prawn, you can use fish, like halibut or cod, if you like.

Serves 4

1 lb prawns

1 egg

1 cup all purpose flour

1 cup ice water

Vegetable oil for deep-frying

¼ teaspoon matcha

1 teaspoon coarse or fine sea salt

Prepare the prawns. Rinse them first and remove shells, leaving the tail on. Cut off the sharp tips of the tails with a knife and then pat dry.

Heat plenty of oil to 350F in a wok or deep-rimmed pan. If you don’t have a thermometer to check the temperature, the rule of thumb is that the oil is ready when a dropped piece of batter should quickly sink mid way into the oil and then quickly come back to the surface and float.

Combine the egg, flour and ice water very lightly in a large bowl (a few strokes with a pair of chopsticks is good enough, and it’s okay that you can still see powdery flour). Do not stir too much as you will create a glutinous, and thus heavy, batter.

Quickly dip the prawns in the batter, remove excess and deep-fry them in the prepared oil until golden.

Rest the prawns on a paper towel to remove excess oil. Serve with combined matcha and salt.


matcha chiffon cake

Matcha Chiffon Cake

Use 9 ¼ inch diameter x 4 inch high Angel food cake pan

2 ¼ cups all purpose flour

1 ½ cups granulated sugar, divided

2 ¼ teaspoons baking powder

¾ teaspoon salt

½ cup grape seed oil

7 large egg yolks

9 large egg whites

2/3 cup whole milk

4 tablespoons matcha

4 tablespoons hot water

Toppings

1 ½ cups Azuki bean sauce (see Sweet Azuki Bean Paste)

1 cup whipping cream

2 tablespoons sugar

Preheat the oven to 325F. Whisk together the flour, 3/4 cup granulated sugar, baking powder, and salt in a large bowl.

Whisk the matcha and hot water intensely in a small bowl with a bamboo whisk until it becomes paste-like, making sure there are no beads left.

Whisk together oil, egg yolks, and milk in a large bowl. Add the matcha paste into the egg yolk mixture and stir to combine. Whisk flour mixture into egg yolk mixture.

In the bowl of a stand mixer, beat the egg whites until soft peaks form on high speed. Add the remaining ¾ cup sugar in 3 installments. Continue to beat until a stiff glossy peak forms. *If you have a problem, such as that your egg whites won’t solidify, try to cool the bowl by placing ice packs around it.

Whisk 1/3 of the egg white mixture gently into the batter, and then fold in the rest of the egg white mixture with a rubber spatula.

Transfer the batter into a cake pan. Bake until the top of the cake springs back when touched, for about 55 to 57 minutes. Let cool upside down for about 1½ hours.

Release the cake by running a knife around the edge of the tube and the side of the pan. Transfer to a cake stand or a large flat plate.

Beat the whipping cream with sugar to a desired consistency.

Slice into individual portions, and serve with a dollop of whipping cream. Spoon the Azuki bean sauce over top.

Adapted from MarthaStewart.com


bowl by Janaki Larsen

Good Pumpkin Bread & Things from Our Pantry

Good_pumpkin_bread

It’s been a month since we came back from the exciting/ emotional trip to Japan, and things have been going back to normal. That means, for us, scavenging food from our garden, cold storage and kitchen pantry (and the occasional visit to a local grocery store). Although we enjoy challenging eating in this way, I felt that it was really a luxury not to plan a meal, not to gather ingredients from our household, and not to cook: the entire process and ritual. While we were traveling, we ate street food, decadent pastries, traditional meals that my family prepared plus enjoyed some delicious dishes at izakayas and a couple of restaurants.

One of my favourite snacks during the trip was a skewer of grilled chicken liver yakitori finished with teriyaki sauce, enjoyed while browsing the city streets. I also munched on a variety of salads with seafood, meat or grains that I could pick up at the food section at decent department stores. These experiences opened my eyes to creating new recipes with unusual ingredient combinations. As for those dishes that I have longed for but could not manage to eat during this trip, I will try to replicate them and introduce them to you in the near future. For now, here are some examples of what we’ve been eating recently.

Good_pumpkin_bread2

Good_Pumpkin_Bread4

Latte

Good Pumpkin Bread

Originally this recipe was given to me by a very beautiful person while I was studying at horticulture school. She loved nature and good, healthy food as much as I do. Upon tasting her bread, I demanded a copy of the recipe and she kindly shared it with me. I modified it slightly, and the bread got even better! This is why I now grow certain varieties of winter squashes. The key to this particular bread is to use creamy, nutty, sweet and flavourful squashes like Red Kuri or Marina Di Chioggia, but not those sugar pumpkins that you carve for Halloween.

Makes 2 of 9 x 5 x 3 inch loaf pans

3 cups sugar

1 cup grape seed oil

4 eggs

2 ½ cups all purpose flour

1 cup spelt flour

1 ¼ teaspoons baking powder

1 teaspoon baking soda

2 teaspoons sea salt

1 teaspoon ground cinnamon

1 teaspoon freshly ground nutmeg

2 cups pureed pumpkin from 1 large pumpkin (or winter squash)

½ cup water

1 teaspoon vanilla extract

Topping

3 tablespoons rolled oats

Handful of pecans

2 tablespoons brown sugar

1 tablespoon water

Whipping cream for serving

Preheat the oven to 350C. Cut pumpkin in half. Remove seeds. Place them cut side up on a baking sheet and roast until tender, for about 30 minutes. Remove meat from the skin and puree in a food processor or blender (our dogs love the roasted skins!). If the puree feels too dense, add 1 or 2 tablespoons water to loosen it. Let cool to room temperature.

Preheat the oven to 350C.

Sift the flour, baking powder, baking soda, salt, and spices together in a bowl. Mix the sugar, oil, and eggs in another large bowl.

Then, add the dry ingredients to the wet ingredients while slowly adding in the water to create batter. Finally, add in the pumpkin and vanilla, and stir to combine completely.

Pour the batter into greased pans. Top with the rolled oats and pecans. Bake in the centre rack of the oven until an inserted skewer comes out clean, for about 1 hour. If the pecans become too dark, cover with a piece of tin foil to prevent them from burning.

Cool completely on a rack. In the meantime, make icing. Combine the brown sugar and water in a small saucepan and stir until bubbly. Pour onto the top of the bread.

If you have extras, they freeze beautifully. Thaw at room temperature when ready to eat.

Serve with a dollop of whipping cream.


Rhubarb Jam

If you read last year’s post “Rhubarb bars,” you may remember that I introduced the jam recipe there. Now is the time to enjoy the hard work of gardening and preserving from the growing season. I sit at the breakfast table, pour some tea, enjoy the view of my winter garden, savour the richly smeared condiment on toasts and, of course, contemplate another year of garden planning.

Rhubarb_jam_toasts


Beet Juice

We go through a lot of root vegetables, such as beets, carrots, and potatoes from our cold storage. In particular, we like to turn the beets and carrots, among other ingredients, into fresh juice. It looks like we have enough to make it to this year’s harvest. Recipe can be found here.

Beet_juice


Sprouts

This is our source of raw food during winter months. There are always a couple of bottles sprouting on our windowsill. They provide a great texture and flavour for sandwiches, noodle soups, salads and fresh juices.

sprouts


Gluten Free Bread “The Life-Changing Loaf of Bread” by My New Roots

Learning about this intriguingly named bread recipe actually made me run to a local organic store to pick up a bag of psyllium seed husks! The rest of ingredients are always at the read in my pantry. And the result? Yes, the bread changed my life! I feel lighter, healthier and more energetic after eating it. Sarah, the recipe creator, also has so many other amazingly sounding recipes that you may want to try, so I posted a link to her site above.  While this bread has about as many calories as my beloved French baguettes, it’s also packed with more protein and nutrients, making it a much healthier choice all around.. My favourite way of eating Sarah’s bread is to smear goat cheese on a toasted slice and drizzle maple syrup over top. It is unstoppably good! Oh, but I can’t live without that crust of French baguette once in a while.

The_life-Changing_Loaf_of_Bread


Plum Schnapps

After baking many plum upside-down cakes last August, I bottled the rest of the Japanese “Beauty” plums with vodka from our front yard. Six months later, I filtered and tasted the batch. It still seems young, so I’ll let it mature a little longer. Nonetheless, the schnapps burst with flavour like summer in my mouth on a winter evening.

plum_schnapps


Peperoncino Pasta

I’m not much of a pasta person, unless we’re talking about the delectable dishes that my Italian chef sister makes with tons of seafood. Another exception to the rule is this spicy peperoncino pasta! I remember the days when I looked forward to this pasta dish, served at a family owned café in the Yokohama vicinity, especially after long autumn motorcycle rides. Life is funny–I never ever imagined that I would no longer be riding a motorcycle and instead spend my time growing my own chili peppers in the Vancouver countryside. The heat of chili peppers and garlicky goodness melt together and wrap each individual pasta noodle in a fabulously oily sauce. This is a perfect pasta dish to help warm you up (and may eventually make you steam emerge from your head!). Oh, try not to rub your face while dealing with these peppers like I once absentmindedly did. It hurts for a long time! I miss motorcycling dearly and cherish even the memory of stuffing thick newspapers inside my leather jacket to keep myself warm while commuting on the highway in winter!

Thai_dragon_peppers

peperoncino_pasta3

peperoncino_pasta

Peperoncino Pasta

Serves 2

200g spaghettini pasta noodles

3 tablespoons olive oil

4 garlic cloves, sliced

4 red chili peppers, seeds removed and sliced

Salt and pepper

Bring a pot of water to a boil and add PLENTY of salt. Cook pasta to just before al dente. Reserve some cooking liquid.

In the meantime, sauté the garlic and peppers with oil in a large skillet on low heat. Be patient and take time to infuse the oil, about 12 minutes. When the garlic turns golden and soft, add ¼ to ⅓ cup pasta water to create pasta sauce. Stir the pasta noodles into the sauce, making sure to coat all over. Finish cooking the pasta noodles in the sauce for a couple of minutes. Serve hot and adjust the taste with salt and pepper.


Good_Pumpkin_Bread3